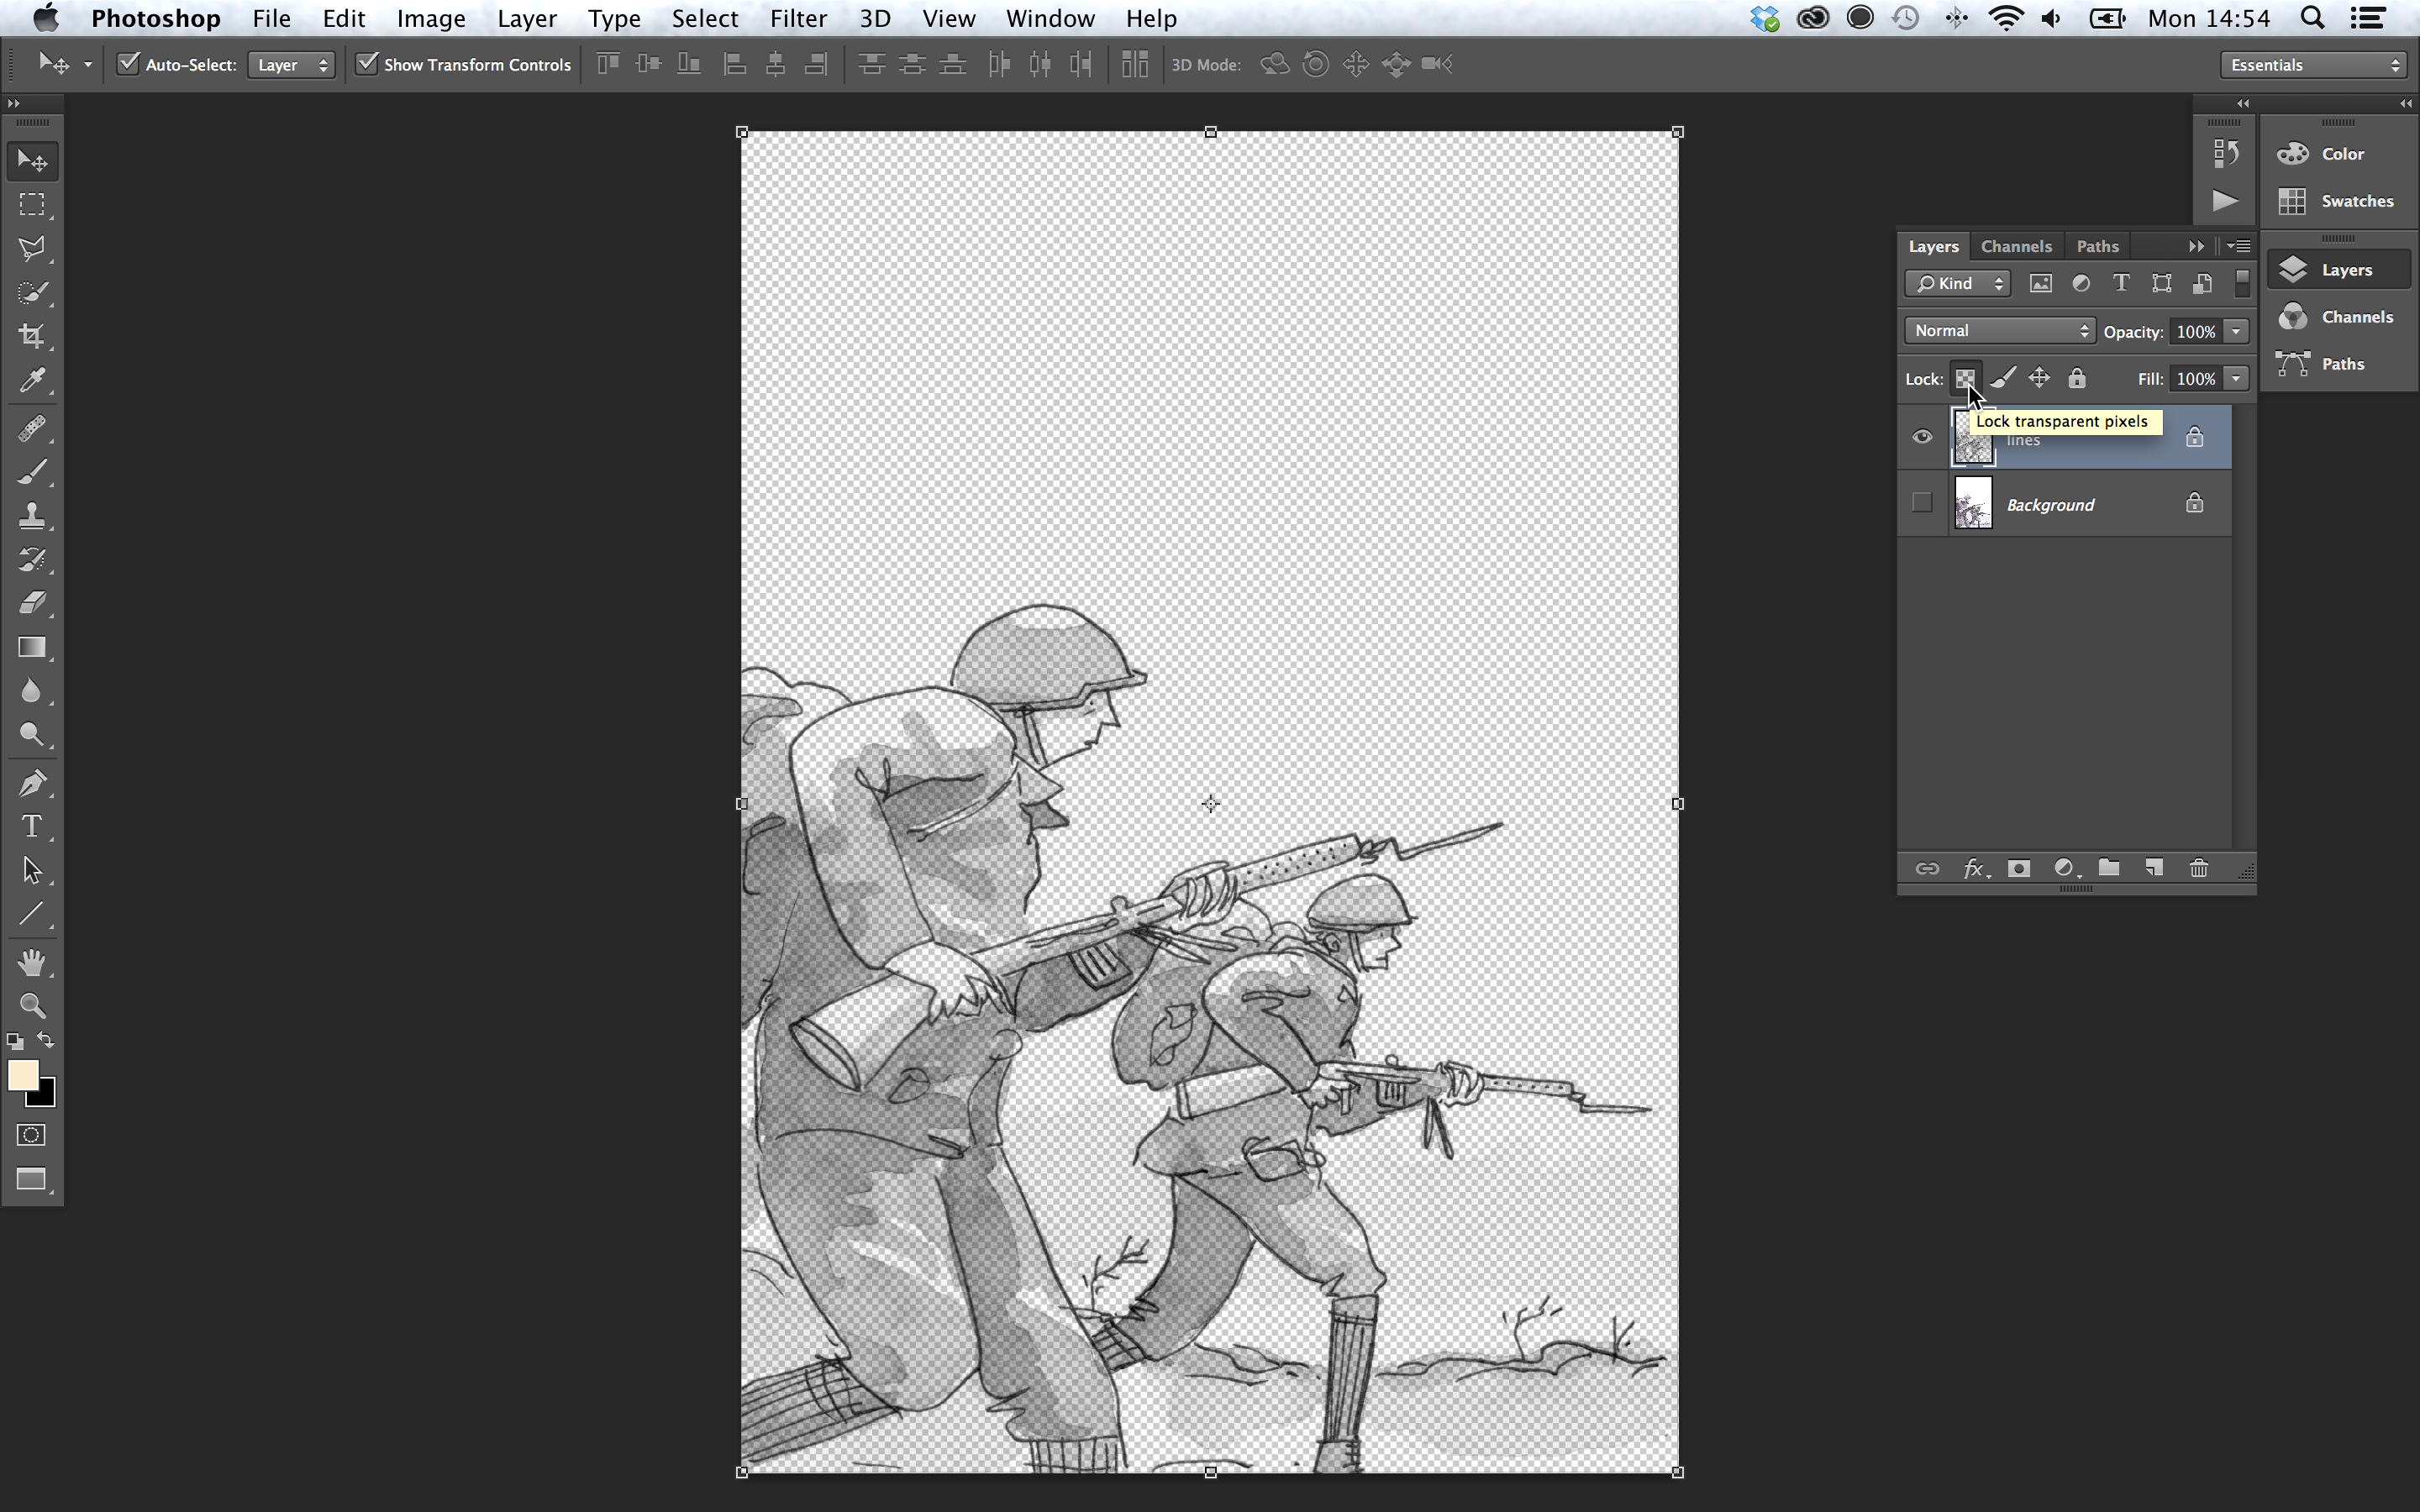
Here is how to isolate black linework from a white background. Having the linework on transparent pixels gives you a lot of flexibility to colour your linework for example.
| 1 | Load up your image. Mine was drawn on watercolour paper, so you can see the paper texture that has been scanned in. I want to keep as much texture in the parts I have painted while reducing the appearance of the texture on the white bits. | 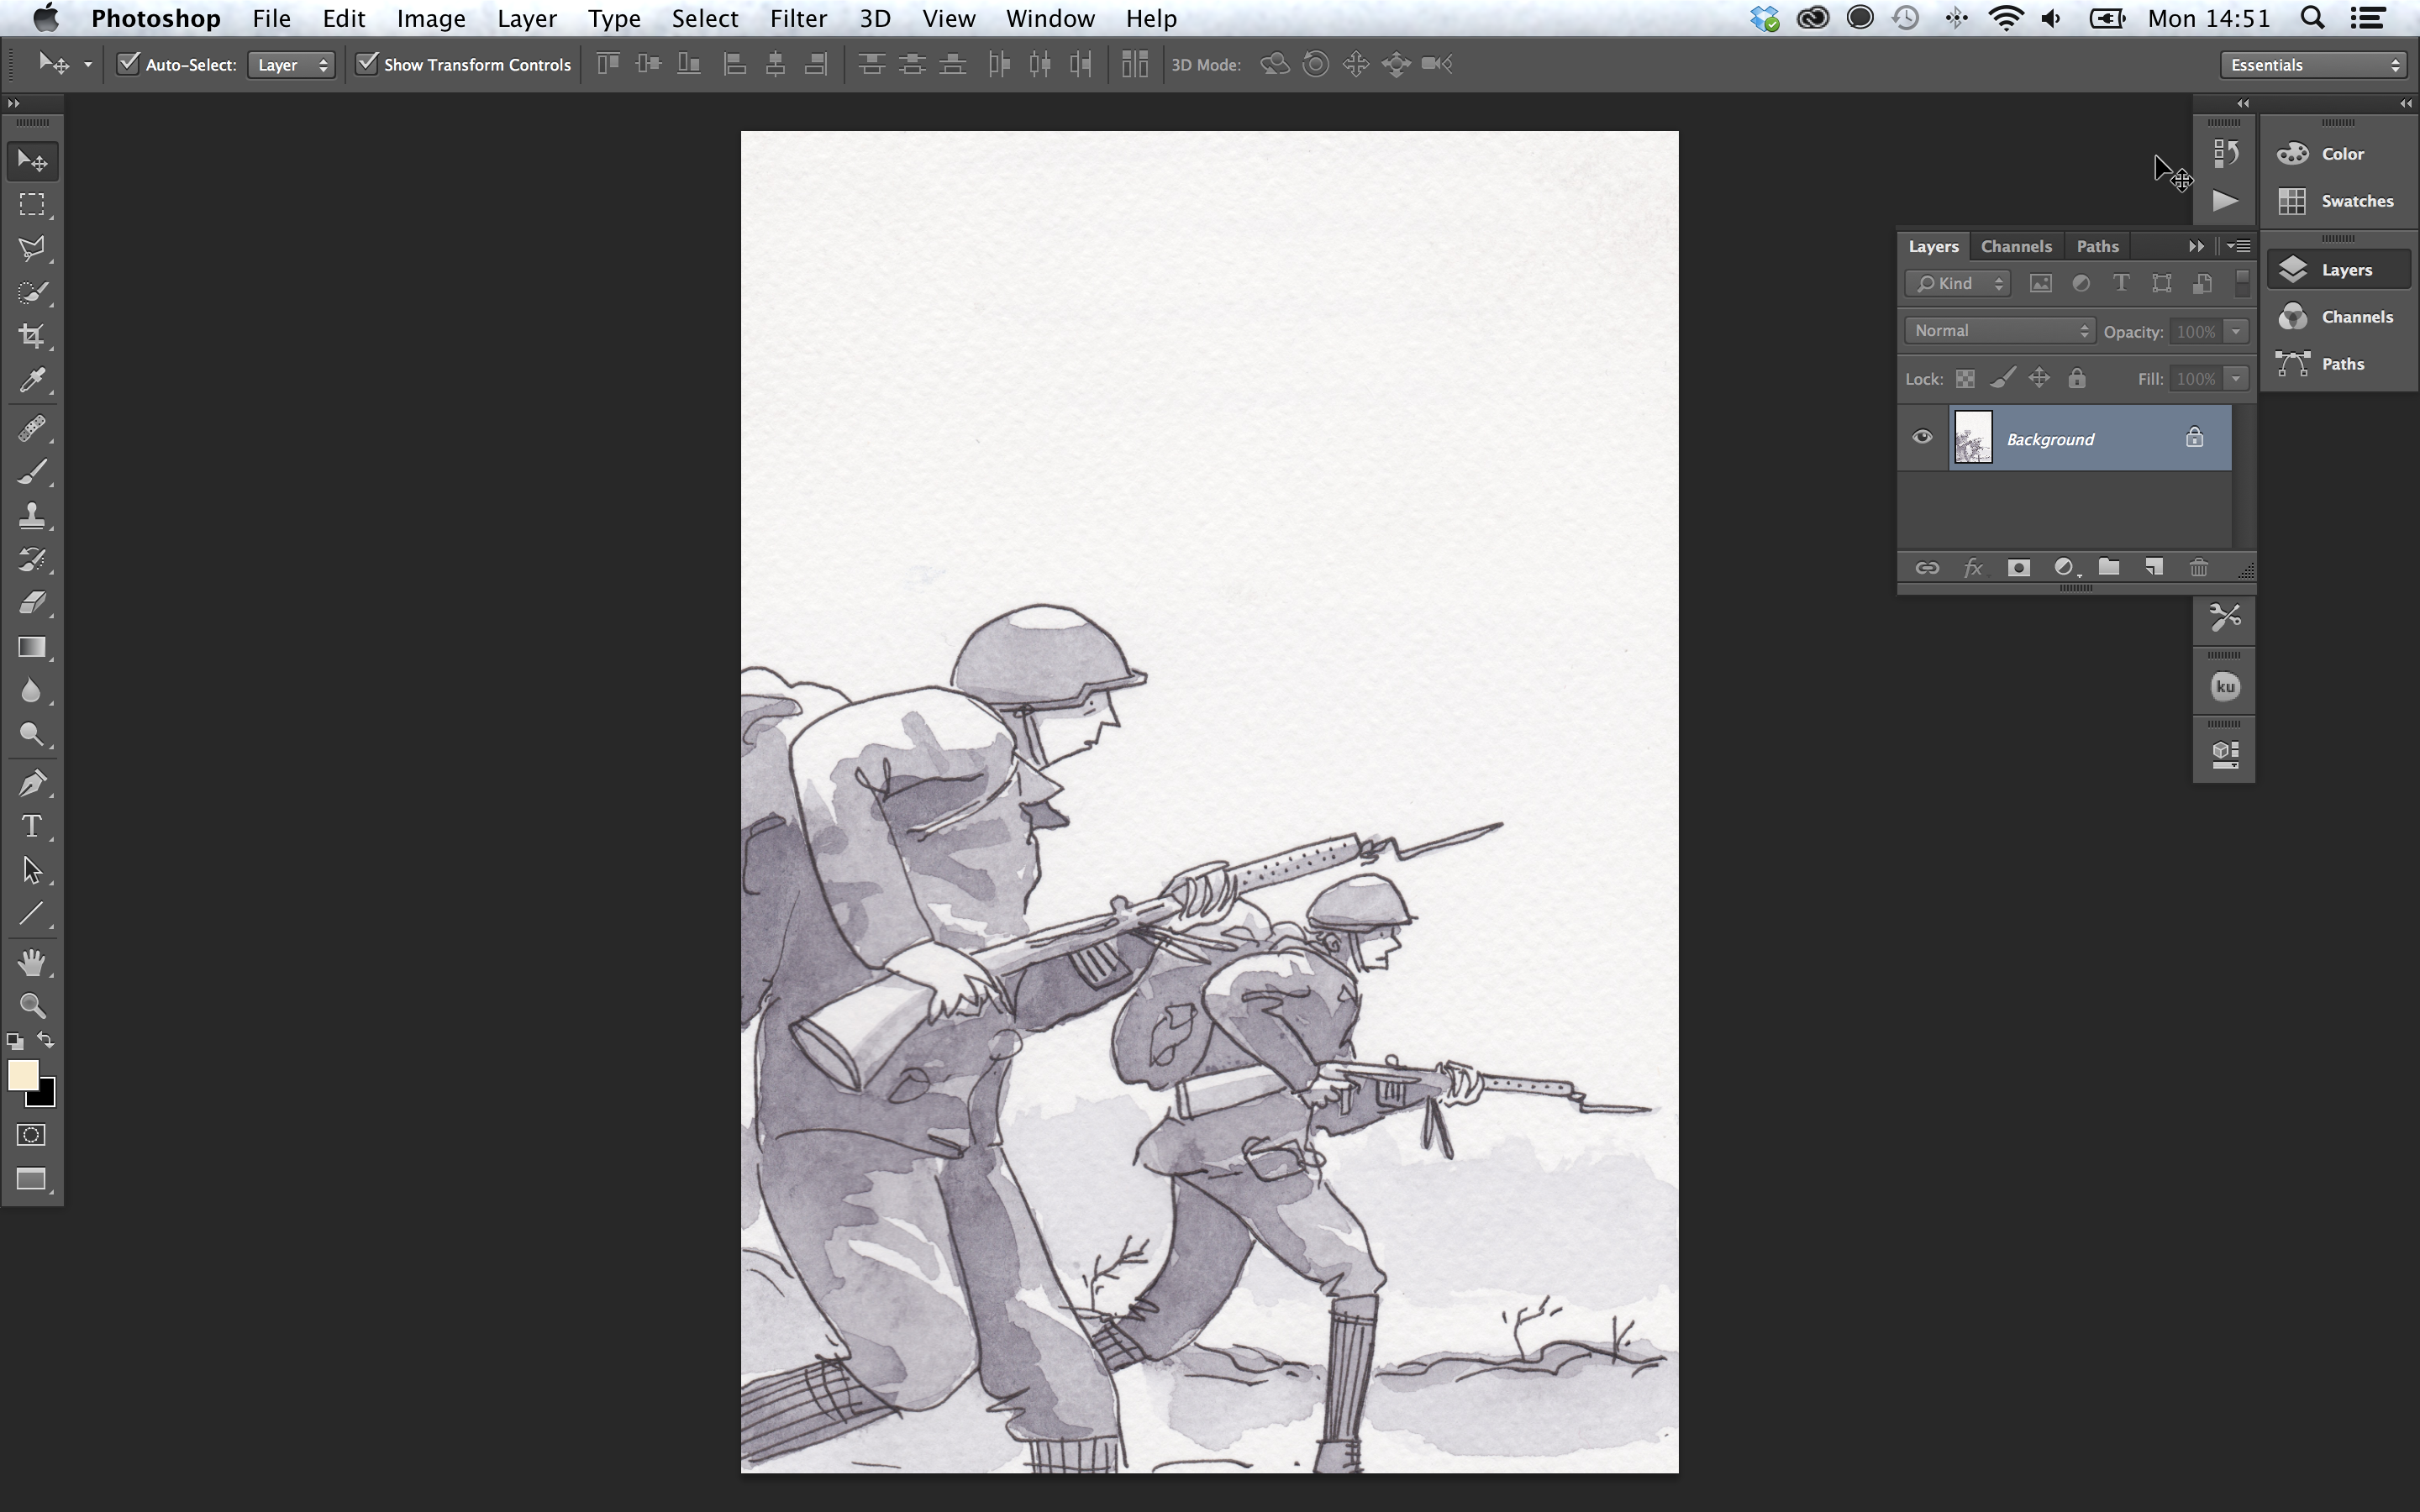 |
| 2 | Go to Image -> adjustments ->levels and adjust the handles on the graph so that the dark lines are darker and the light parts are lighter. The values will change depending on the image you are using. This looks to be about right for the image I have here. If you are working with just linework, you might want to go to image -> adjustments -> threshold, which makes all the pixels either black or white. You cannot really do that with a grey tone though. | 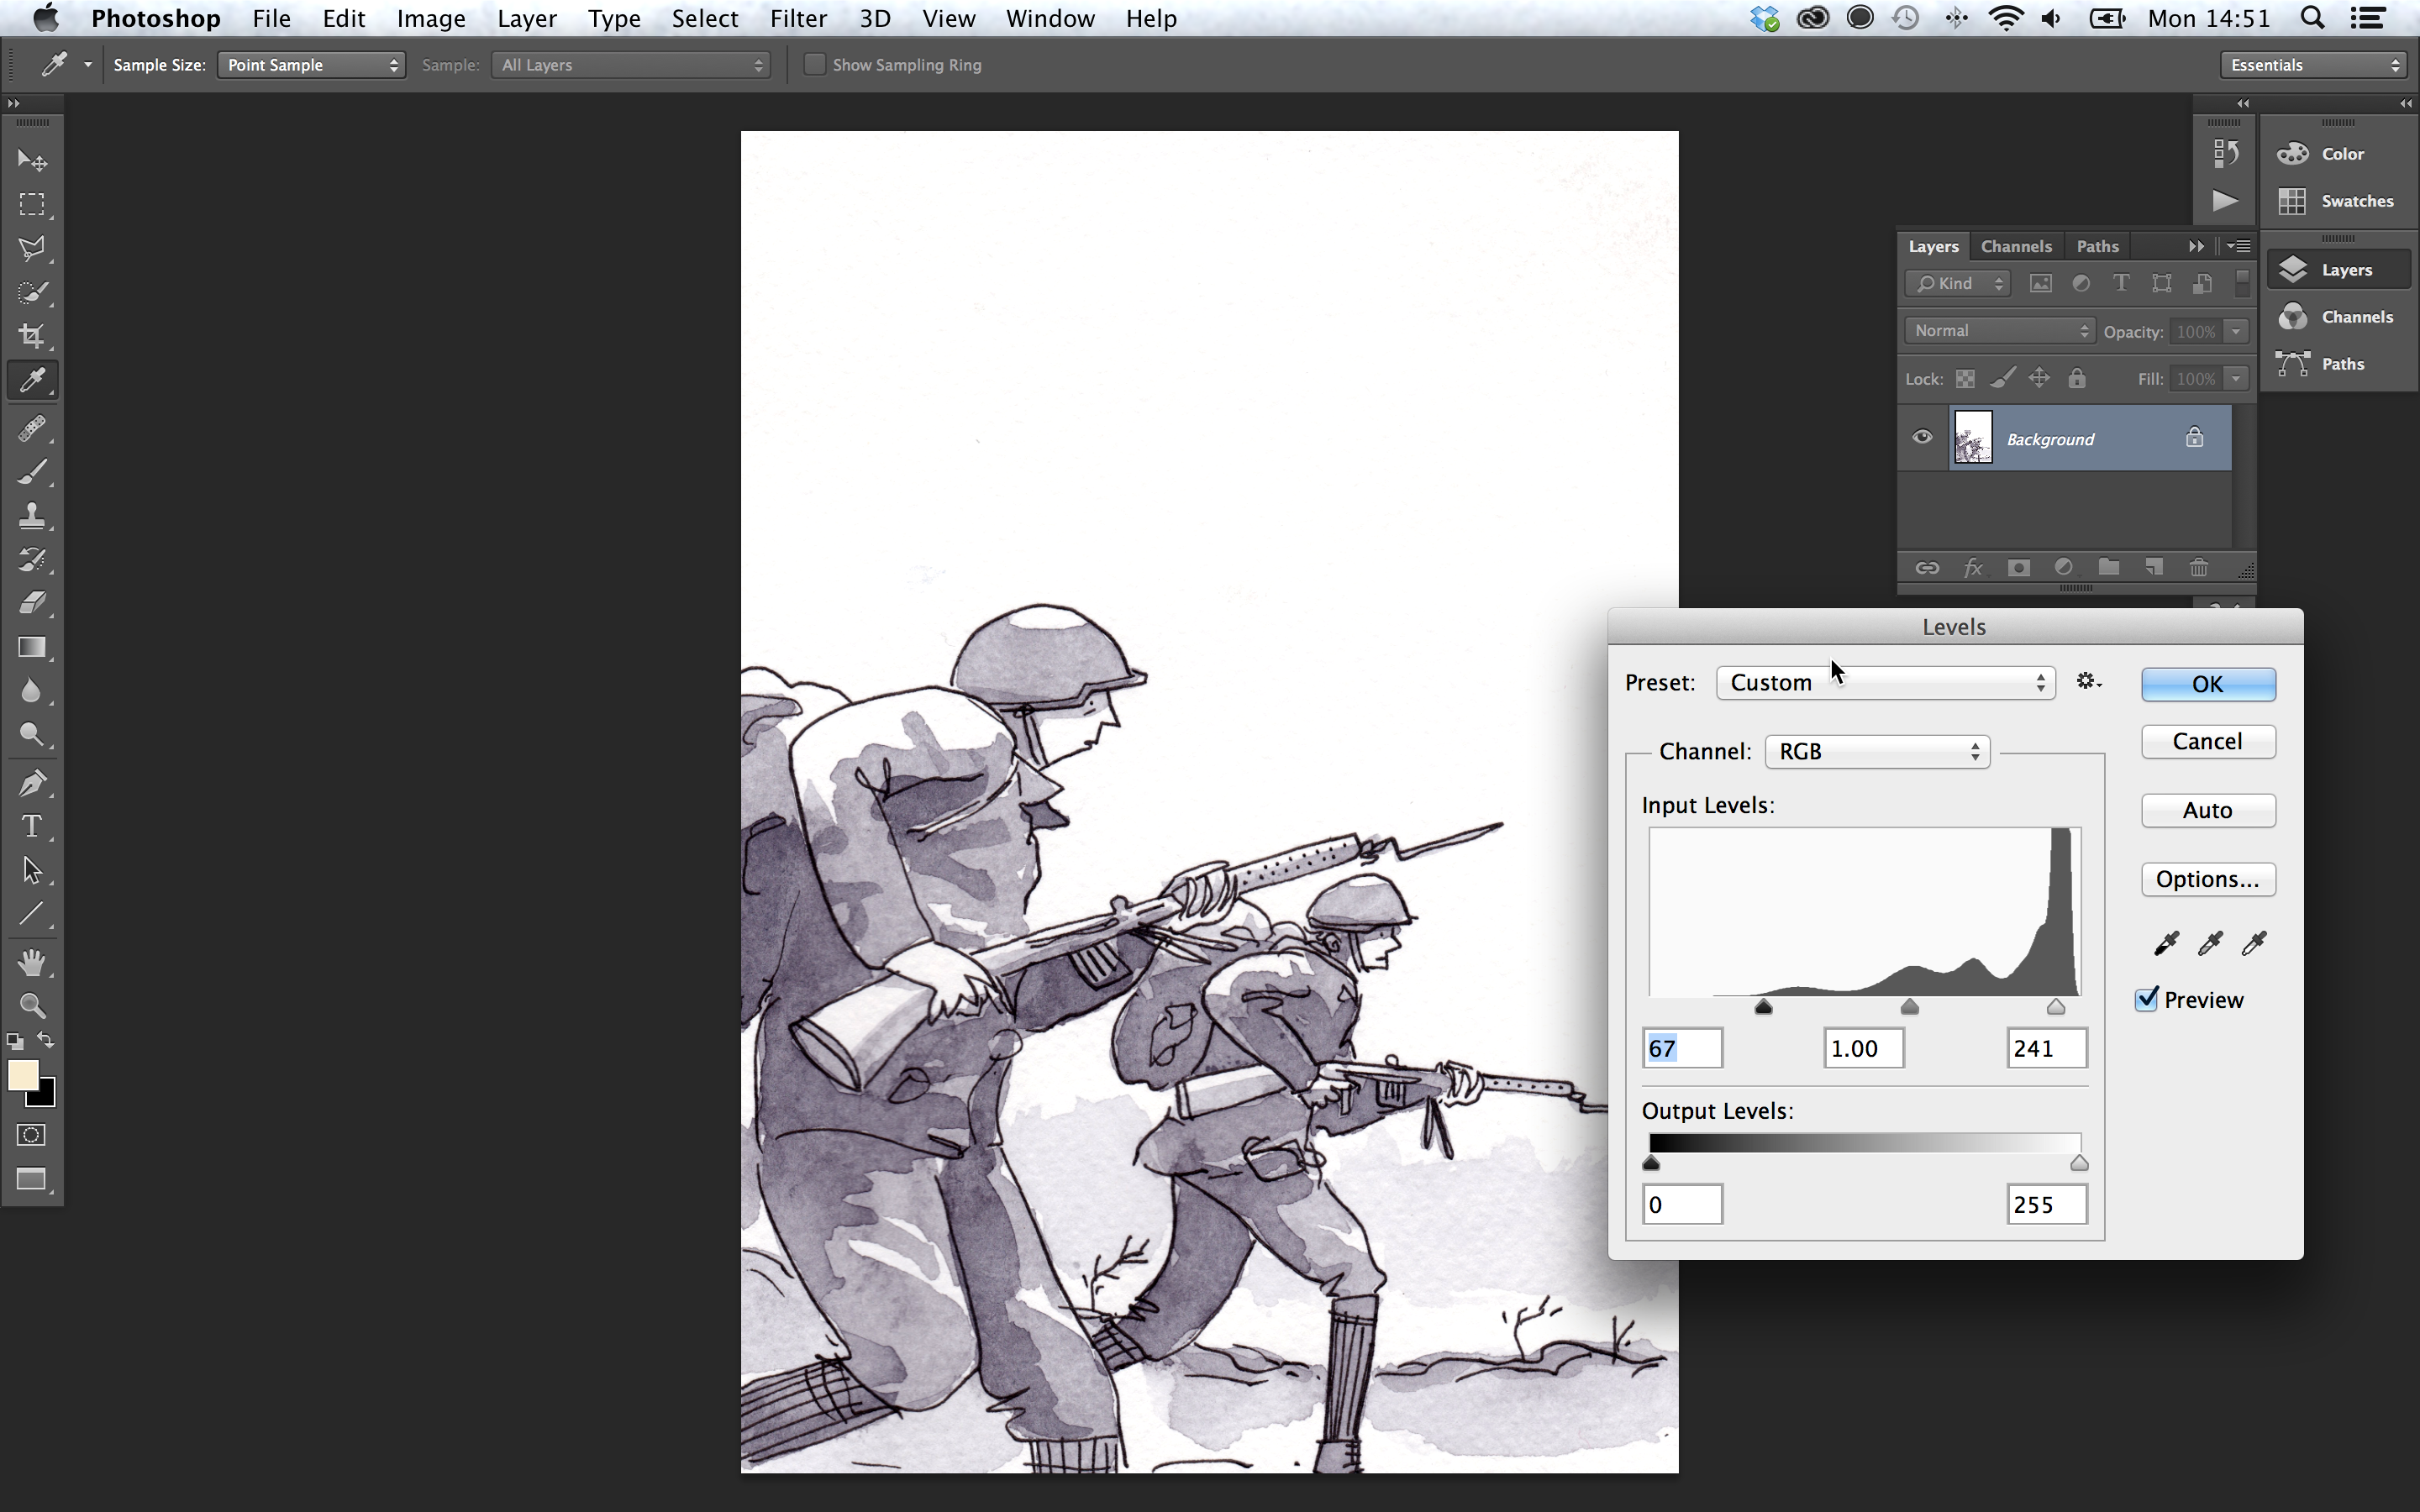 |
| 3 | Now switch to the channels tab. In my workspace it is behind the layers tab. If you cannot see it, go to window -> channels to open that tab. Click the top channel once and all the channels should highlight. At the bottom of the tab there is a small button on the leftmost side which reads load channel as selection if you hover over it. Click it. | 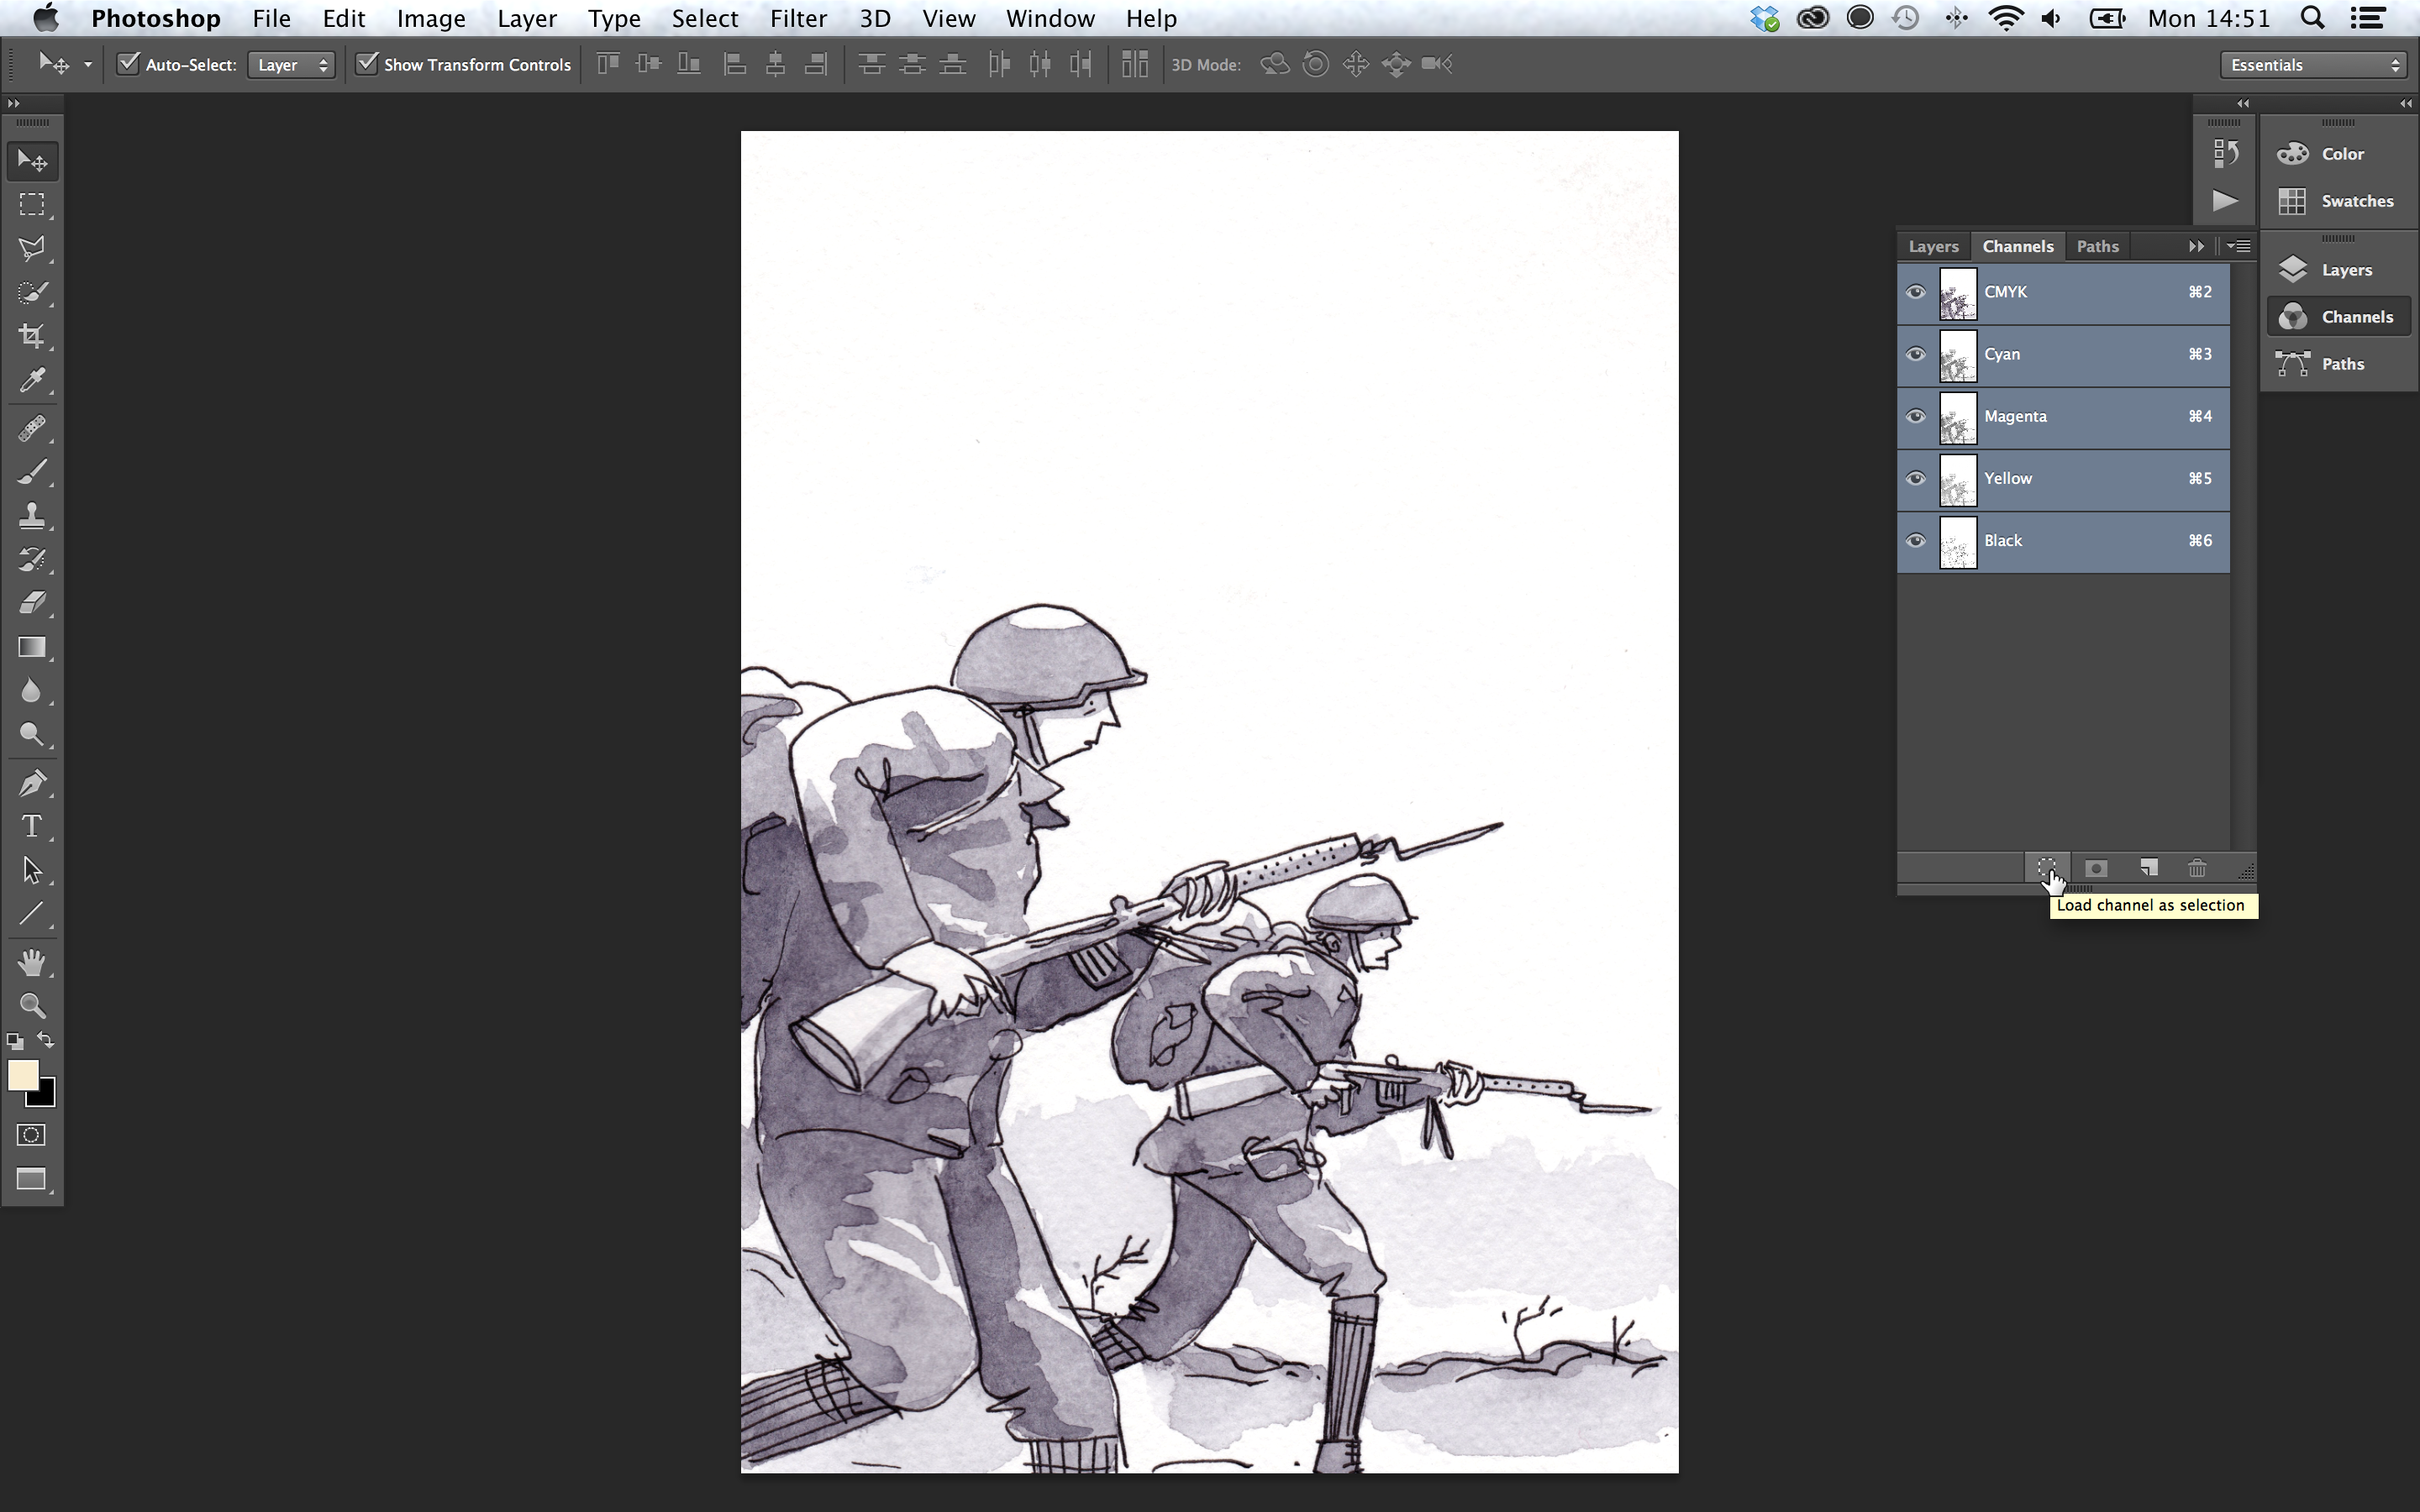 |
| 4 | What that does is loads as a selection all the white pixels, which is kind of what we wanted, but not quite. | 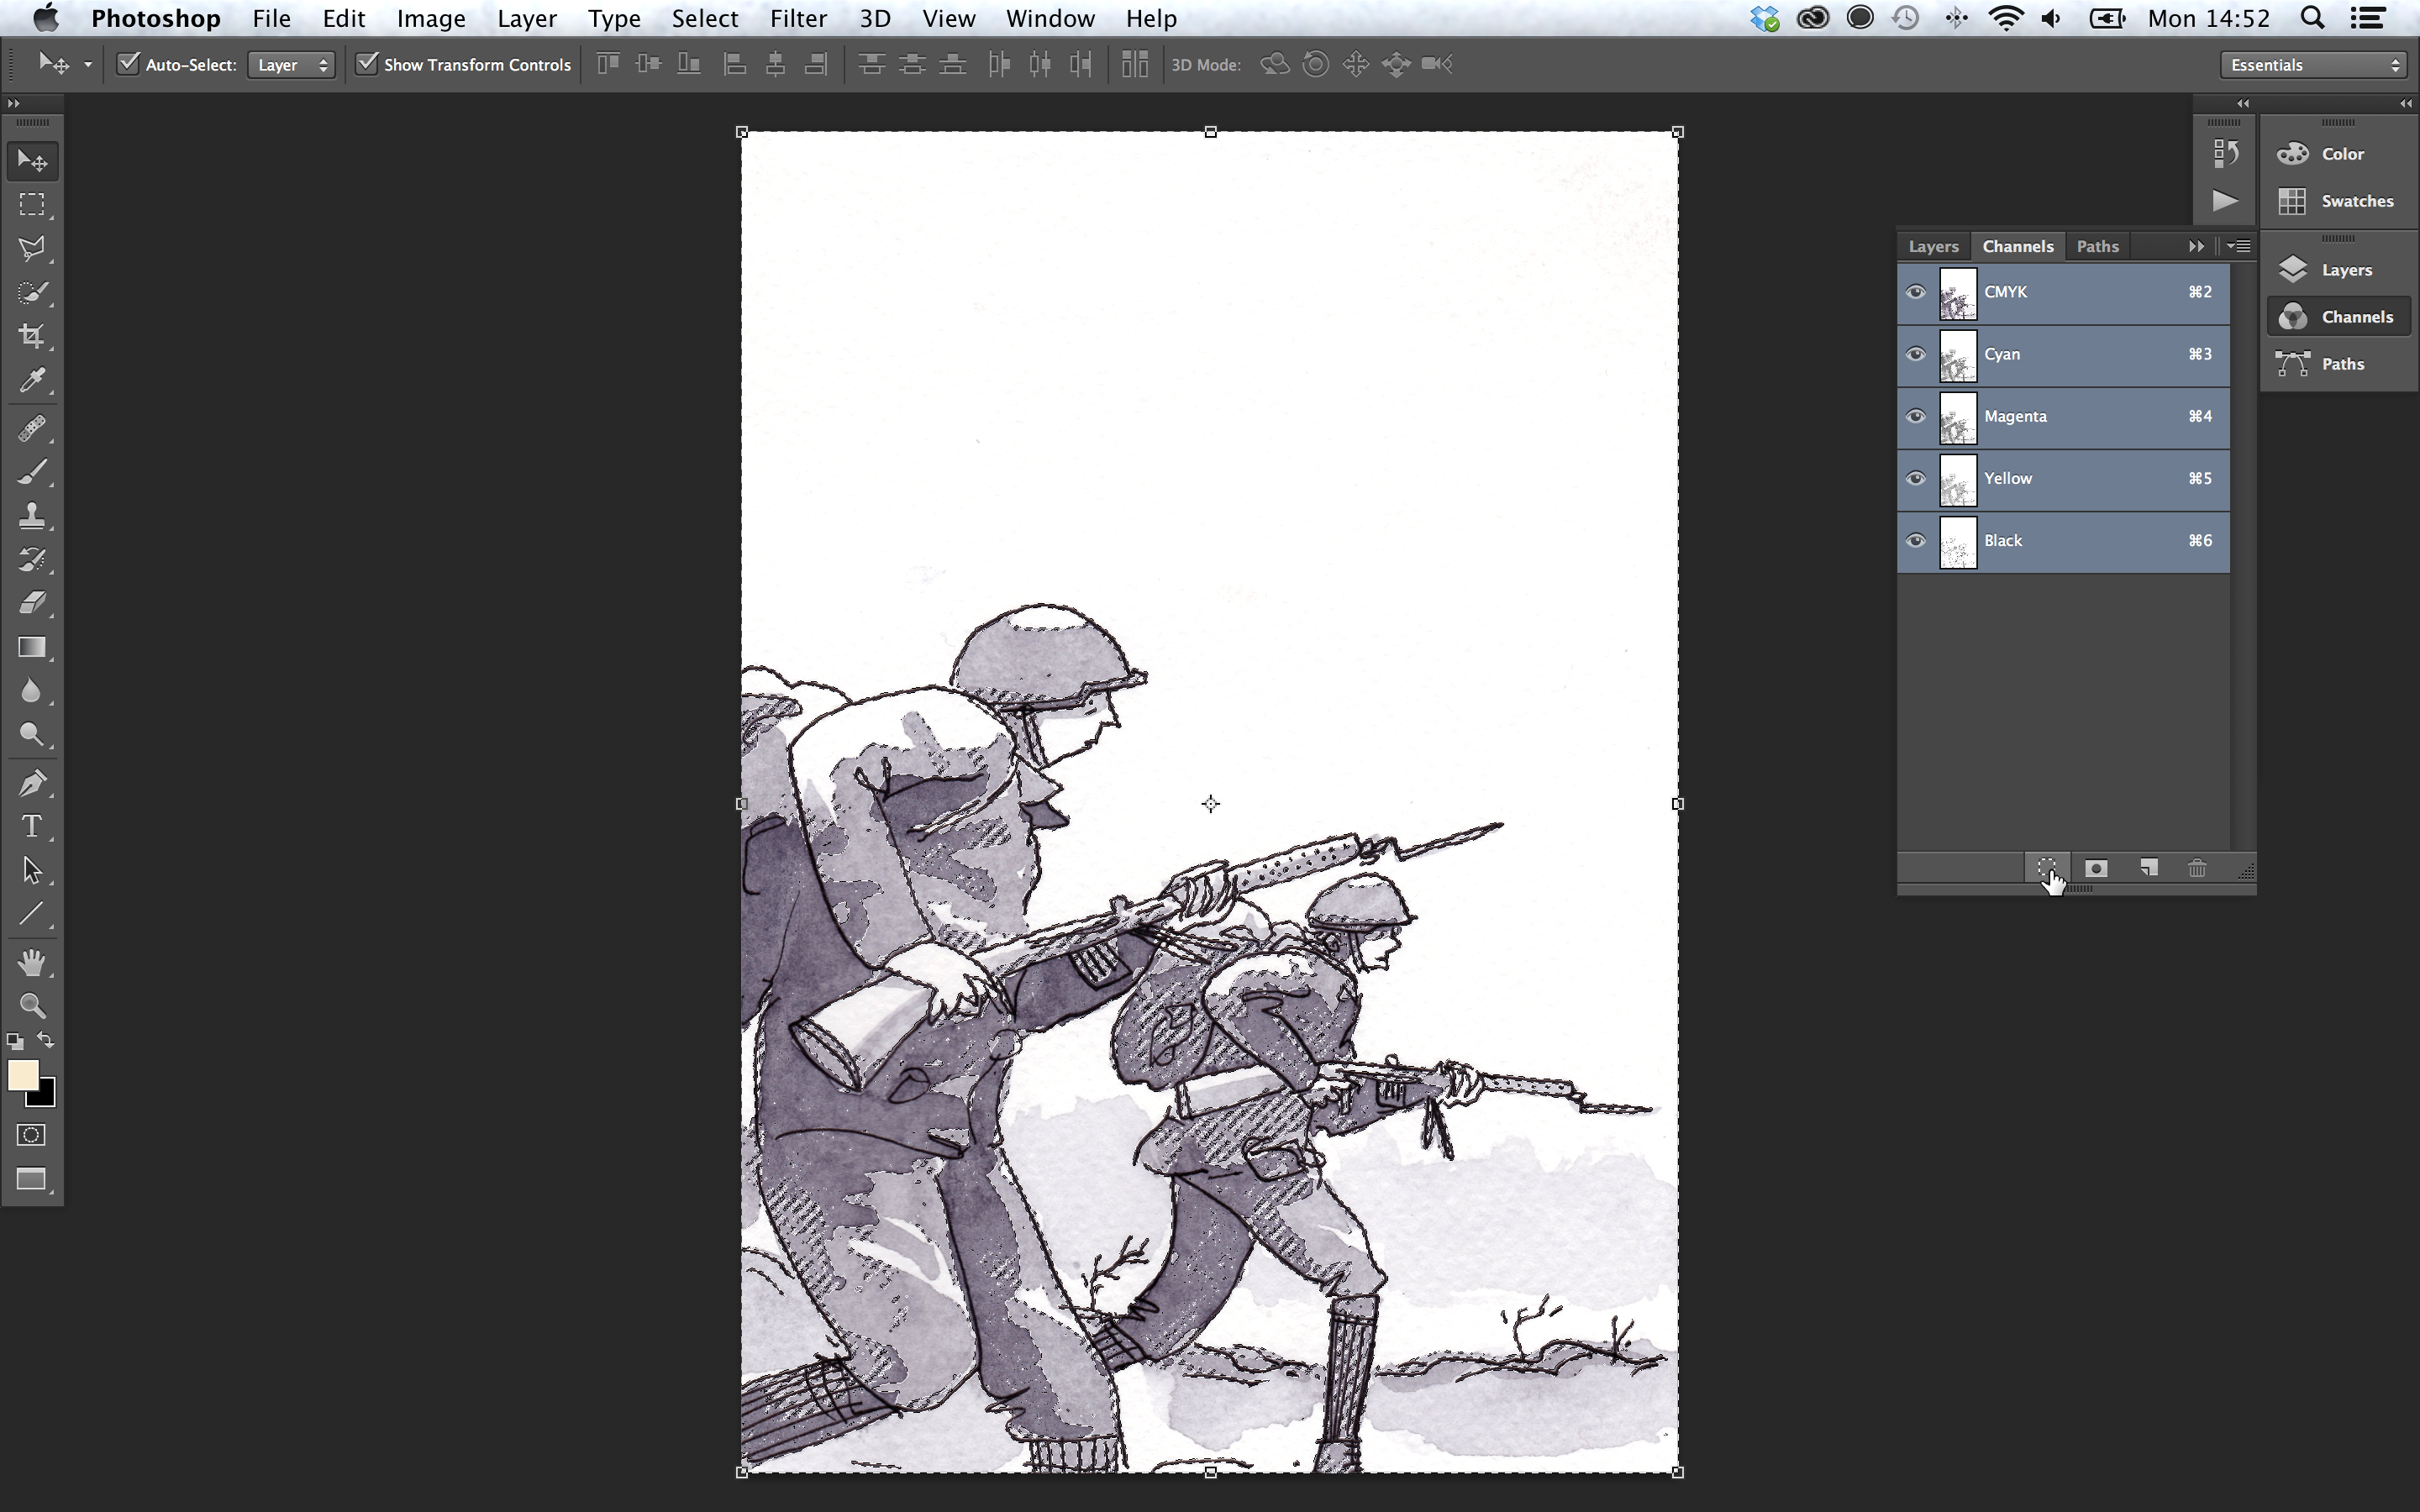 |
| 5 | If you go to select -> inverse, what it will do is instead of selecting all of the white pixels, it will select the opposite; the black pixels. | 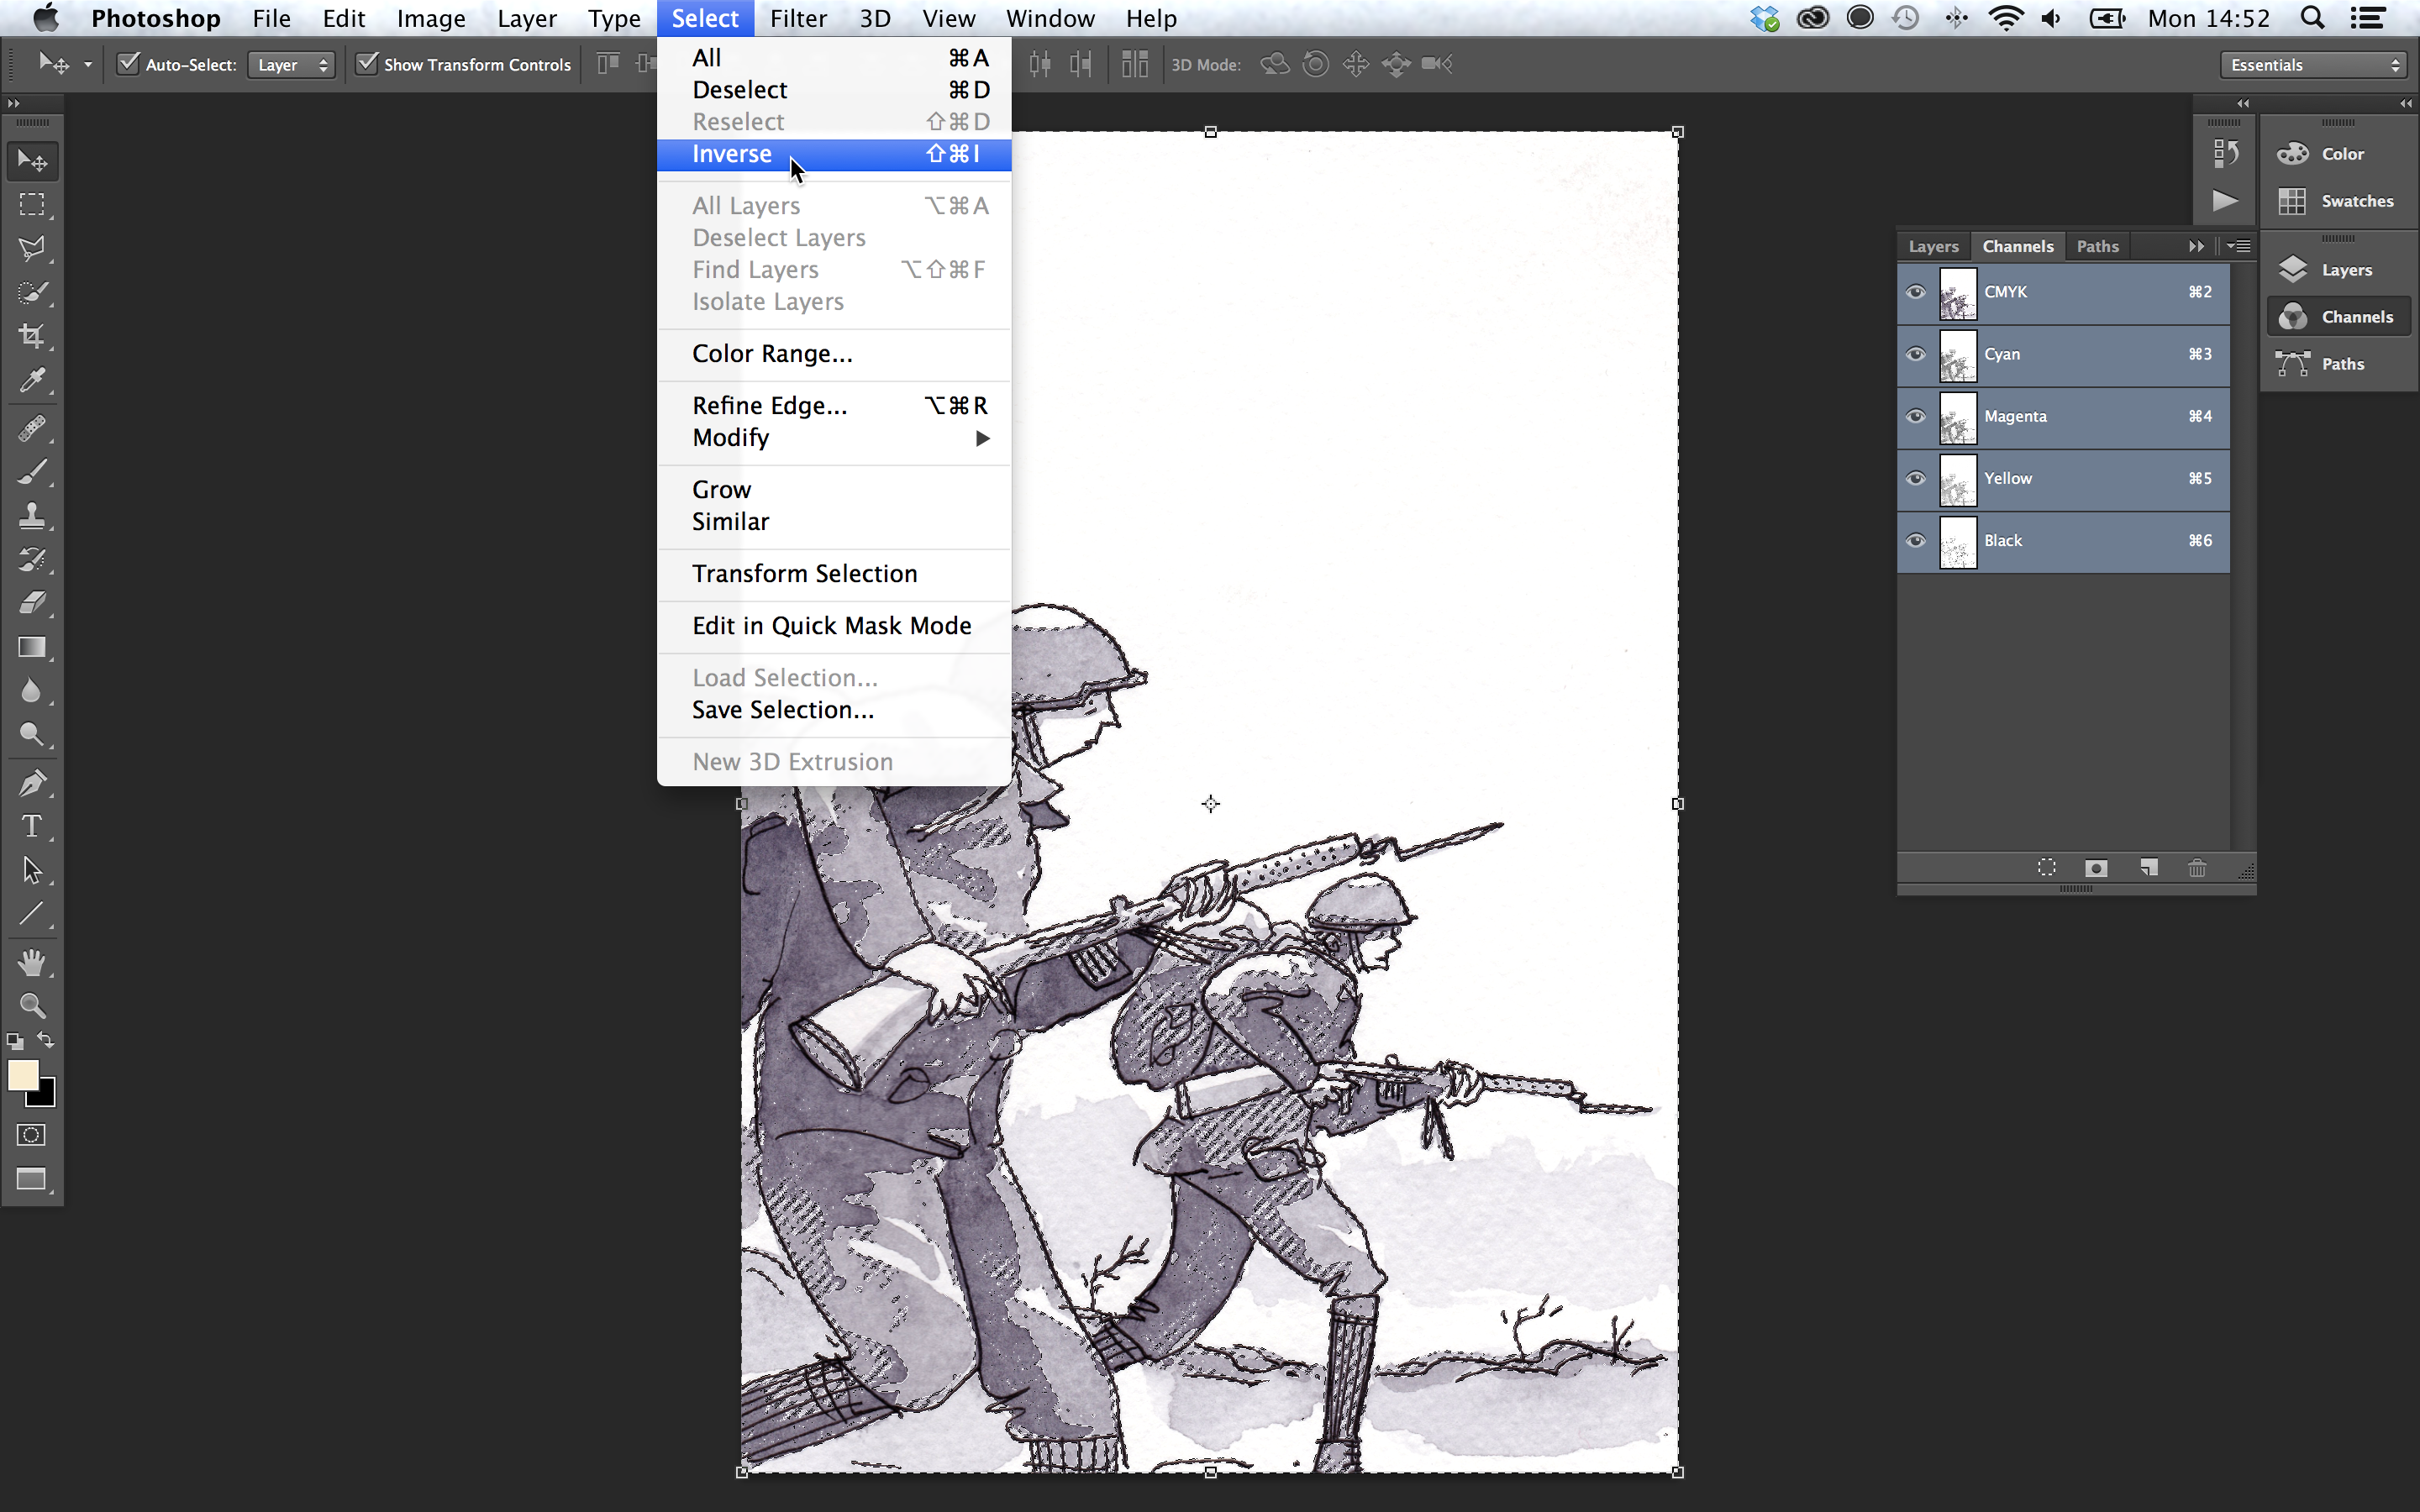 |
| 6 | Now make a new layer and name it lines or something. | 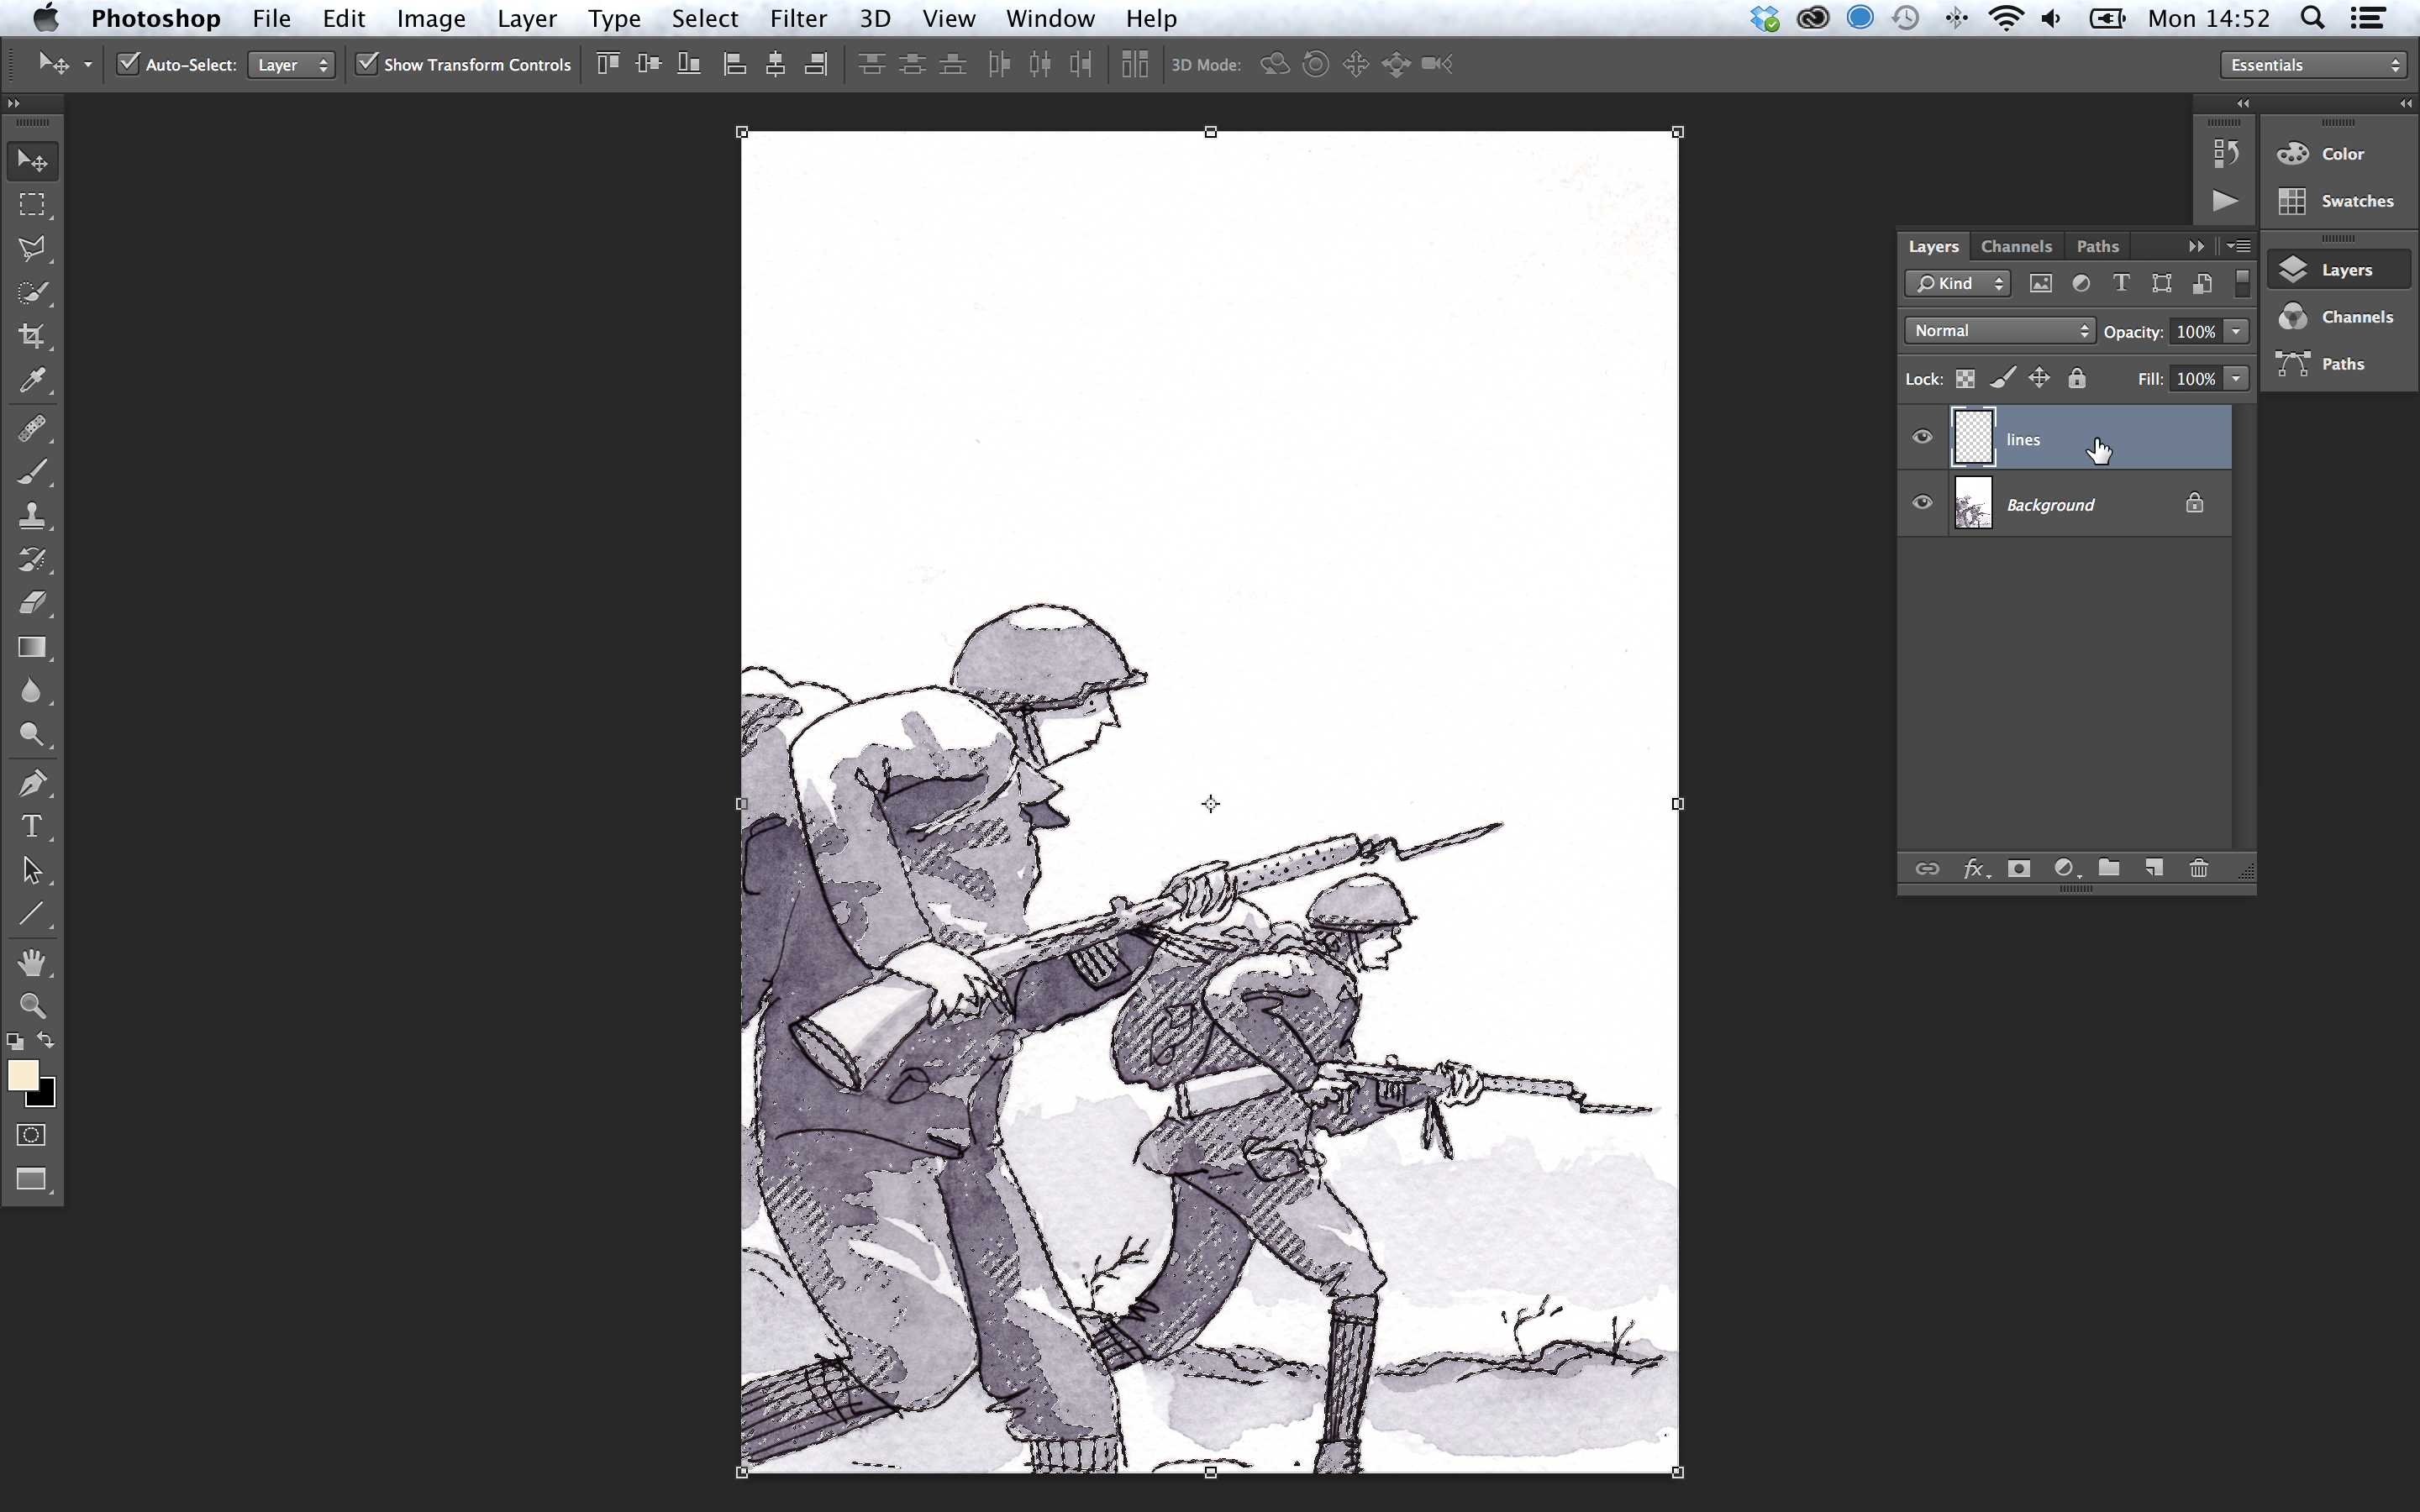 |
| 7 | I have hidden the original layer so you can better see what is going on with the selection. Make sure that the new layer is selected, then go to edit -> fill and fill that selection with black. | 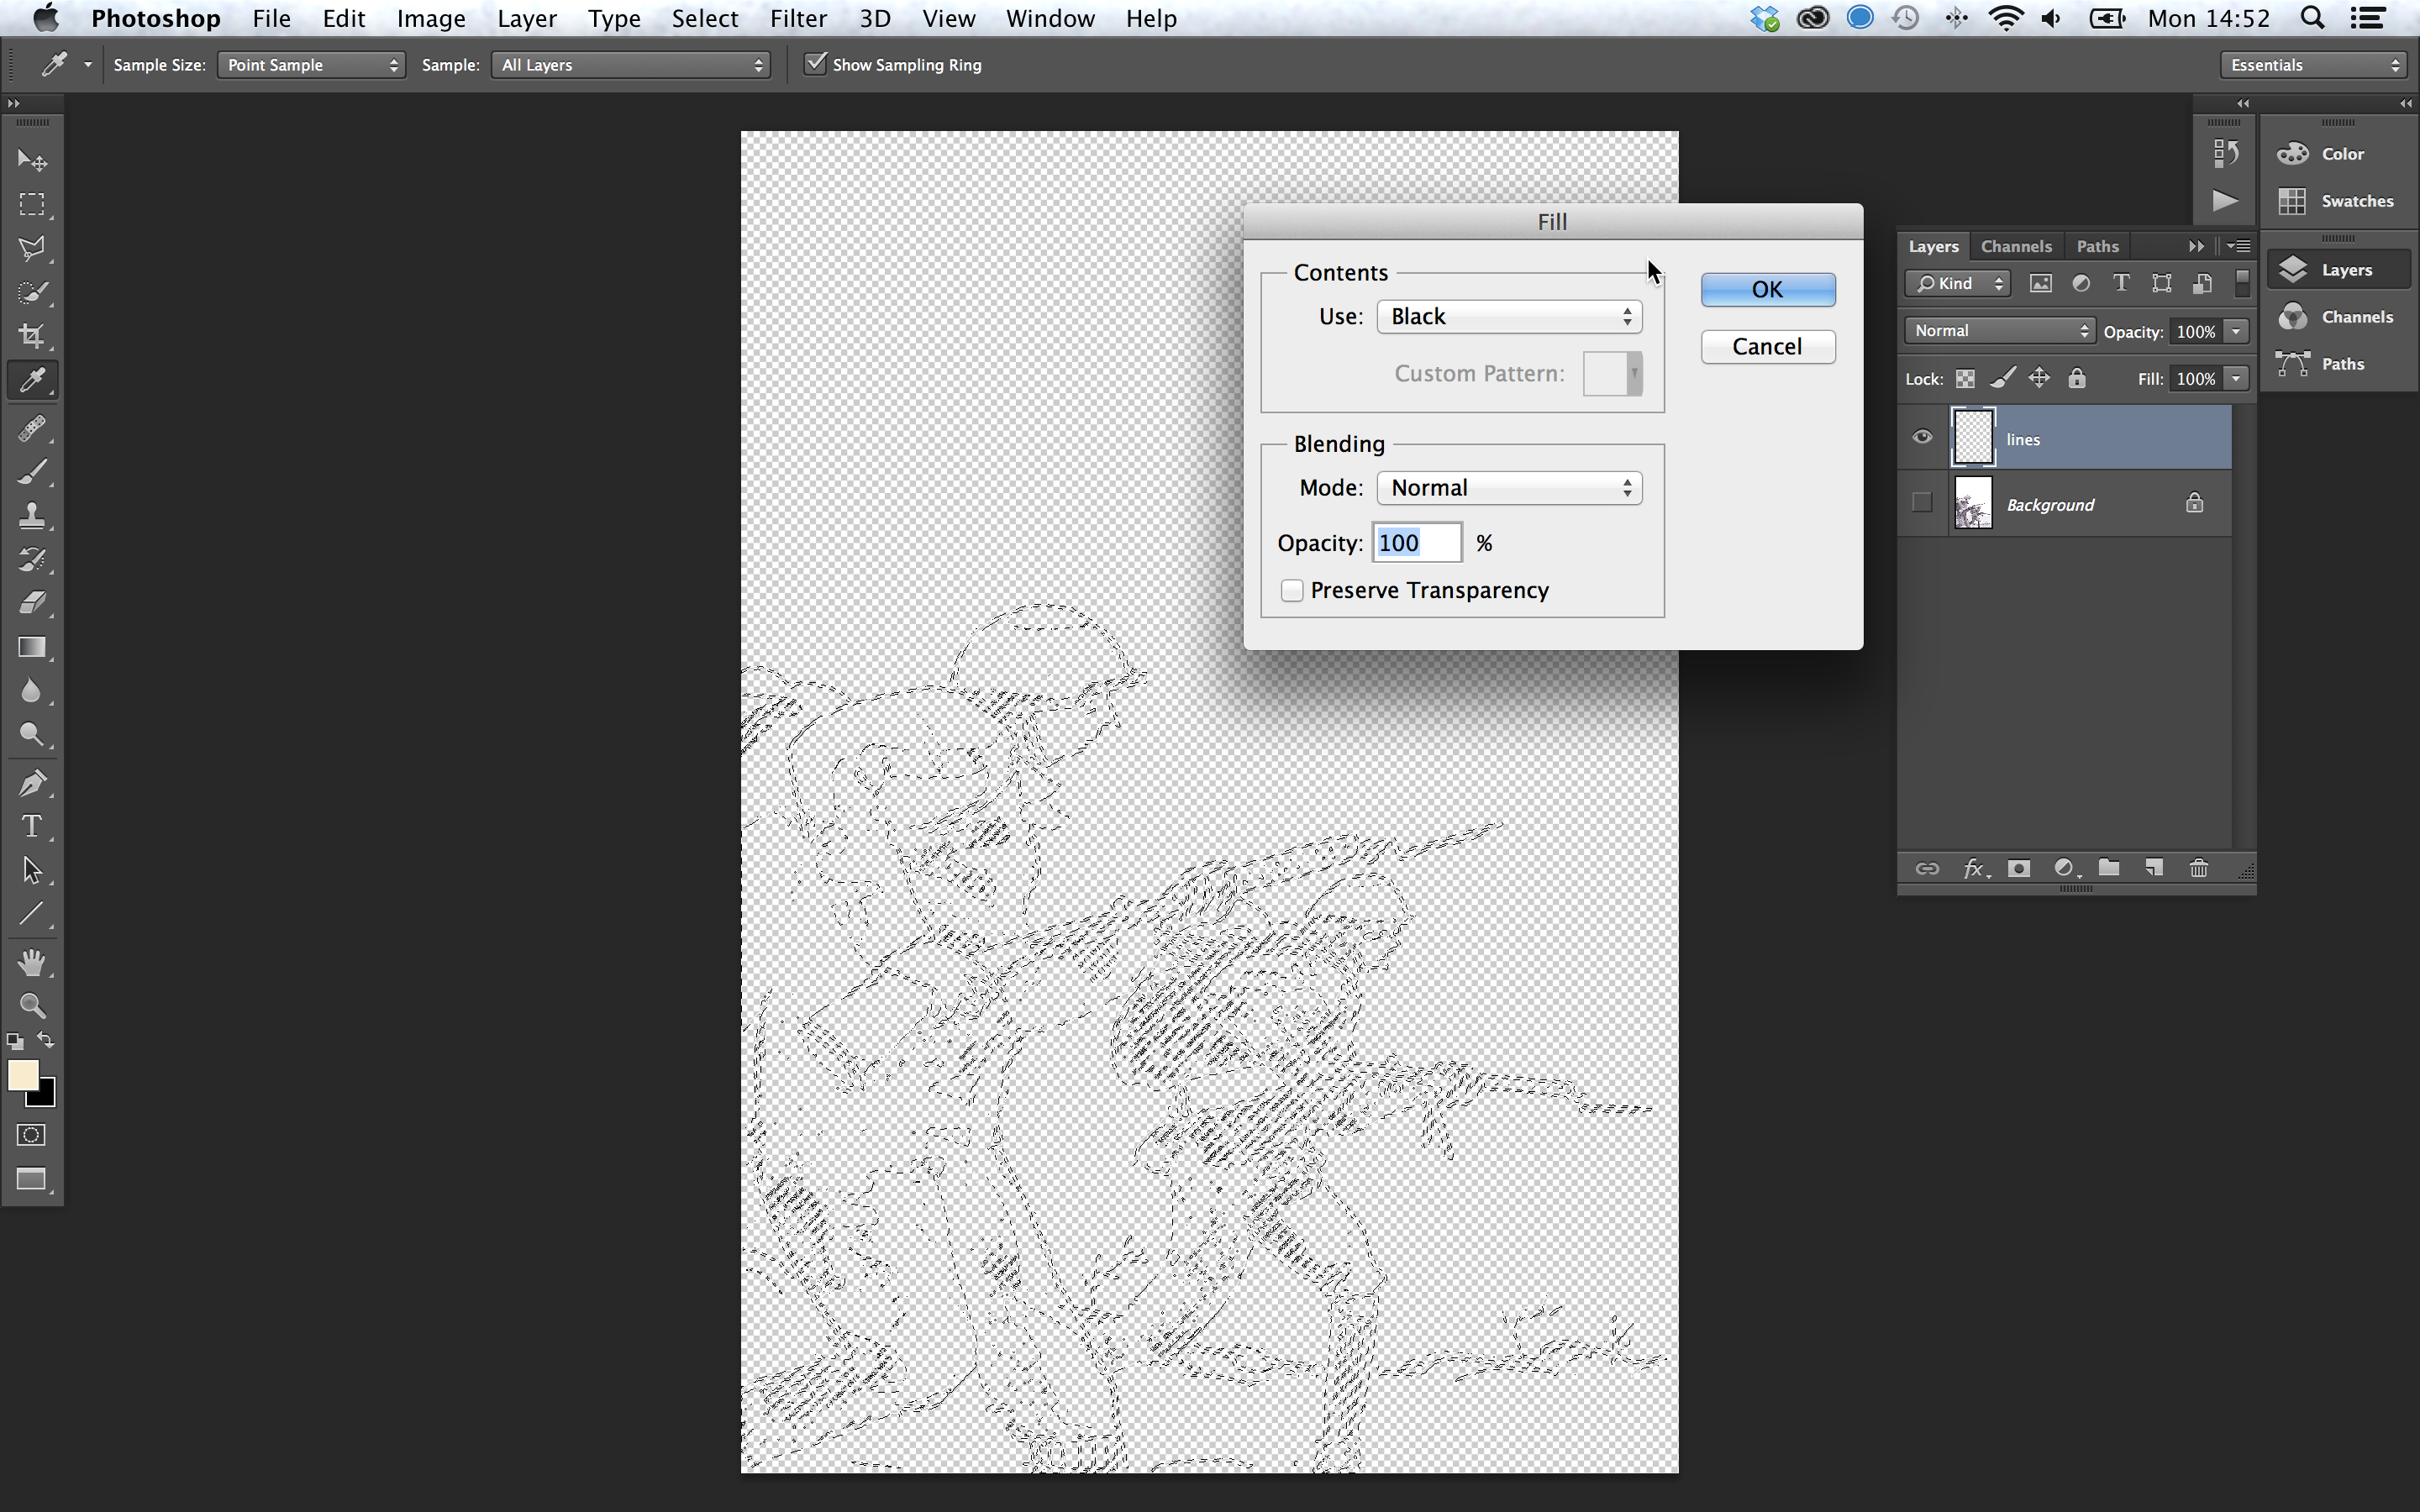 |
| 8 | And voila! You now have your linework on a layer by itself, with no white pixels in the background. | 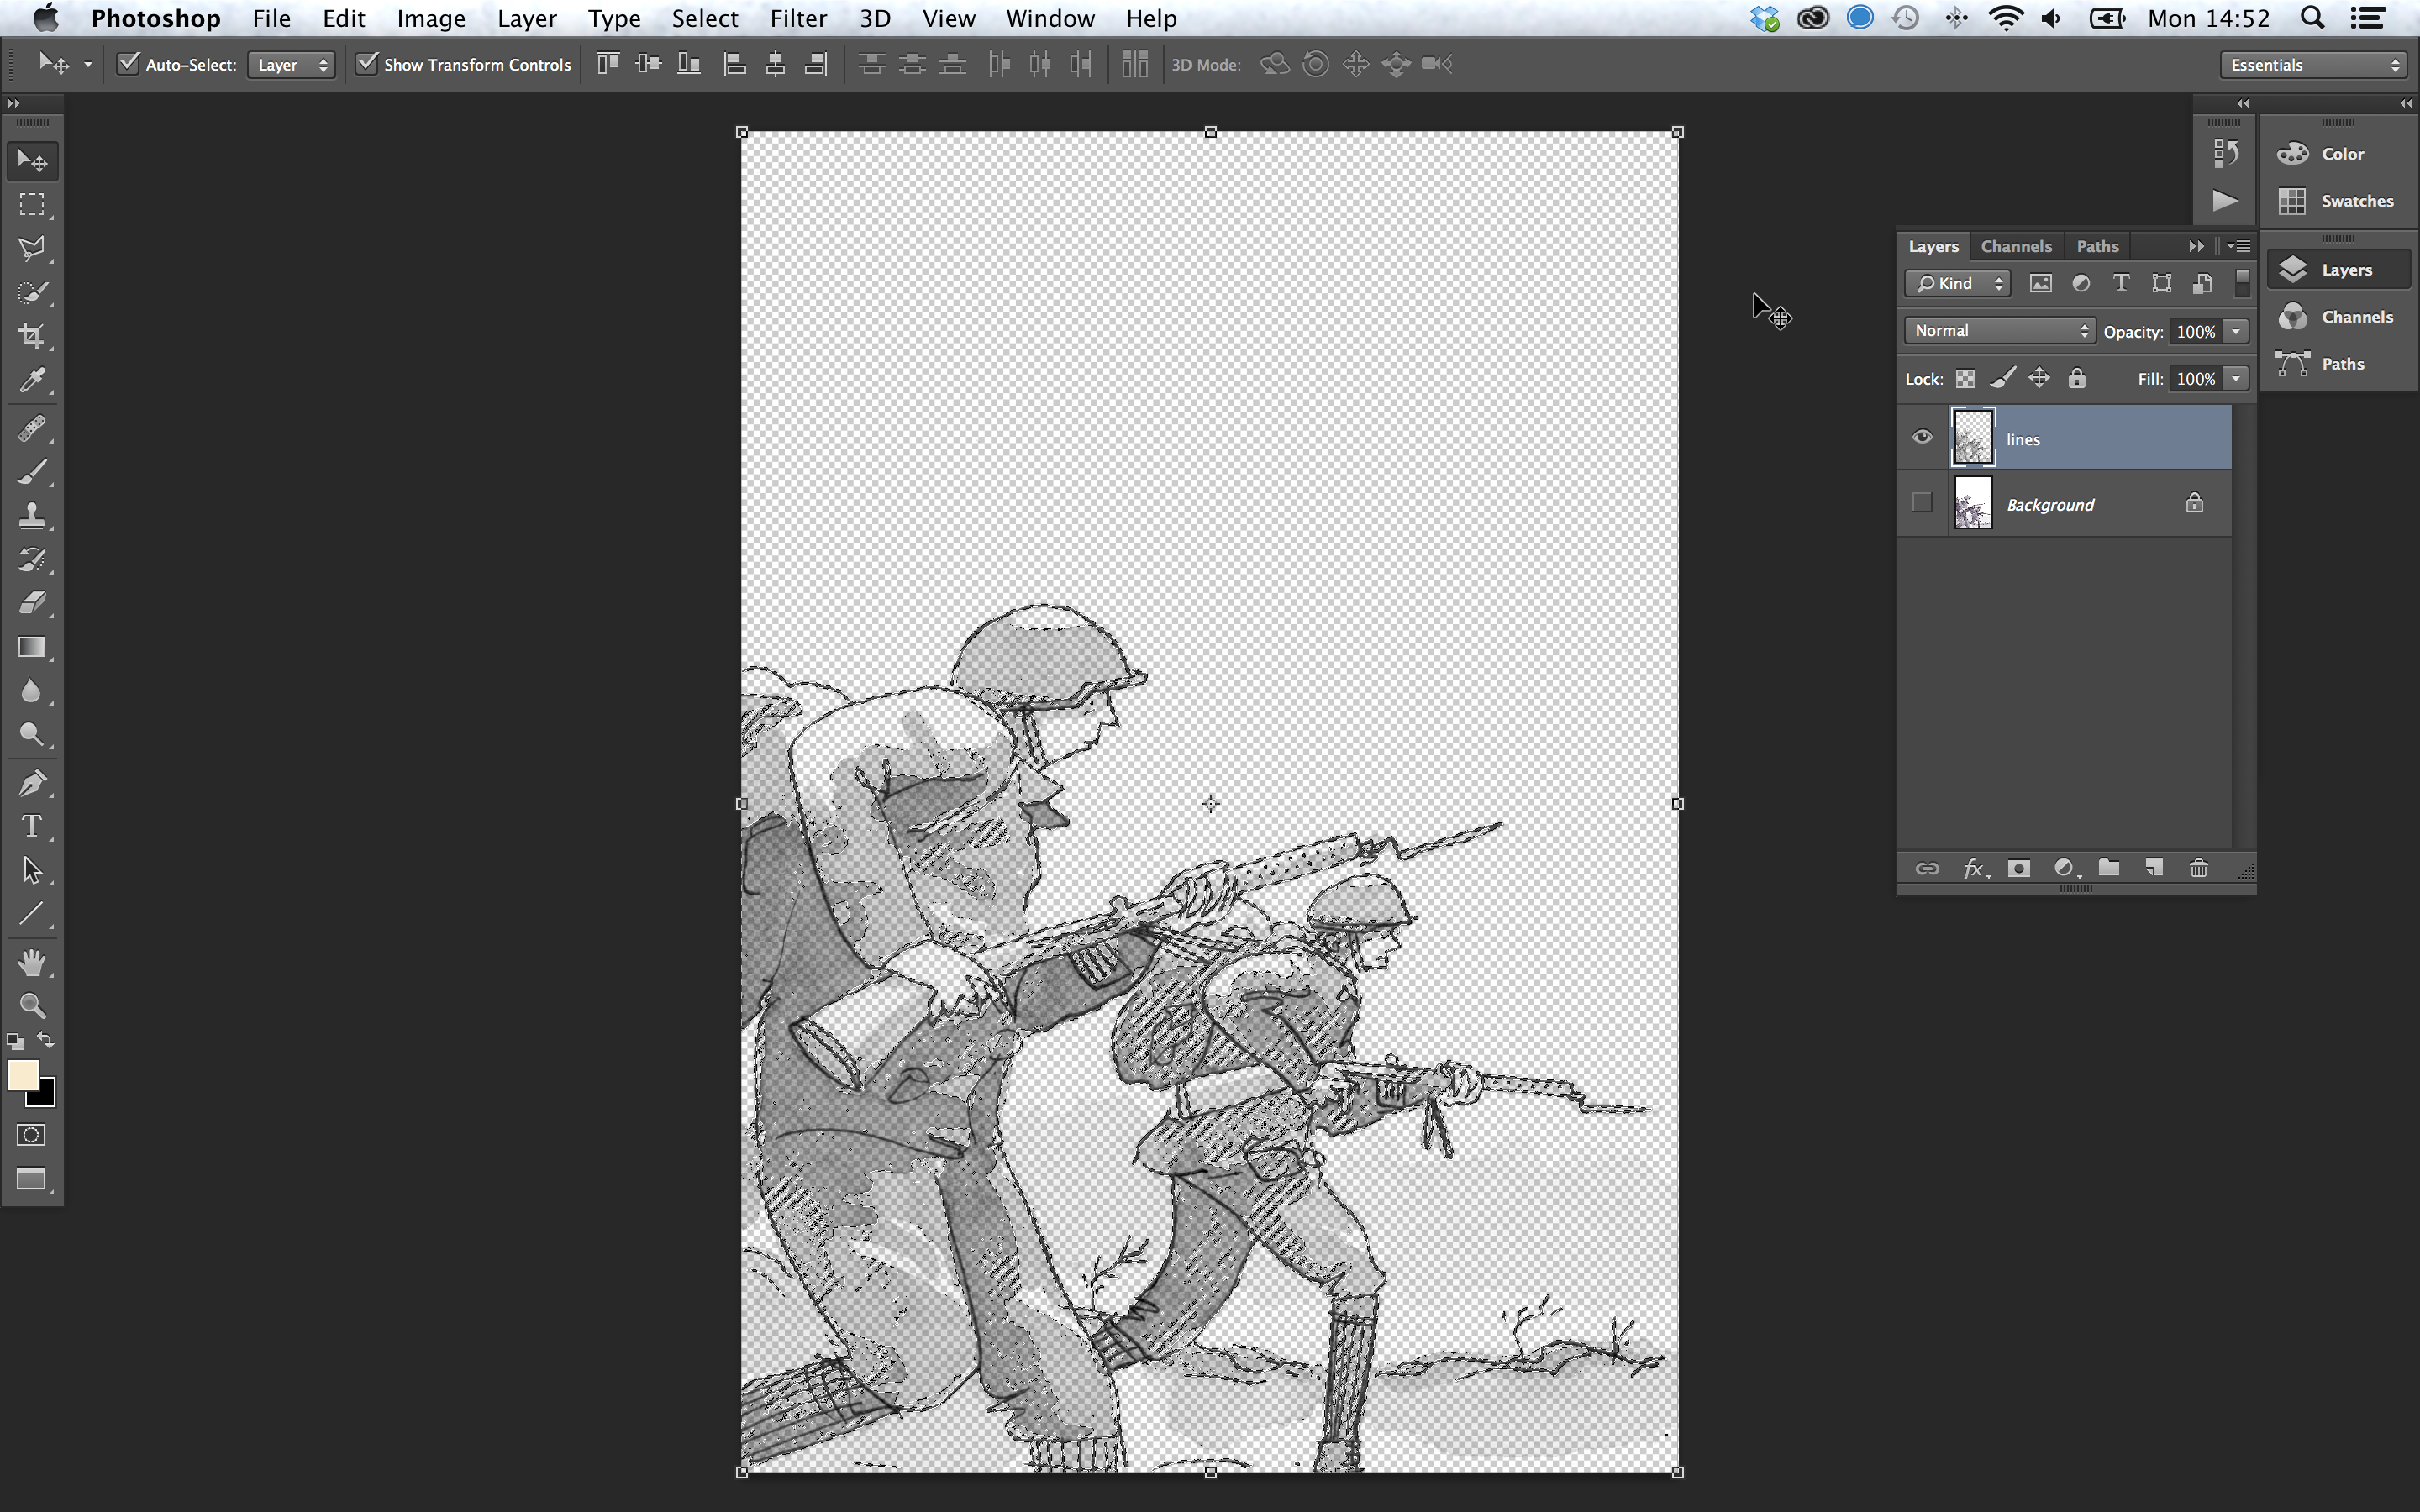 |
| 9 | Go to select -> deselect to have a proper look at it. If the linework still seems a little too transparent, duplicate that layer and merge those layers together which should bolster it up a bit. | 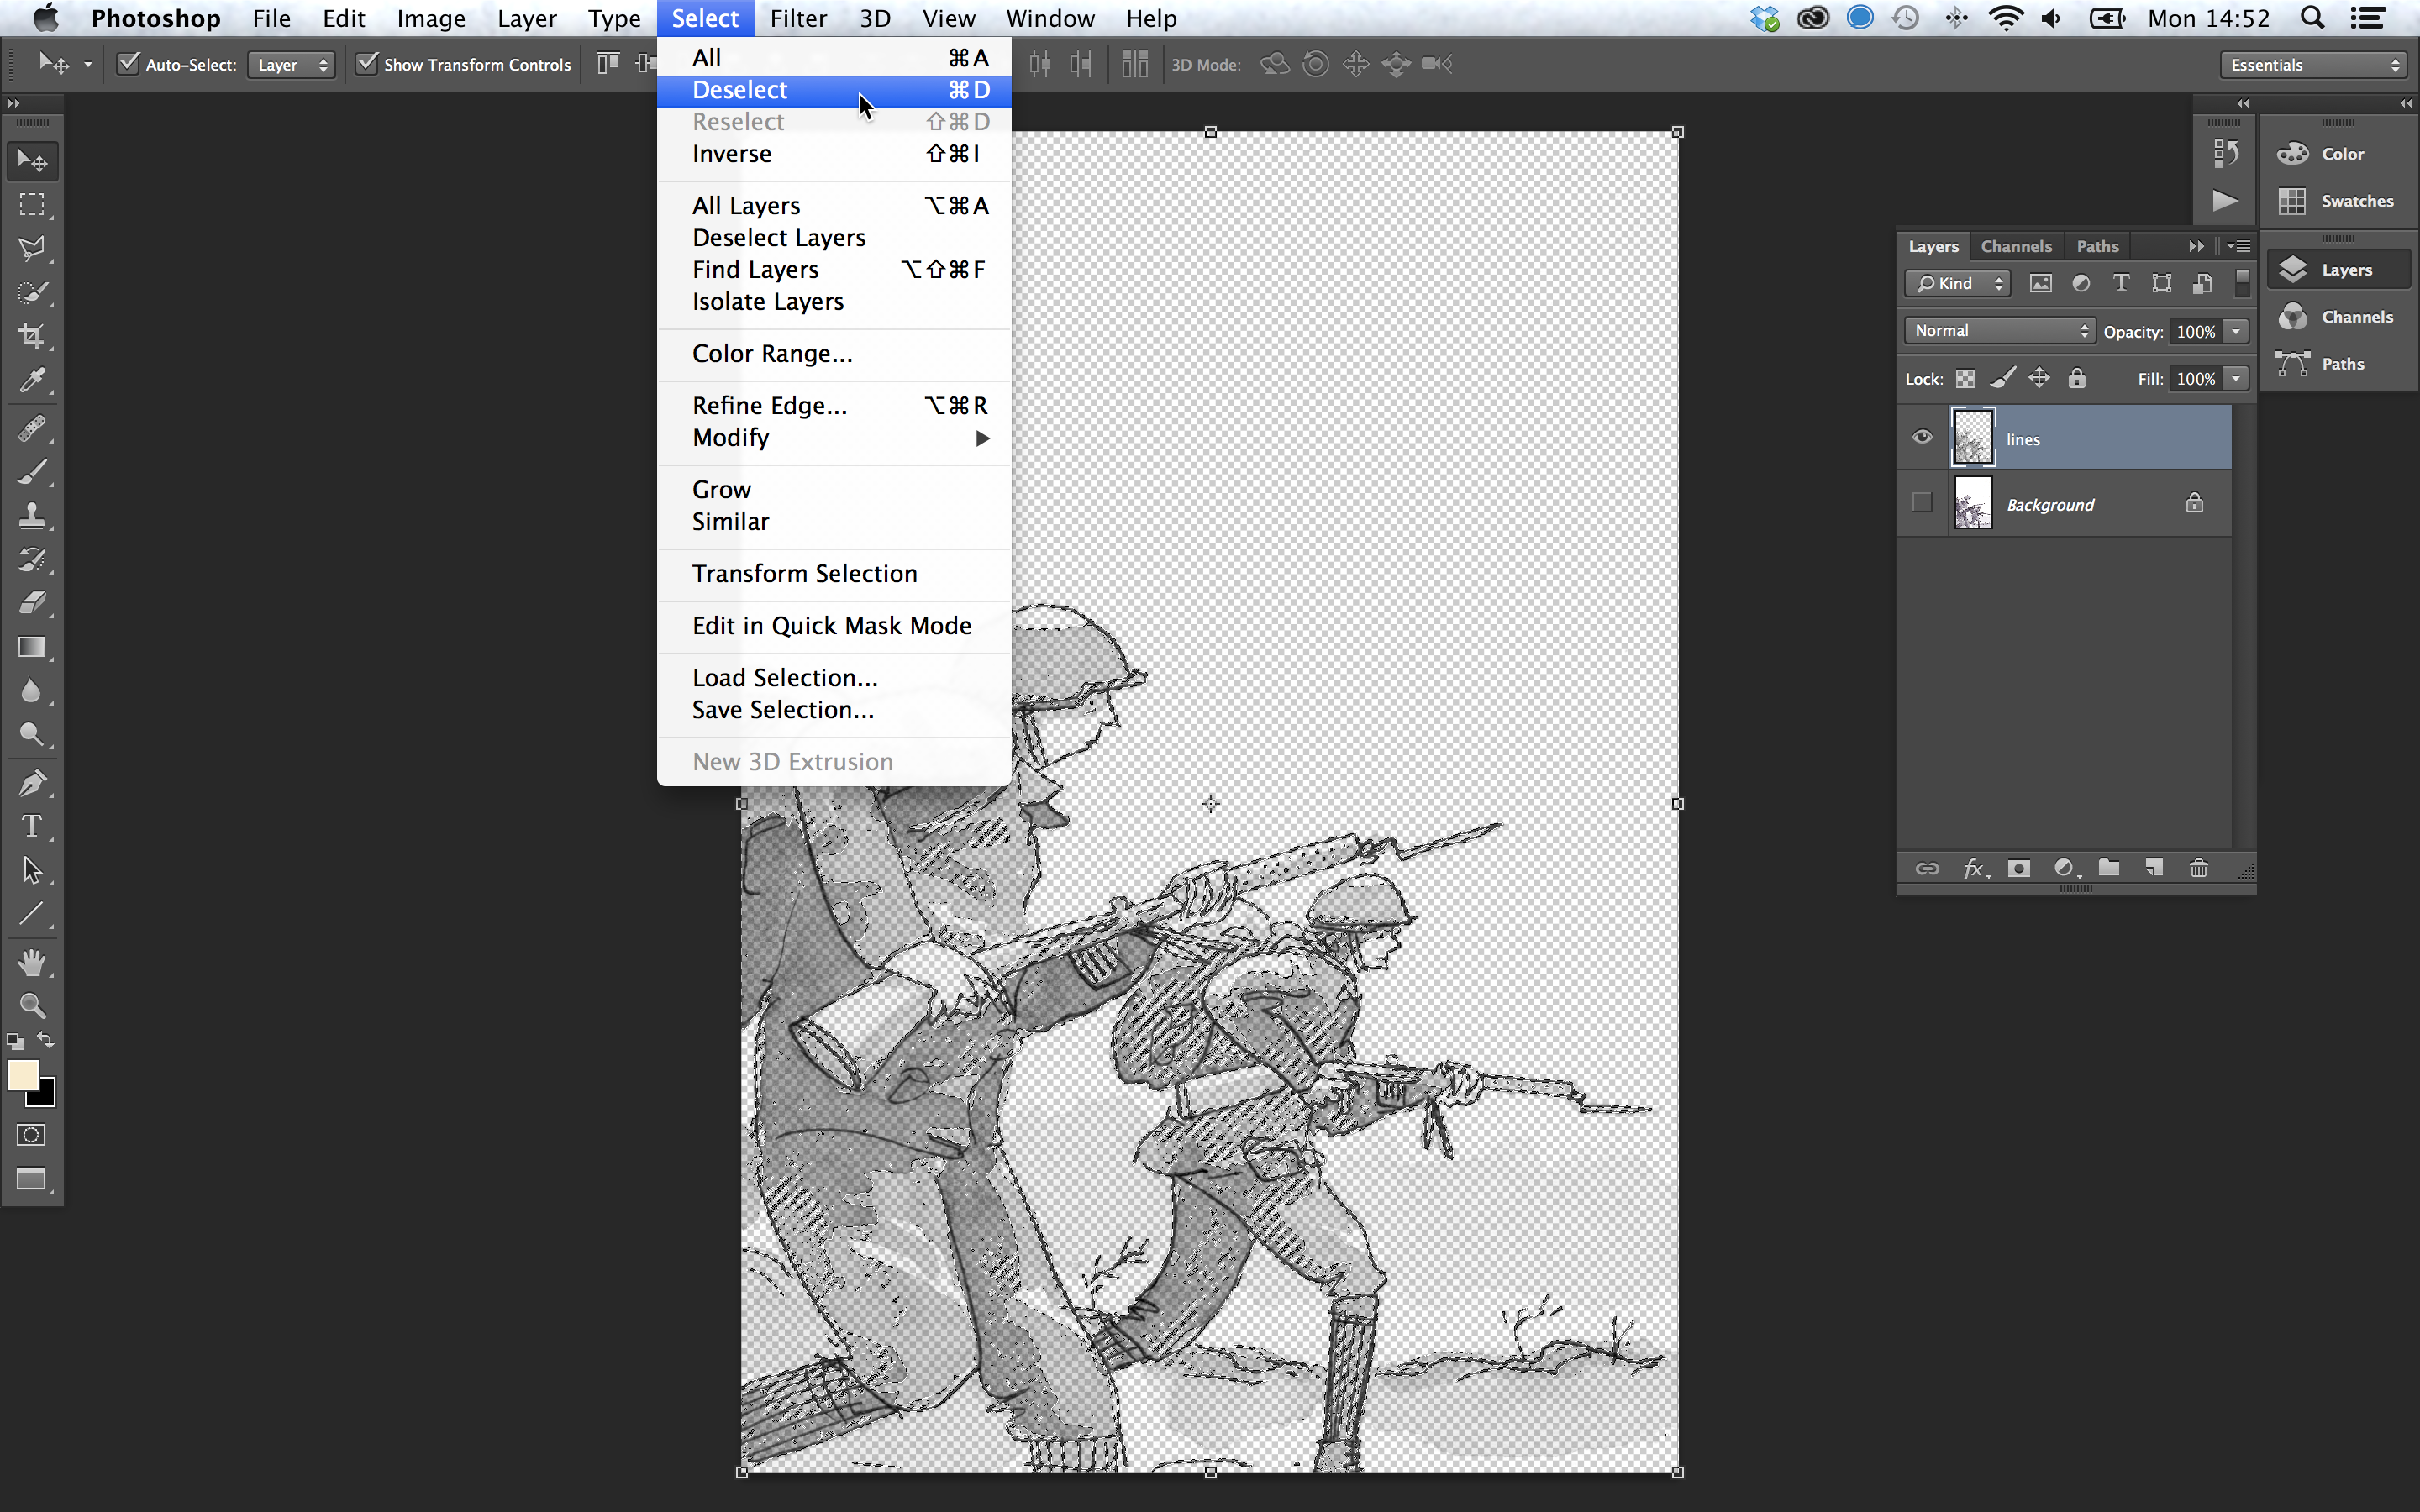 |
| 10 | Now that is all fair and well, but there is one last thing to do to make this really useful. In your layers tab, towards the top next to the word lock, click the first button that reads lock transparent pixels if you hover over it. It does what it says, it locks the transparent pixels. |  |
| 11 | Locking the transparent pixels means that you cannot change them, but you can change the pixels that are transparent. You can use a brush on that layer, apply a gradient or a fill and it will not change those transparent pixels, just the linework, leaving you to use the brush tool, apply a gradient or fill without having to worry about anything else. Neat eh? The best bit is that much of this can be recorded inside an action to easily apply again and again without having to go back over each step every time. | 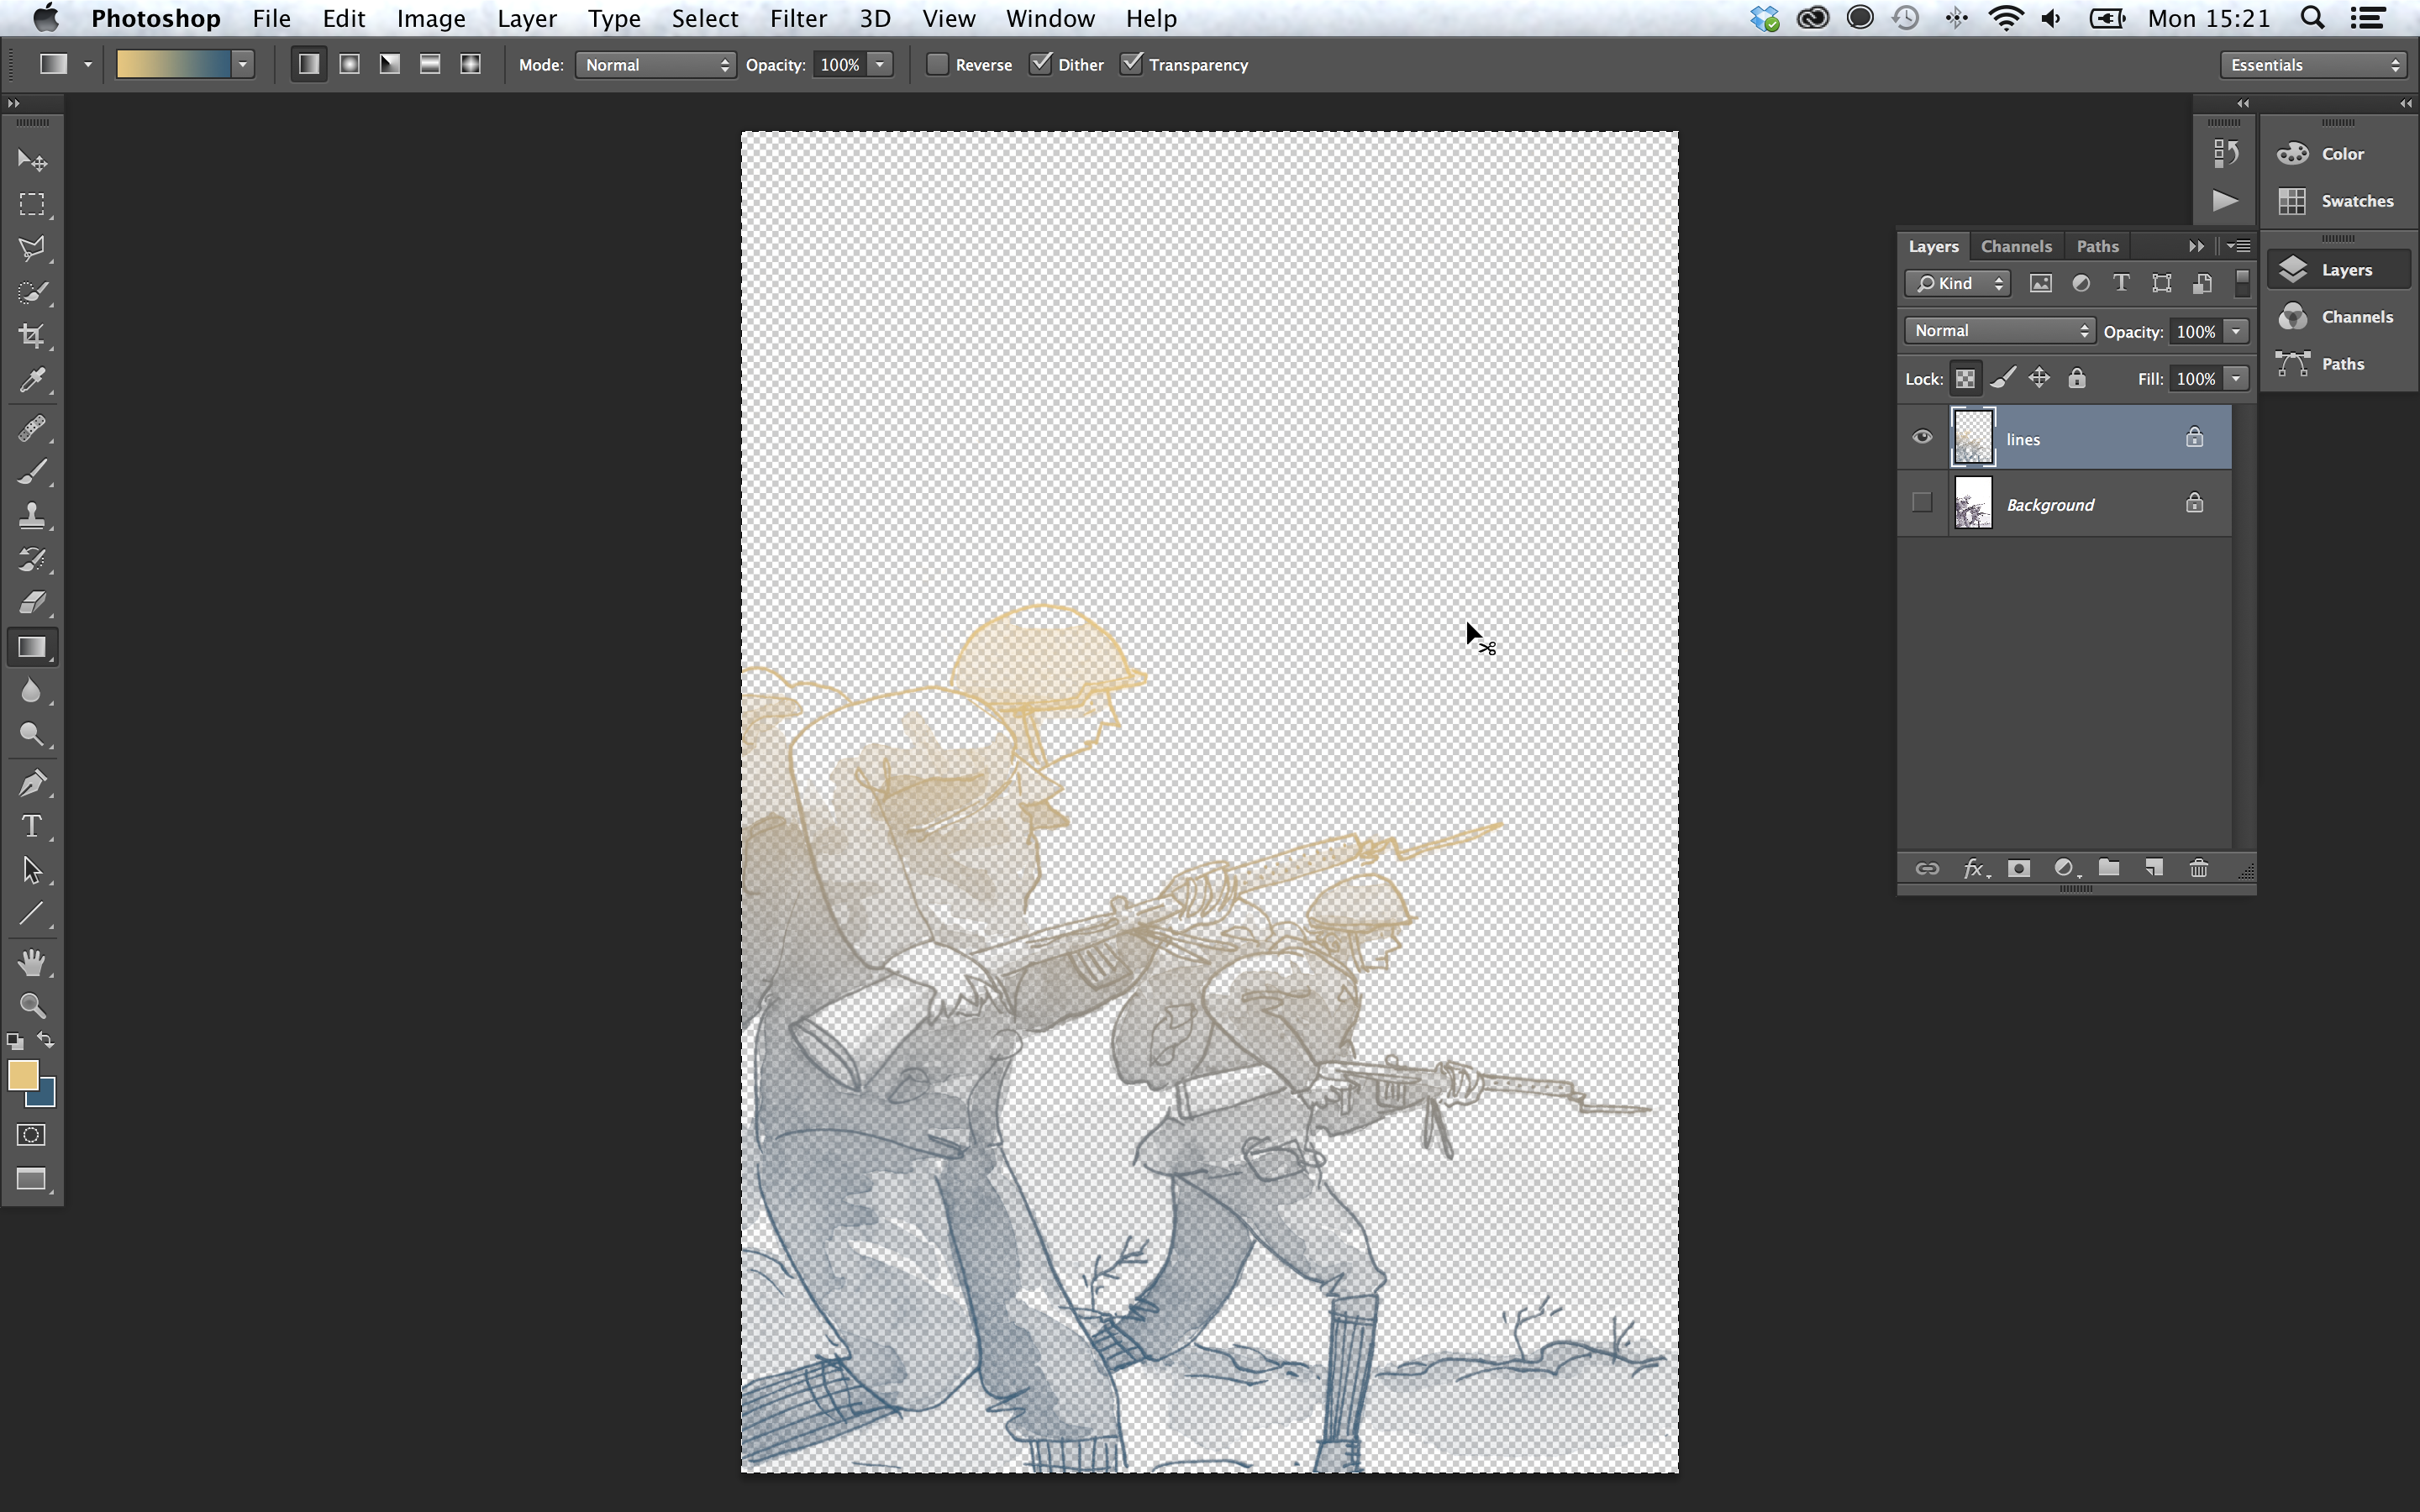 |


