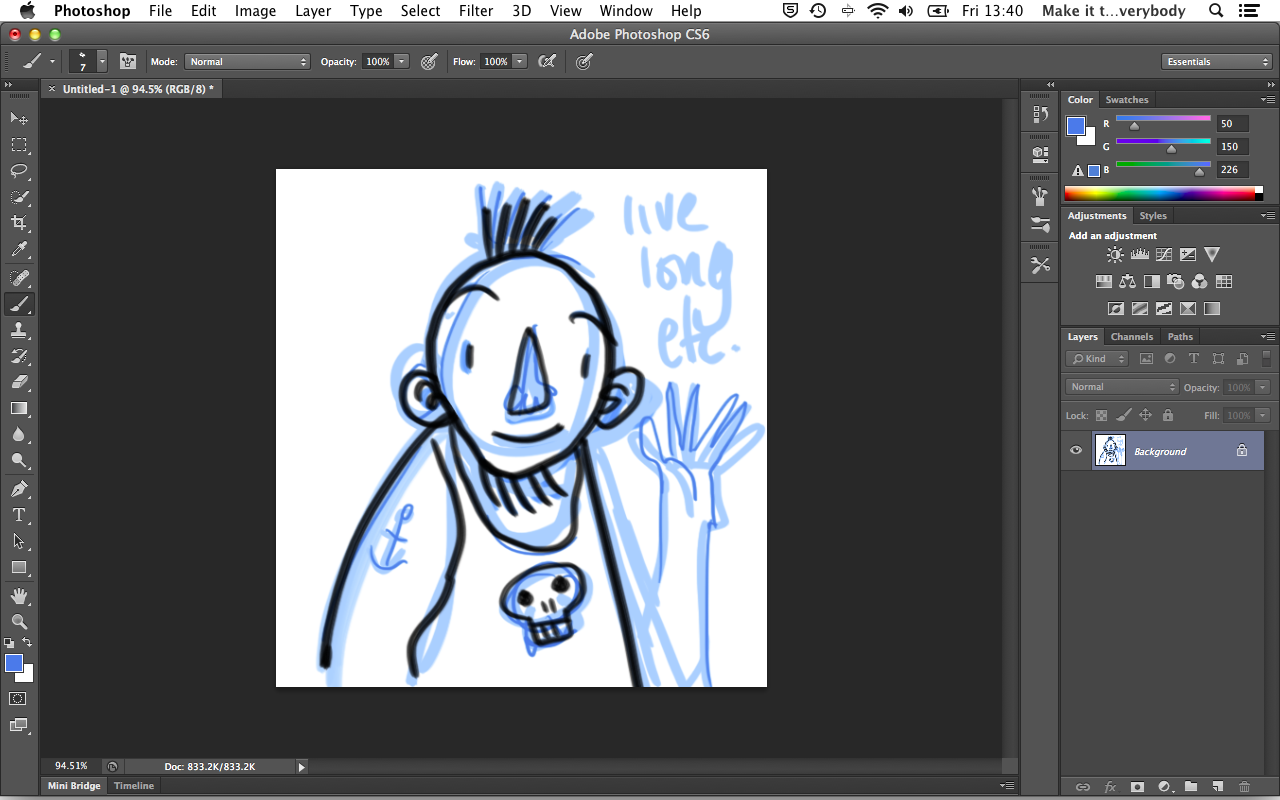
Remove blue lines from black inked artwork

This is not a technique I use very often at all, but it can be handy to know. A lot of people use a blue pencil to rough out their work and then ink on top. I have  seen people plan out all their lettering with a computer, print it out in blue and then ink on top of the lettering to make sure that the consistency is mechanical, but the letterforms are very human. Here is an easy way to remove these blue lines, leaving only the black.

1So here is your image. You roughed it out in blue and inked on top then scanned it in.
2The aim here is to remove the blue lines. Go to Image -> Adjustments -> Channel Mixer.
3Choose Black & White with blue filter from the preset dropdown and see what that does to the blue lines. It has removed most of the blue, but where the blue was darker it still shows as a pale grey. You can still see his anchor tattoo.
4Adjust the blue slider up until the pale greys disappear. Once you are happy, click OK.
5Now maybe, just maybe your blacks have become a bit washed out too. Go to Image -> Adjustments -> Levels and correct this. Levels are great but they are a bit of a blunt instrument. What they essentially allow you to do is reset where perfect black and perfect white are in an image. See that lumpy graph? That is a bar graph of where all the black, grey and white pixels are, perfect black being at the far left and perfect white being at the far right. It corresponds to the gradient scale below it. You can see from the lump on the graph that most of the pixels in this image are a dark grey. Grab the slider on the left and move it towards the lump. You should notice if you have the preview checkbox ticked that the black lines get blacker. You can do the same for whites and greys too. And thats that. Enjoy!

Leave a Reply

This site uses Akismet to reduce spam. Learn how your comment data is processed.