How To

Woodrow Phoenix on The Grid

I talk fairly regularly about how I use a grid to plan out my comics. The grid I use is based on one that the wonderful Woodrow Phoenix distributed when we were working on Nelson. I get asked about it quite often so I asked Woodrow to explain what it is all about. Take it away, Woodrow Phoenix!
If you draw comics regularly you will be familiar with the boredom of marking up page after blank page with the grid you have planned to use, measuring panel borders and margins to make sure everything is consistent. When you’re doing thirty or forty pages, that time really adds up.
One of the best things about working for US superhero comics publishers is that they give you paper with non-repro blue grid markings already printed on them so you don’t need to work that stuff out for yourself. Luxury! And that gave me an idea: I could do the same thing for myself. So I did.
mrphoenix A4gridmrphoenix USgrid
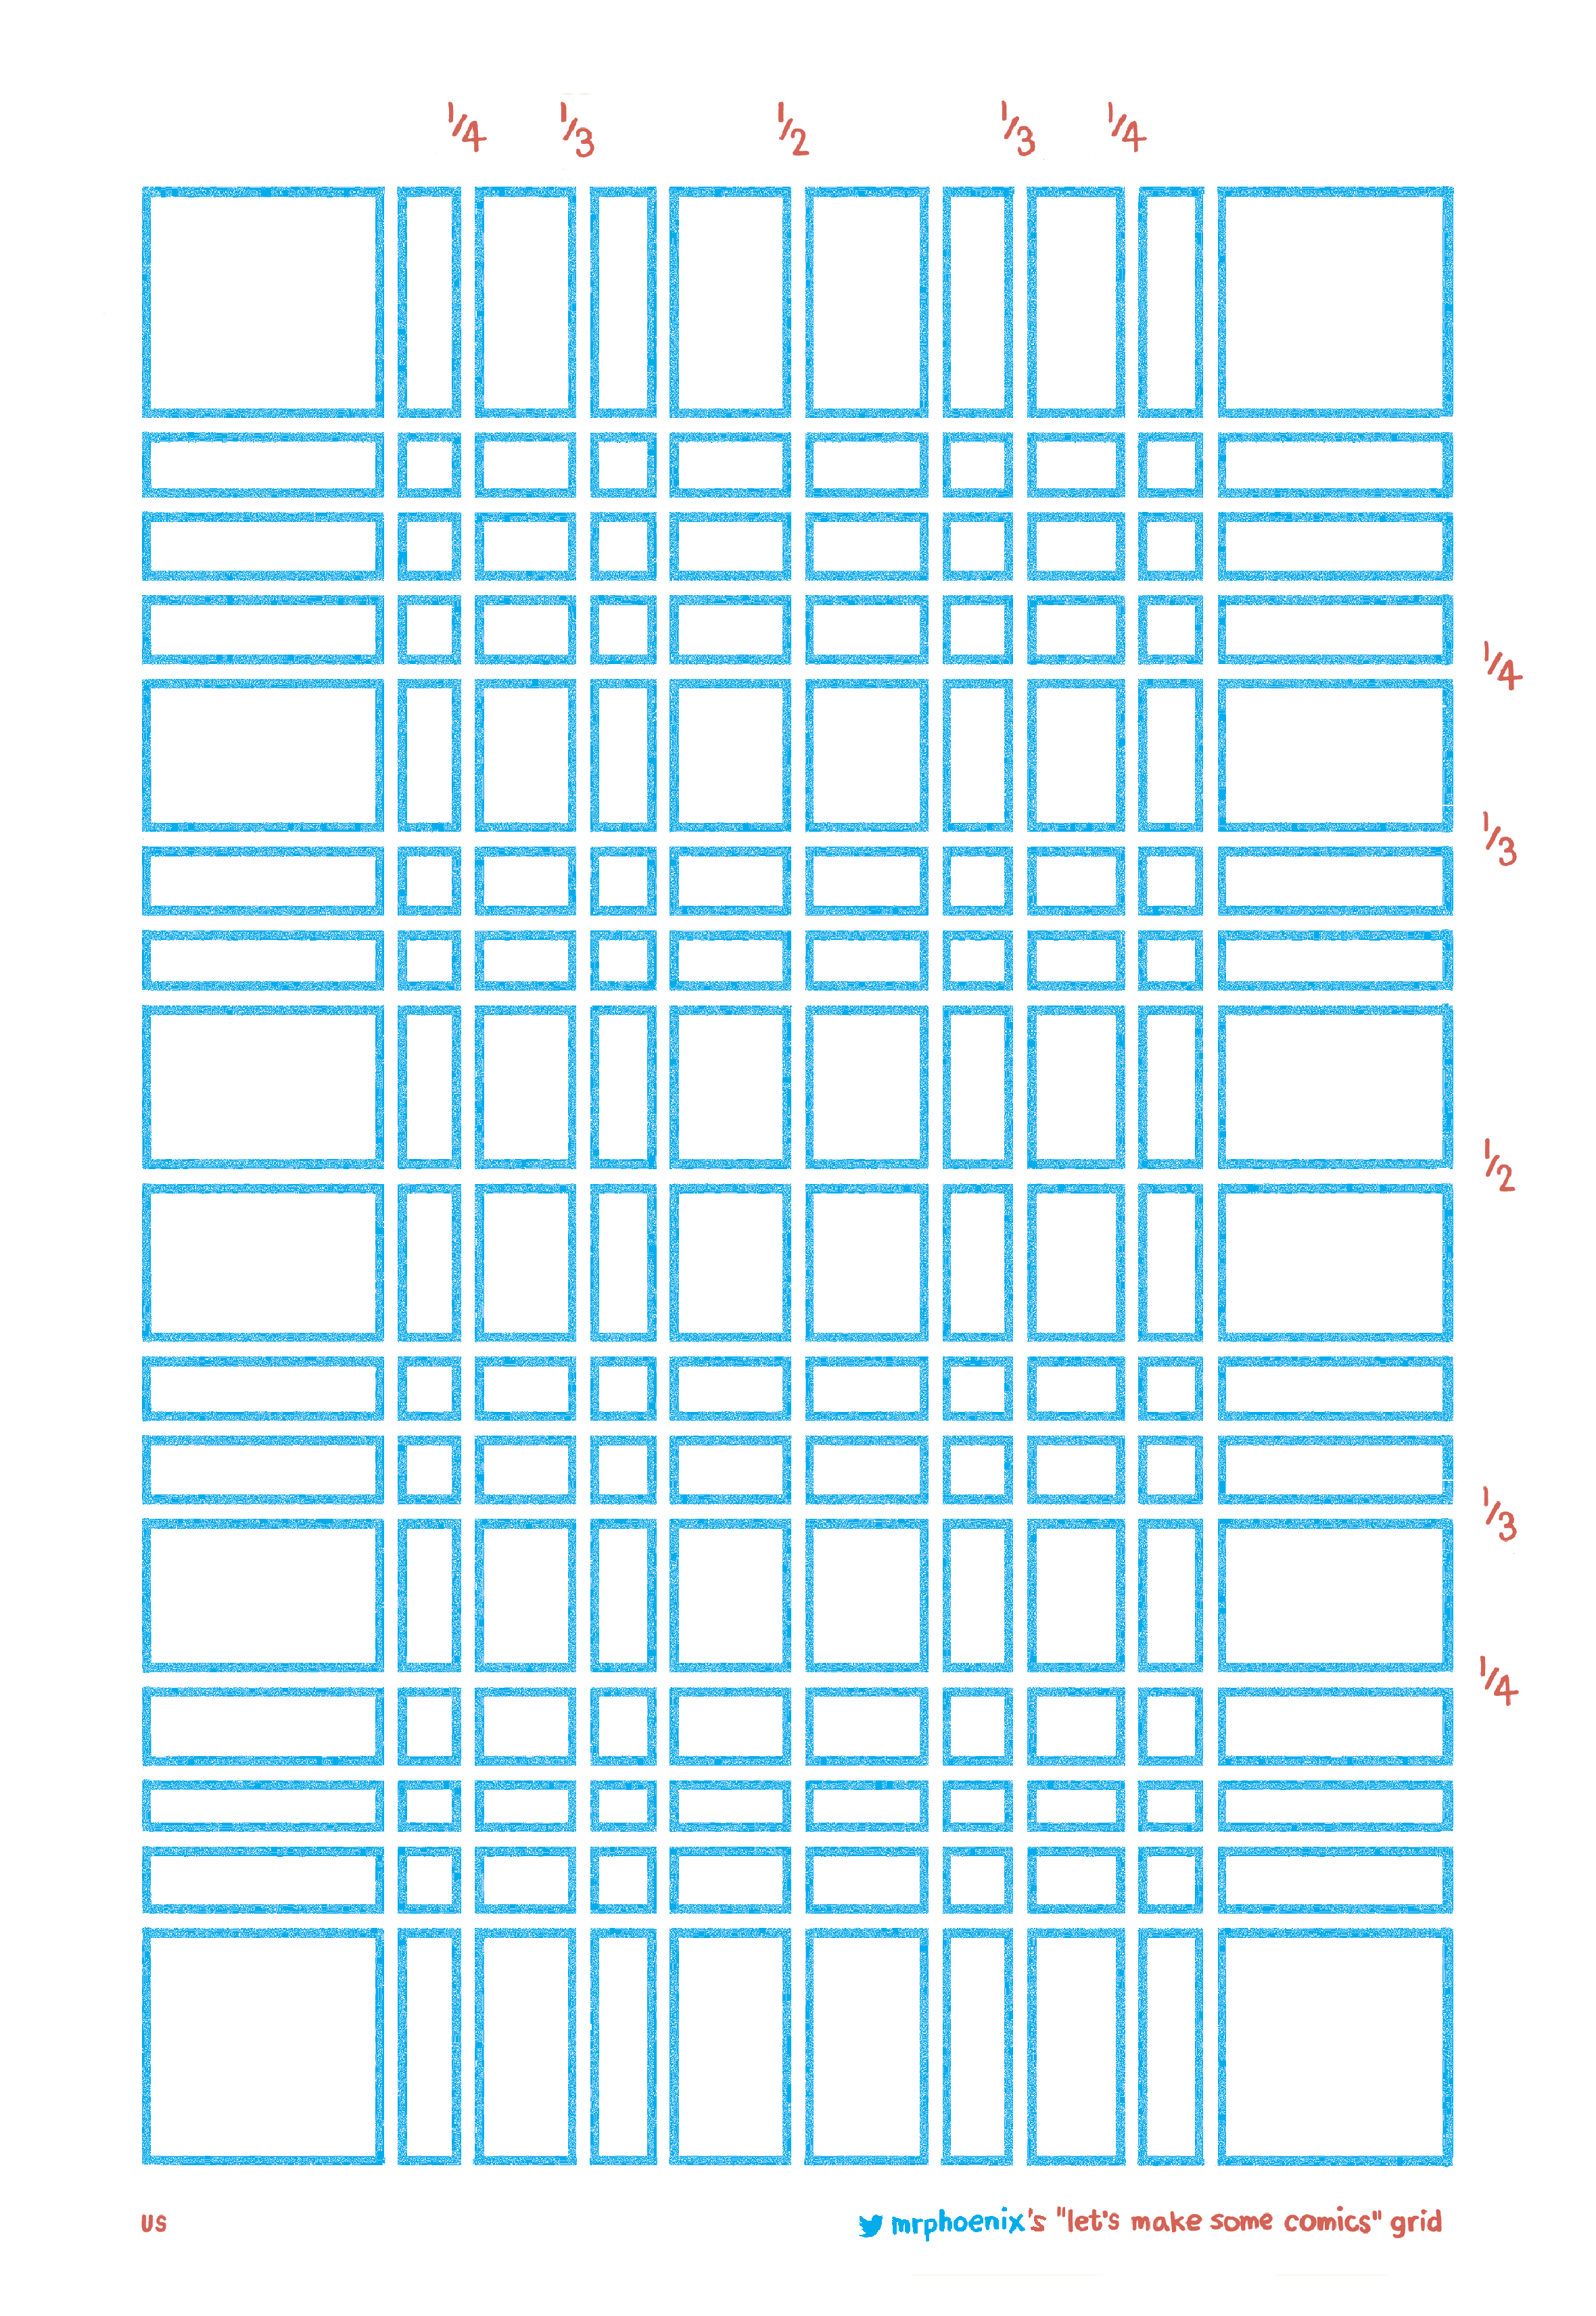
I drew myself a template that had every possible division on it I could ever need. I work at A3 so I print out an A3 copy and place underneath a blank sheet of paper so that I can then quickly mark out a 4, 6, 8, 9 or 12 panel grid.
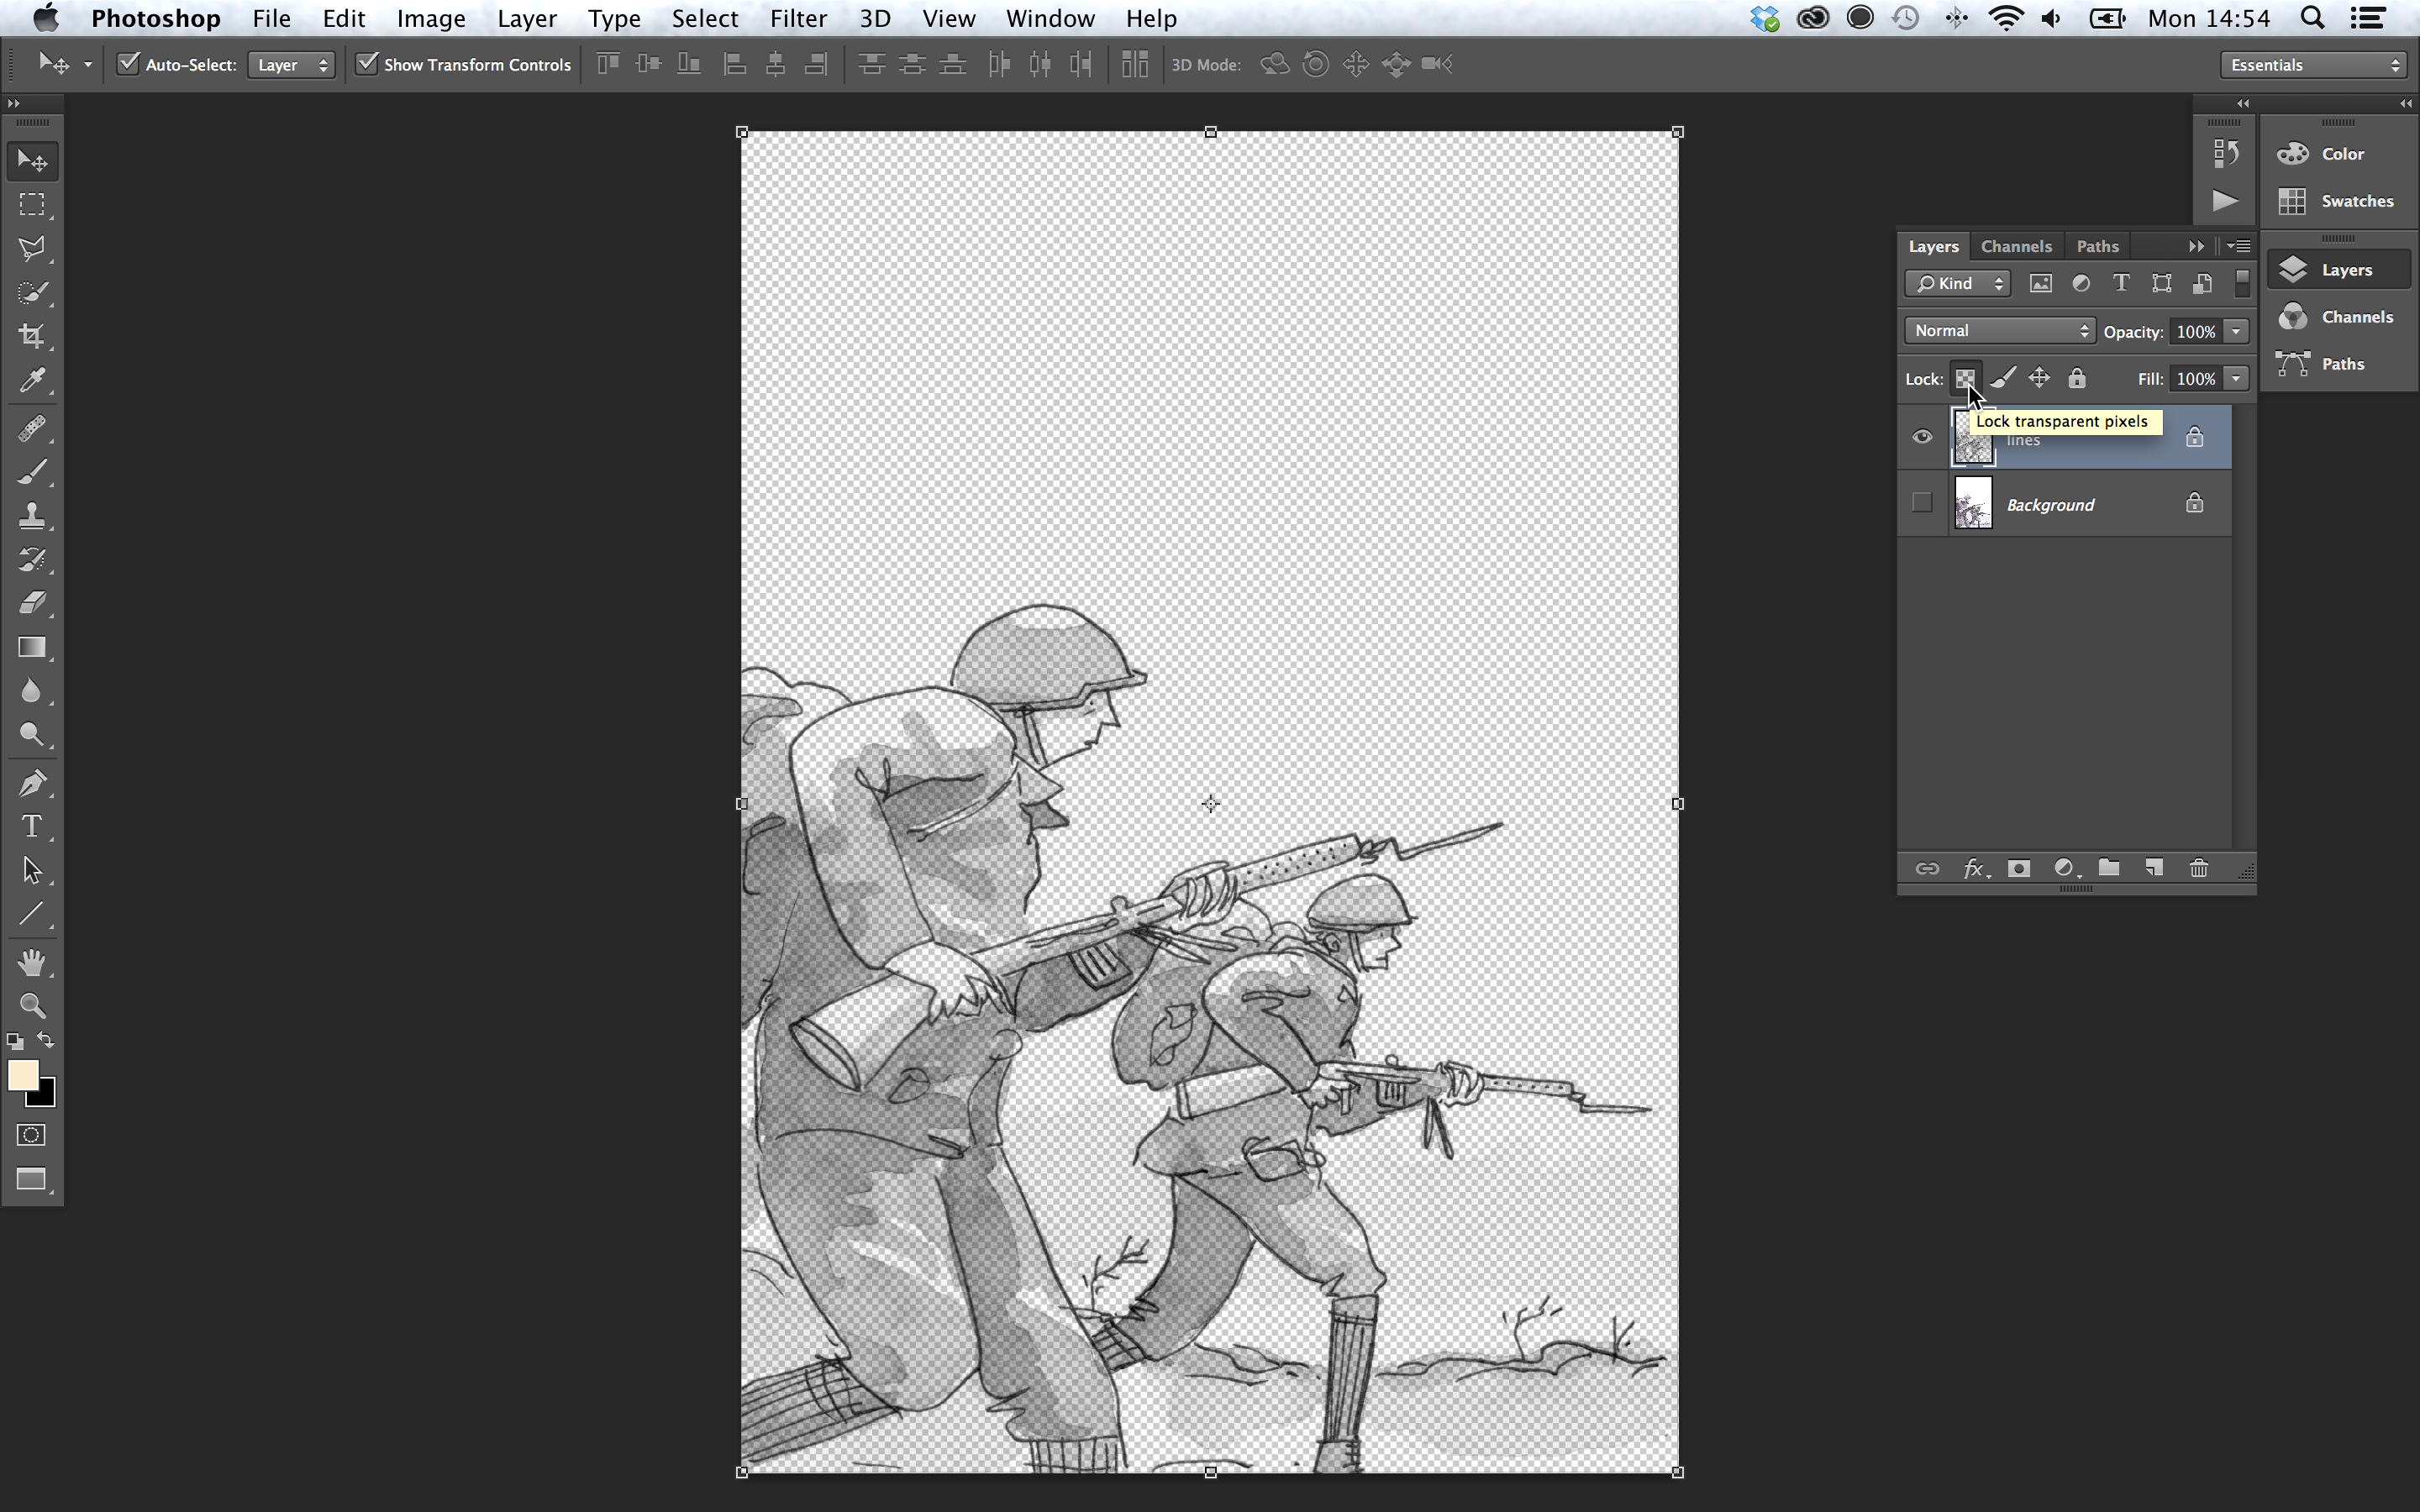
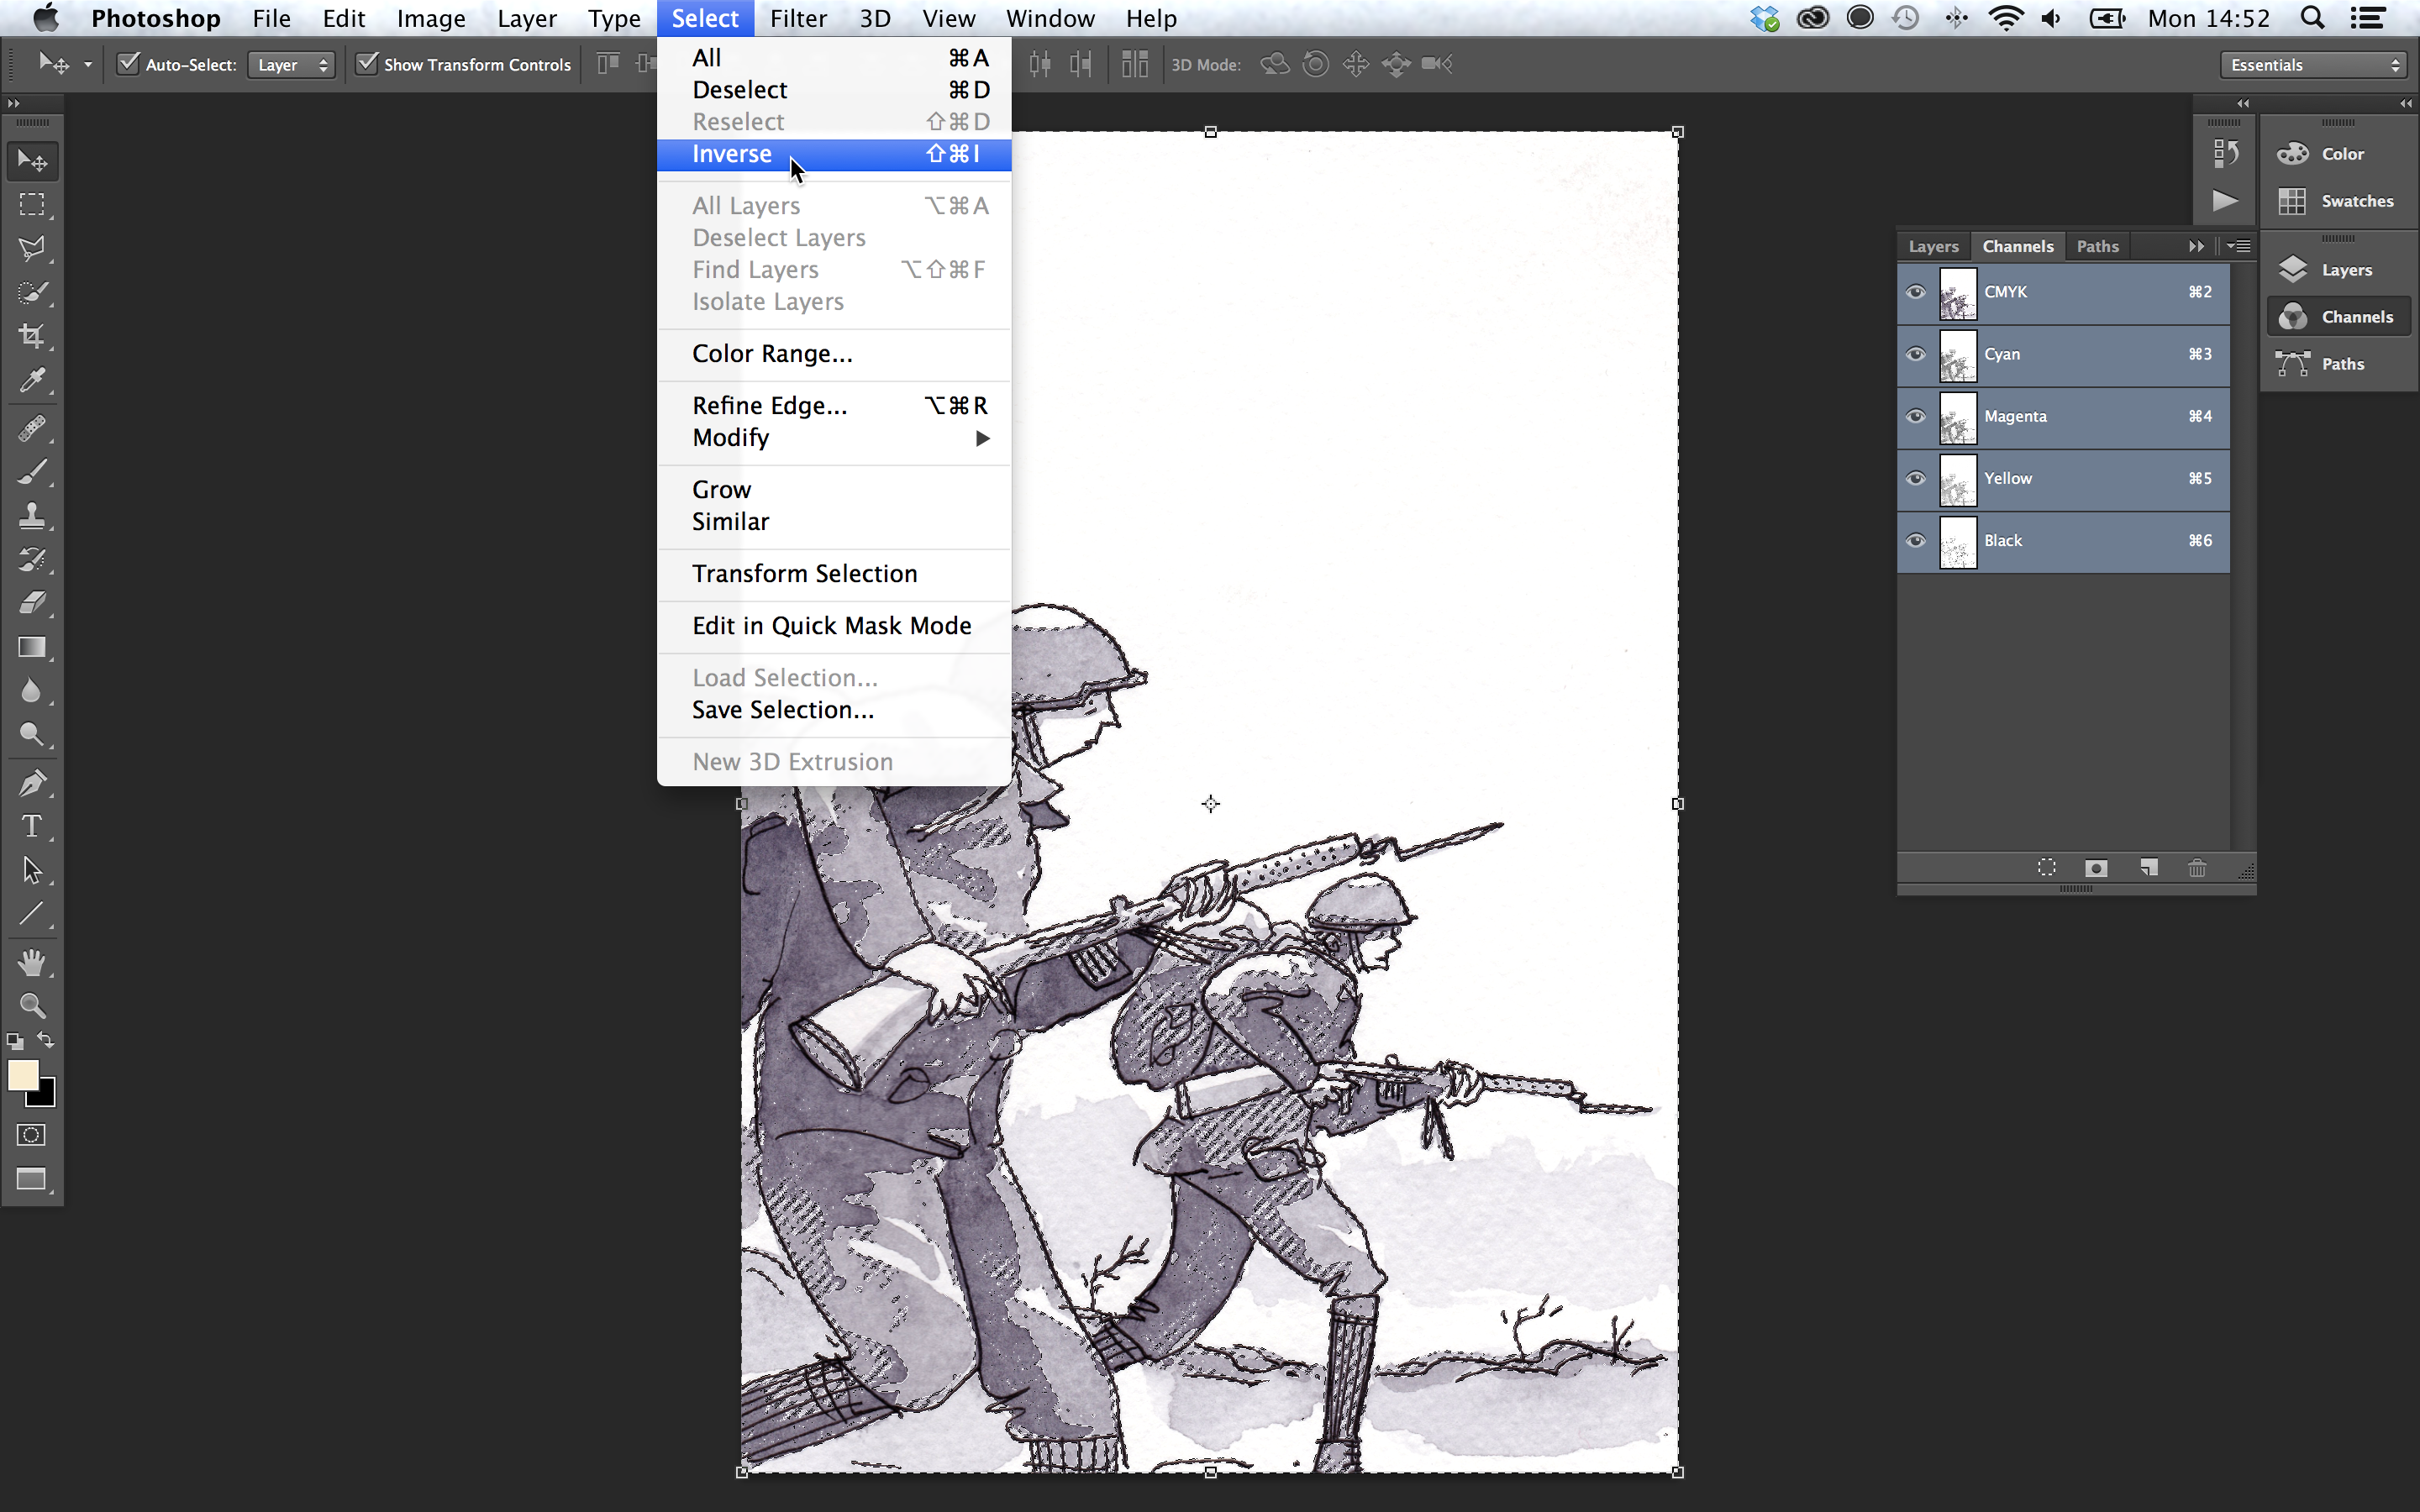
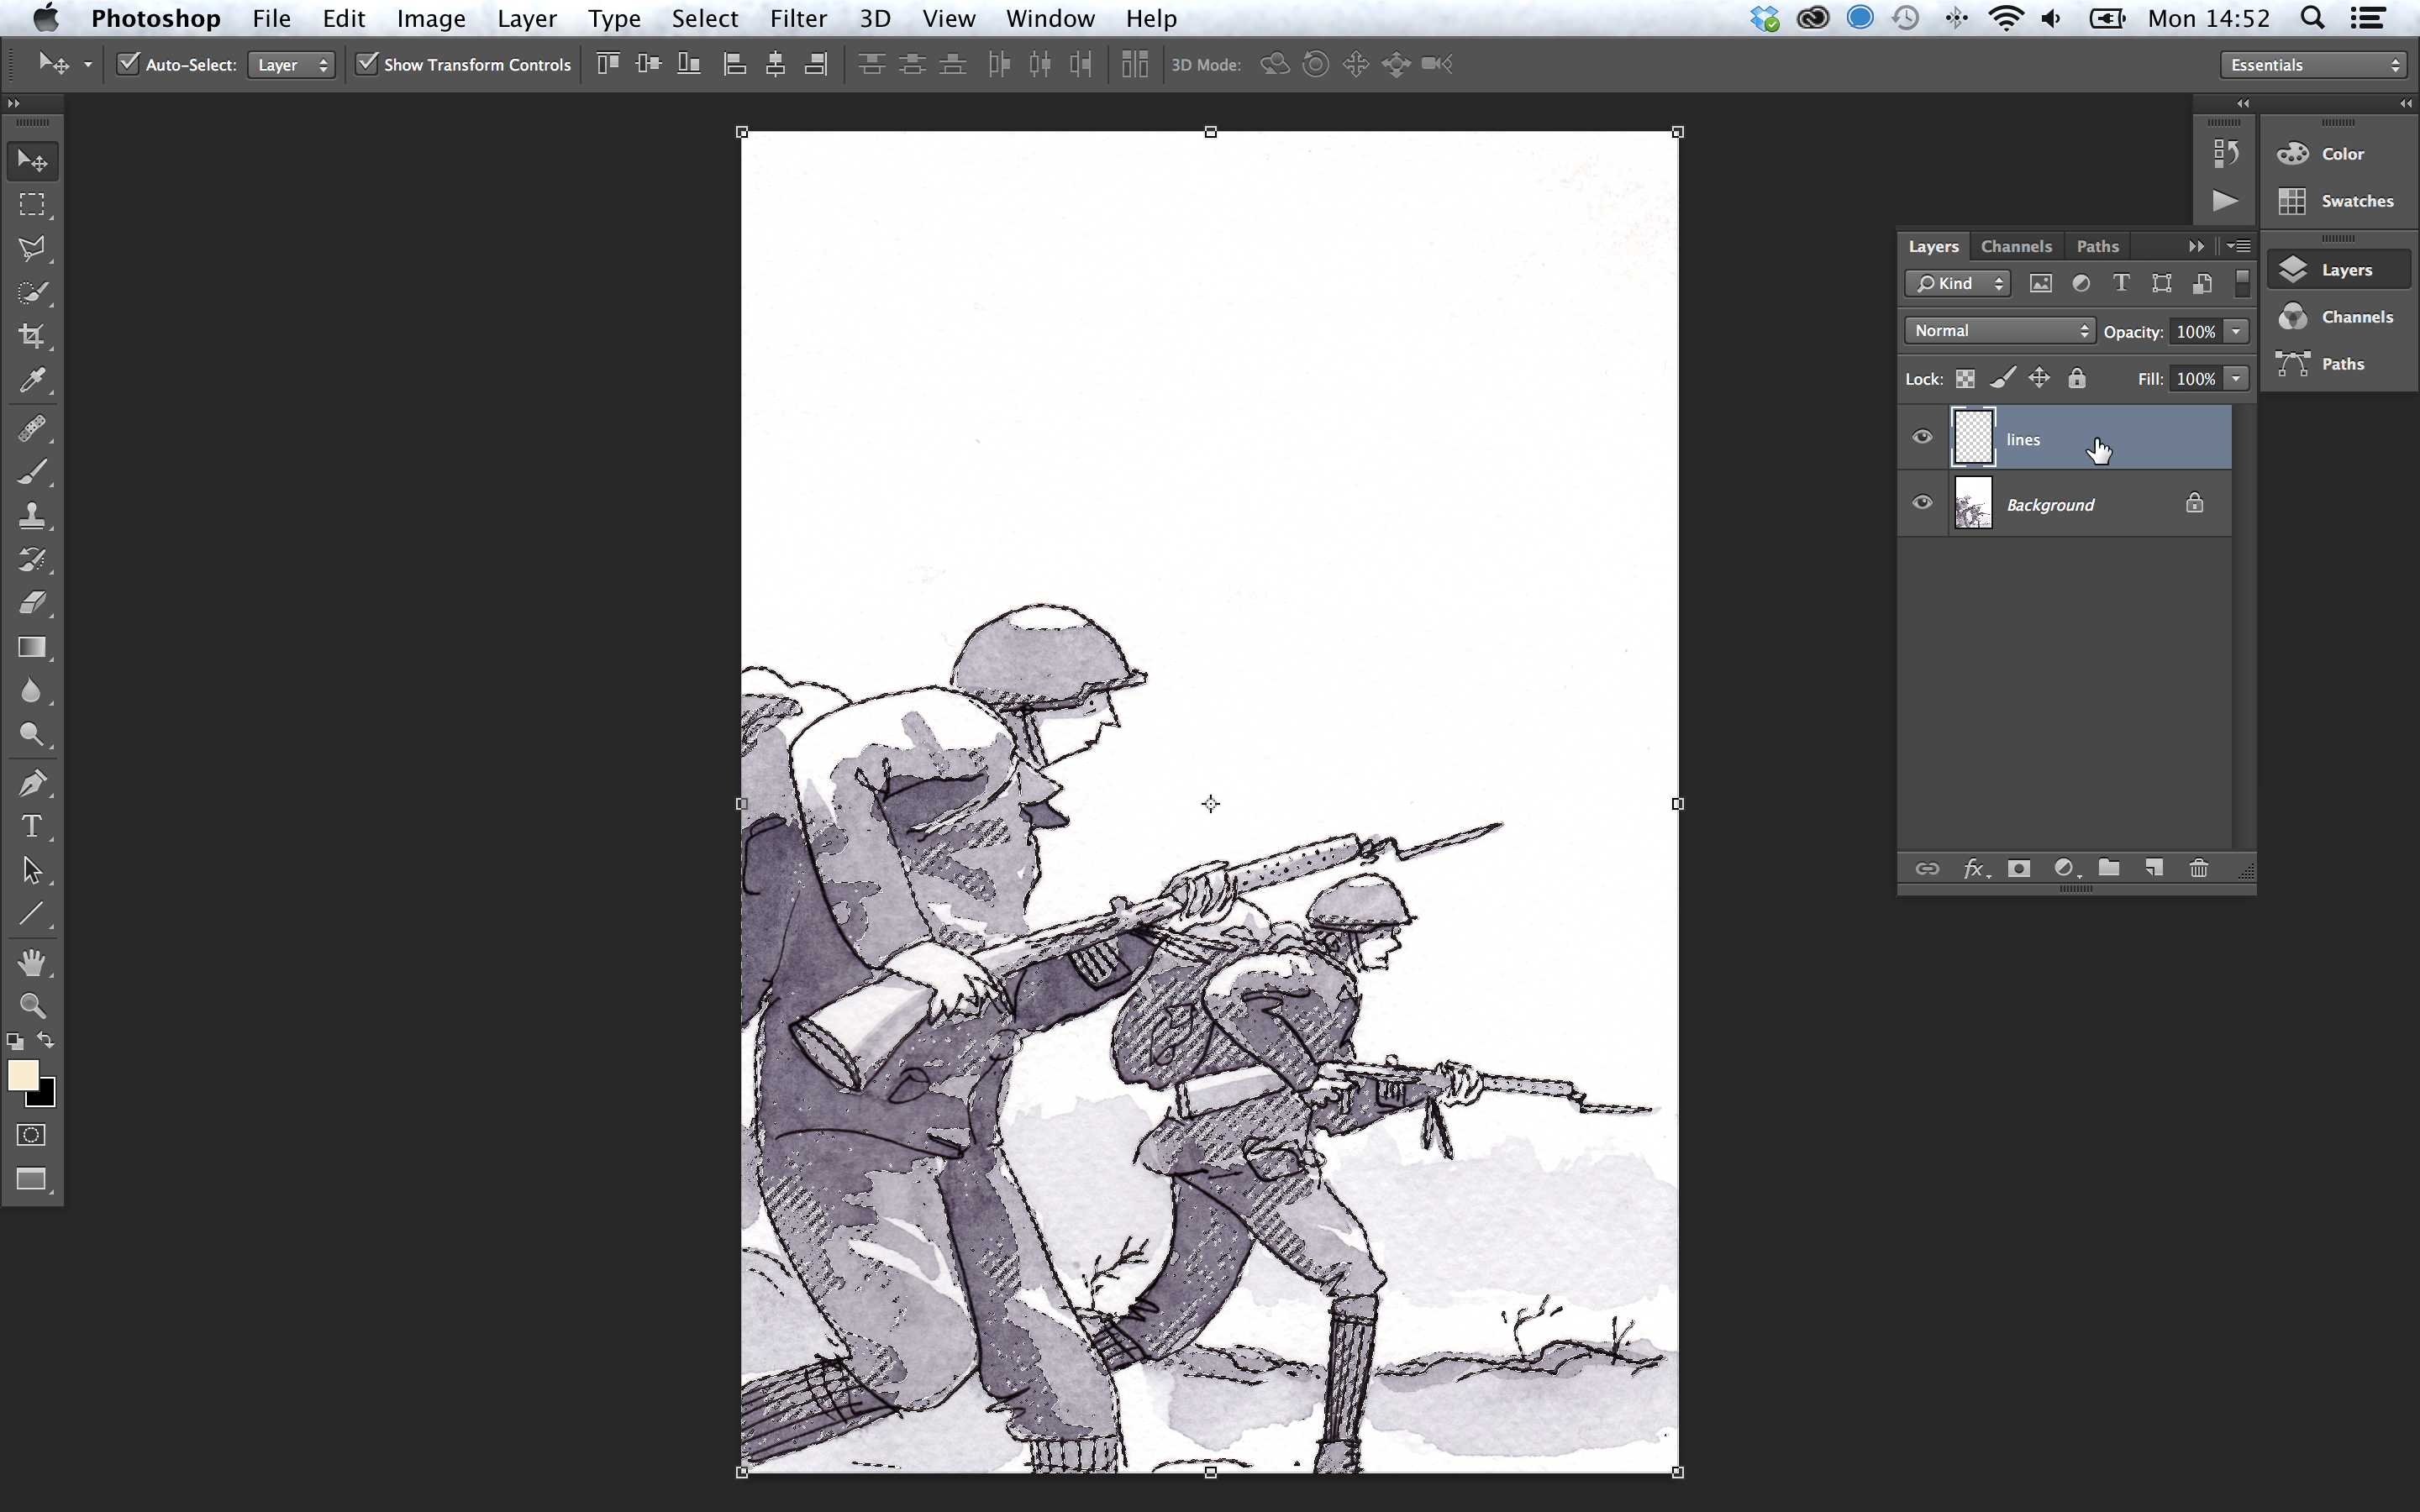
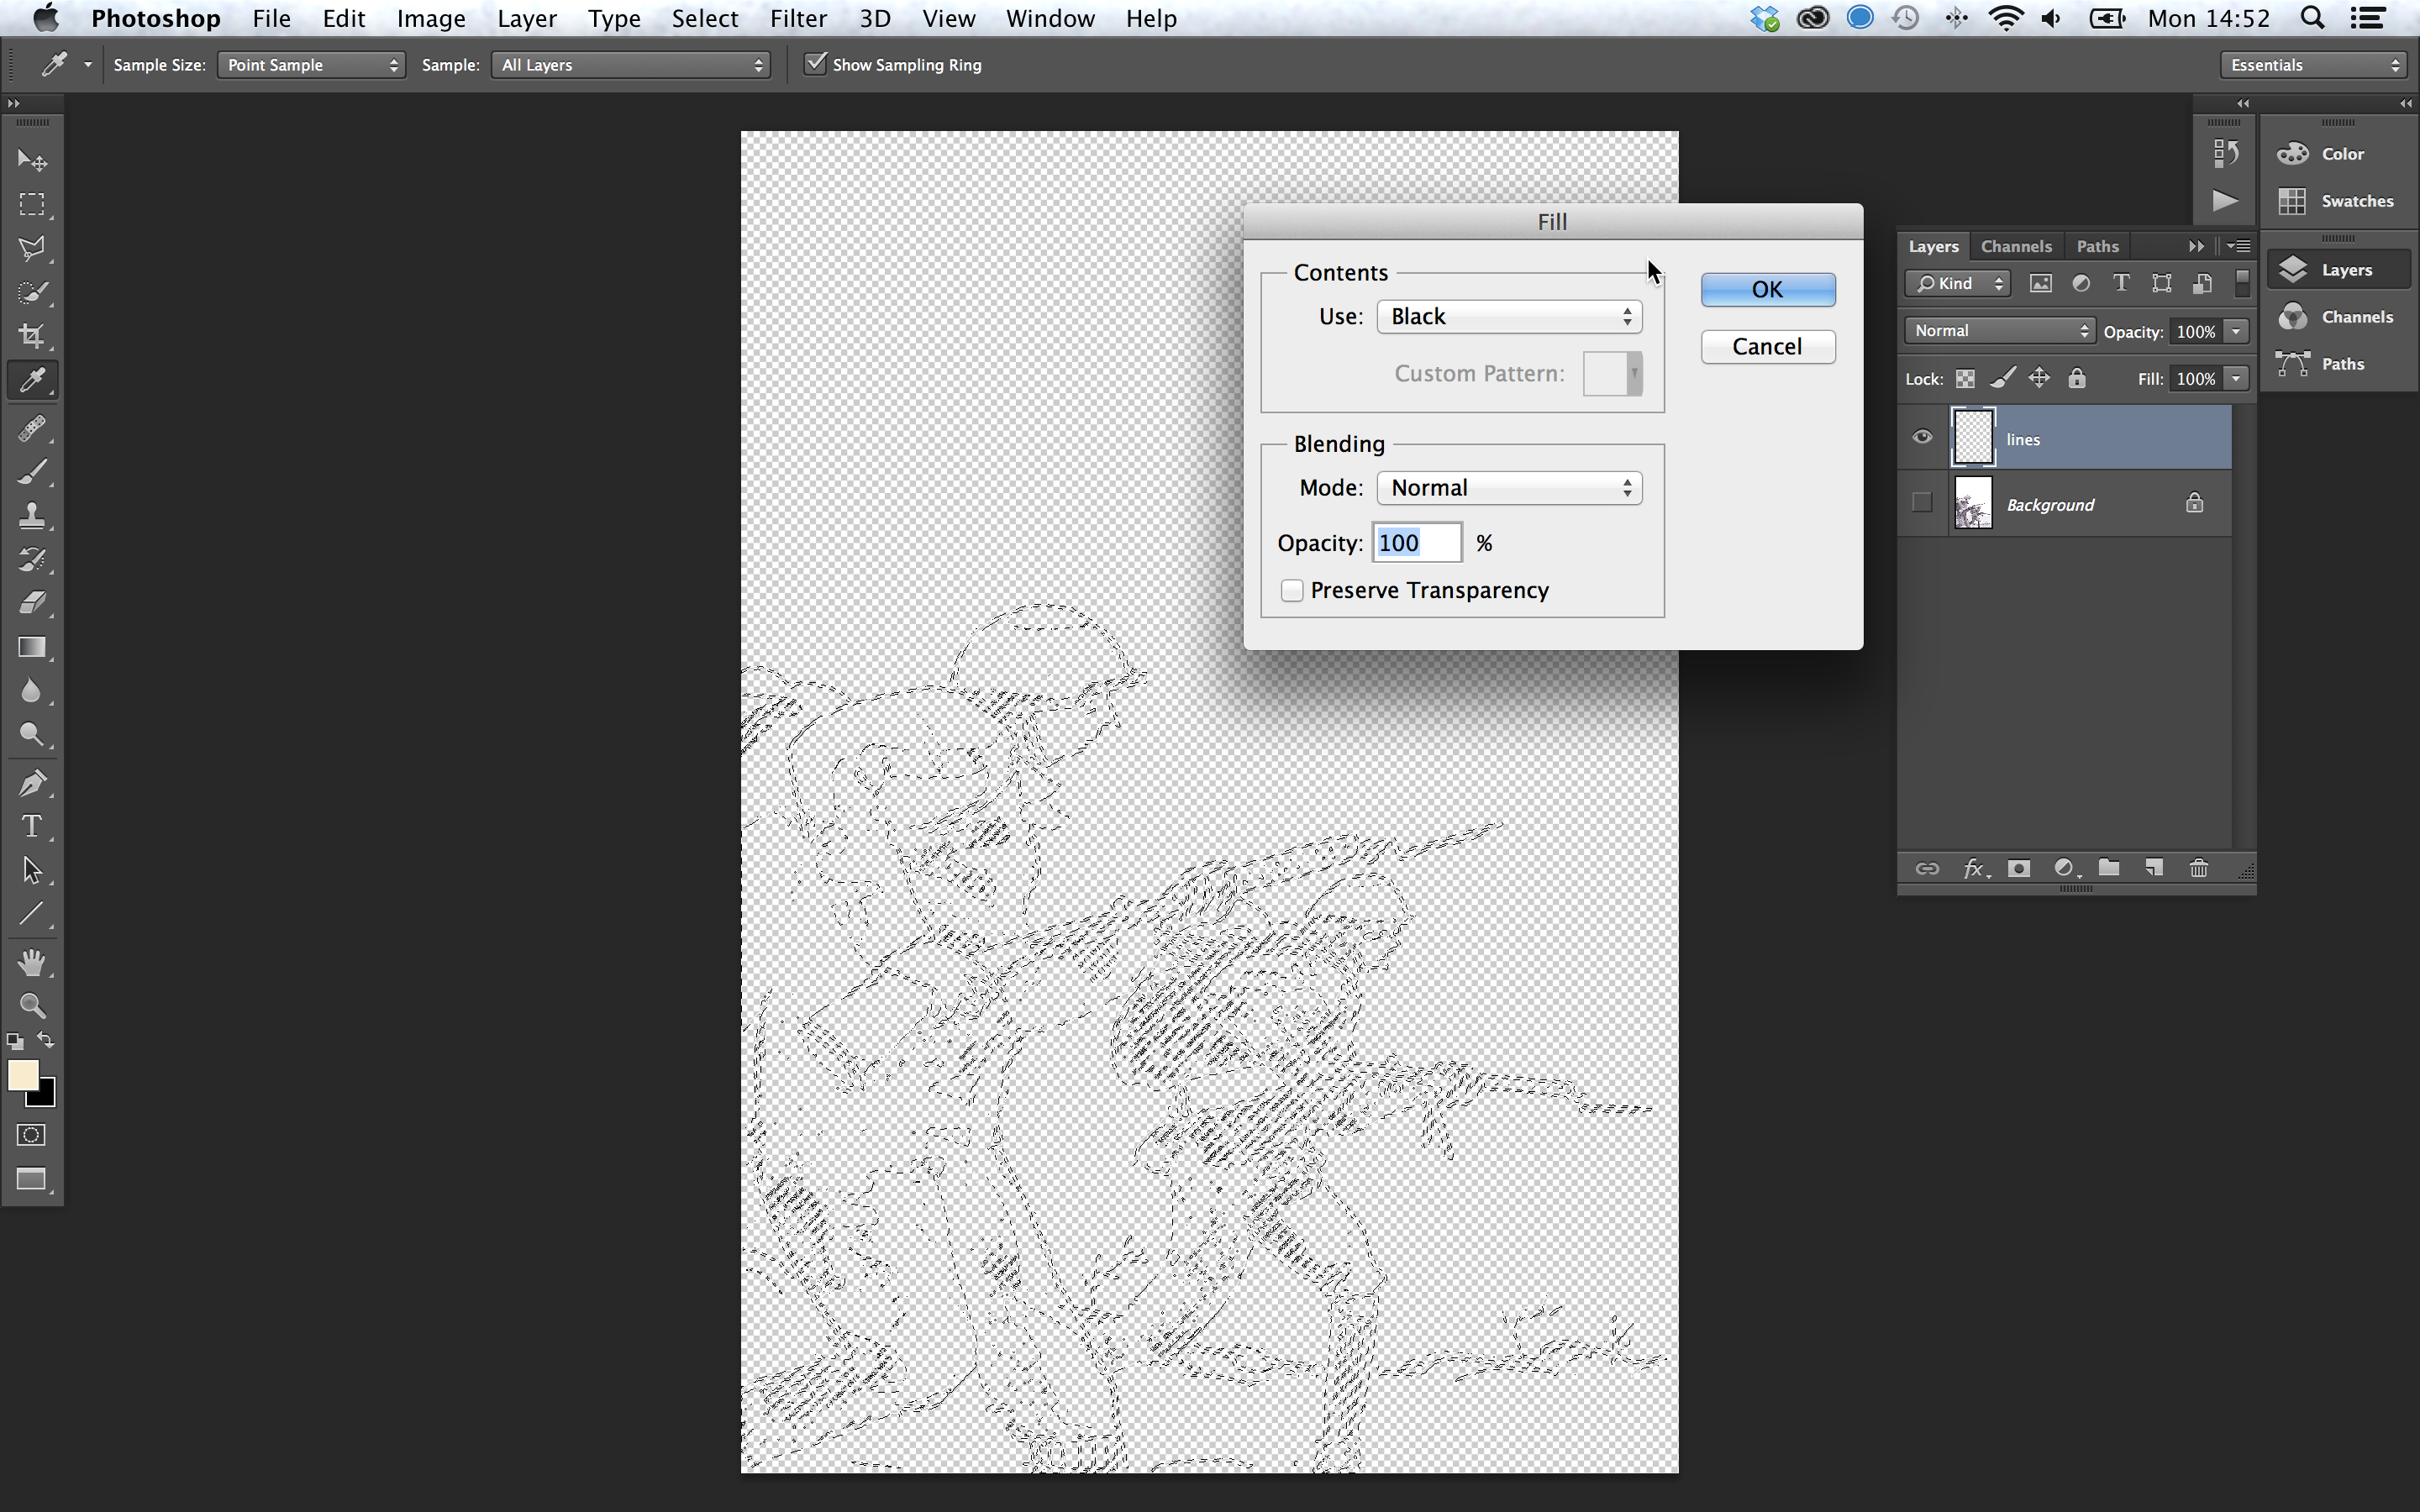
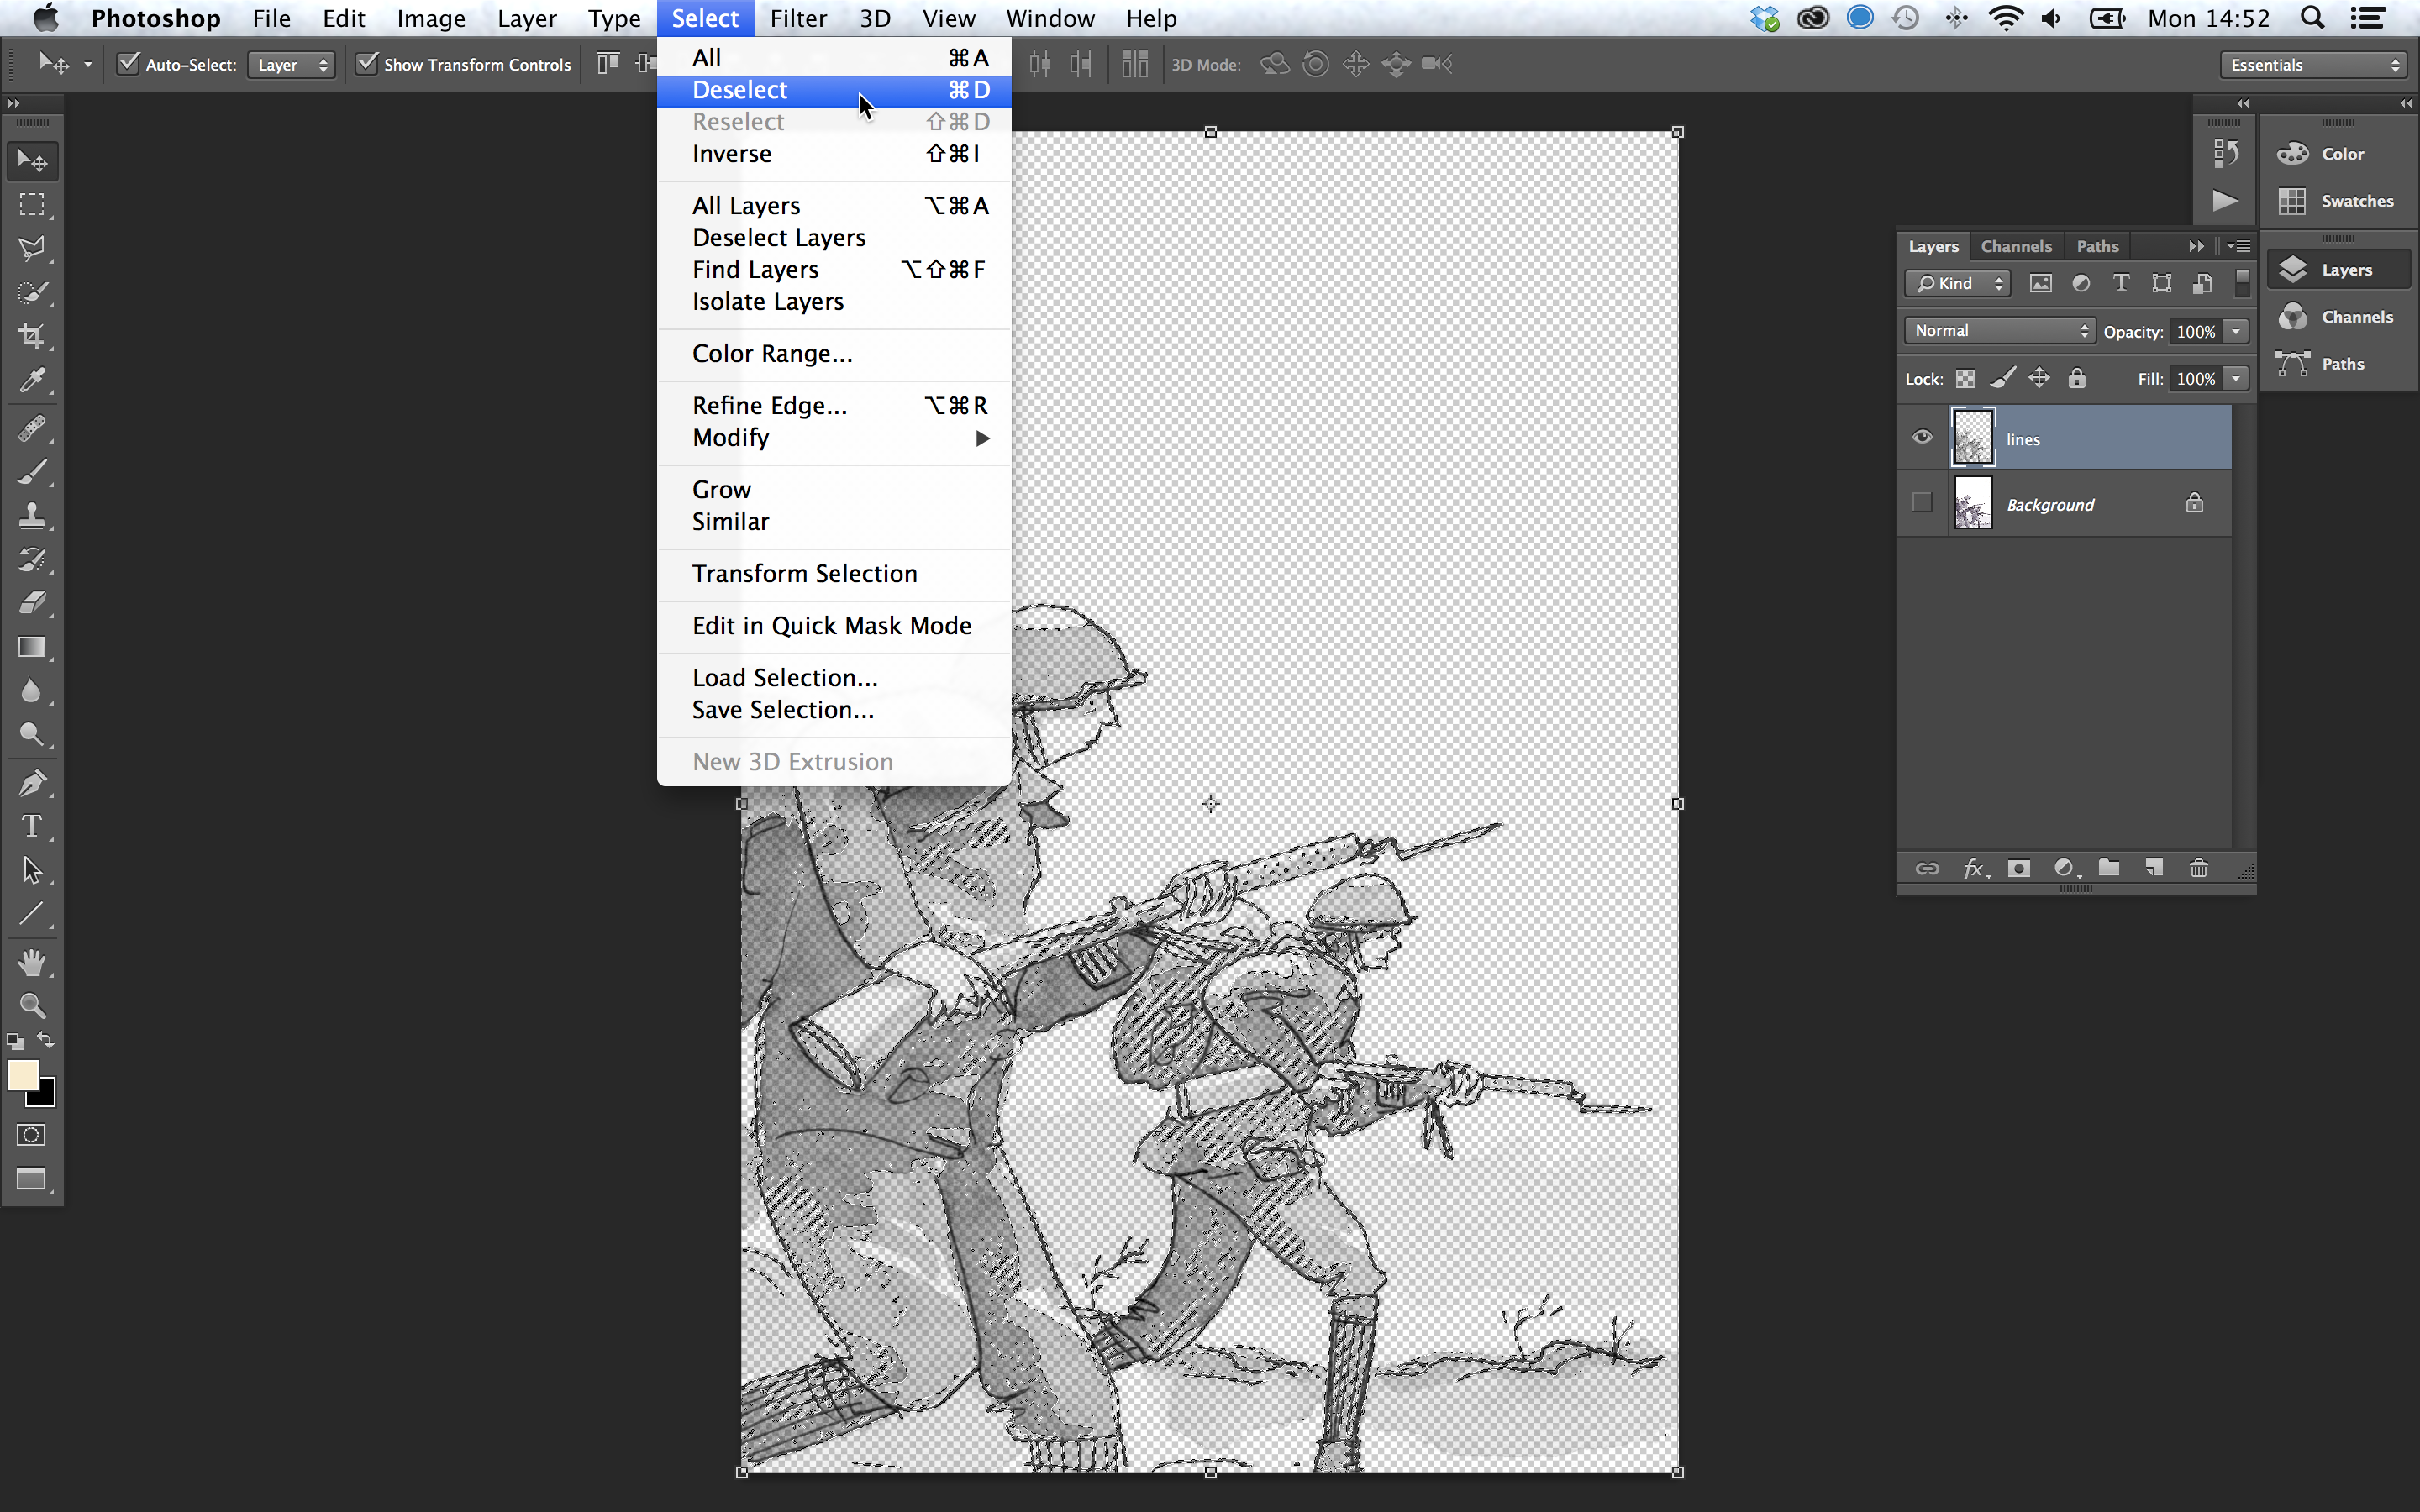
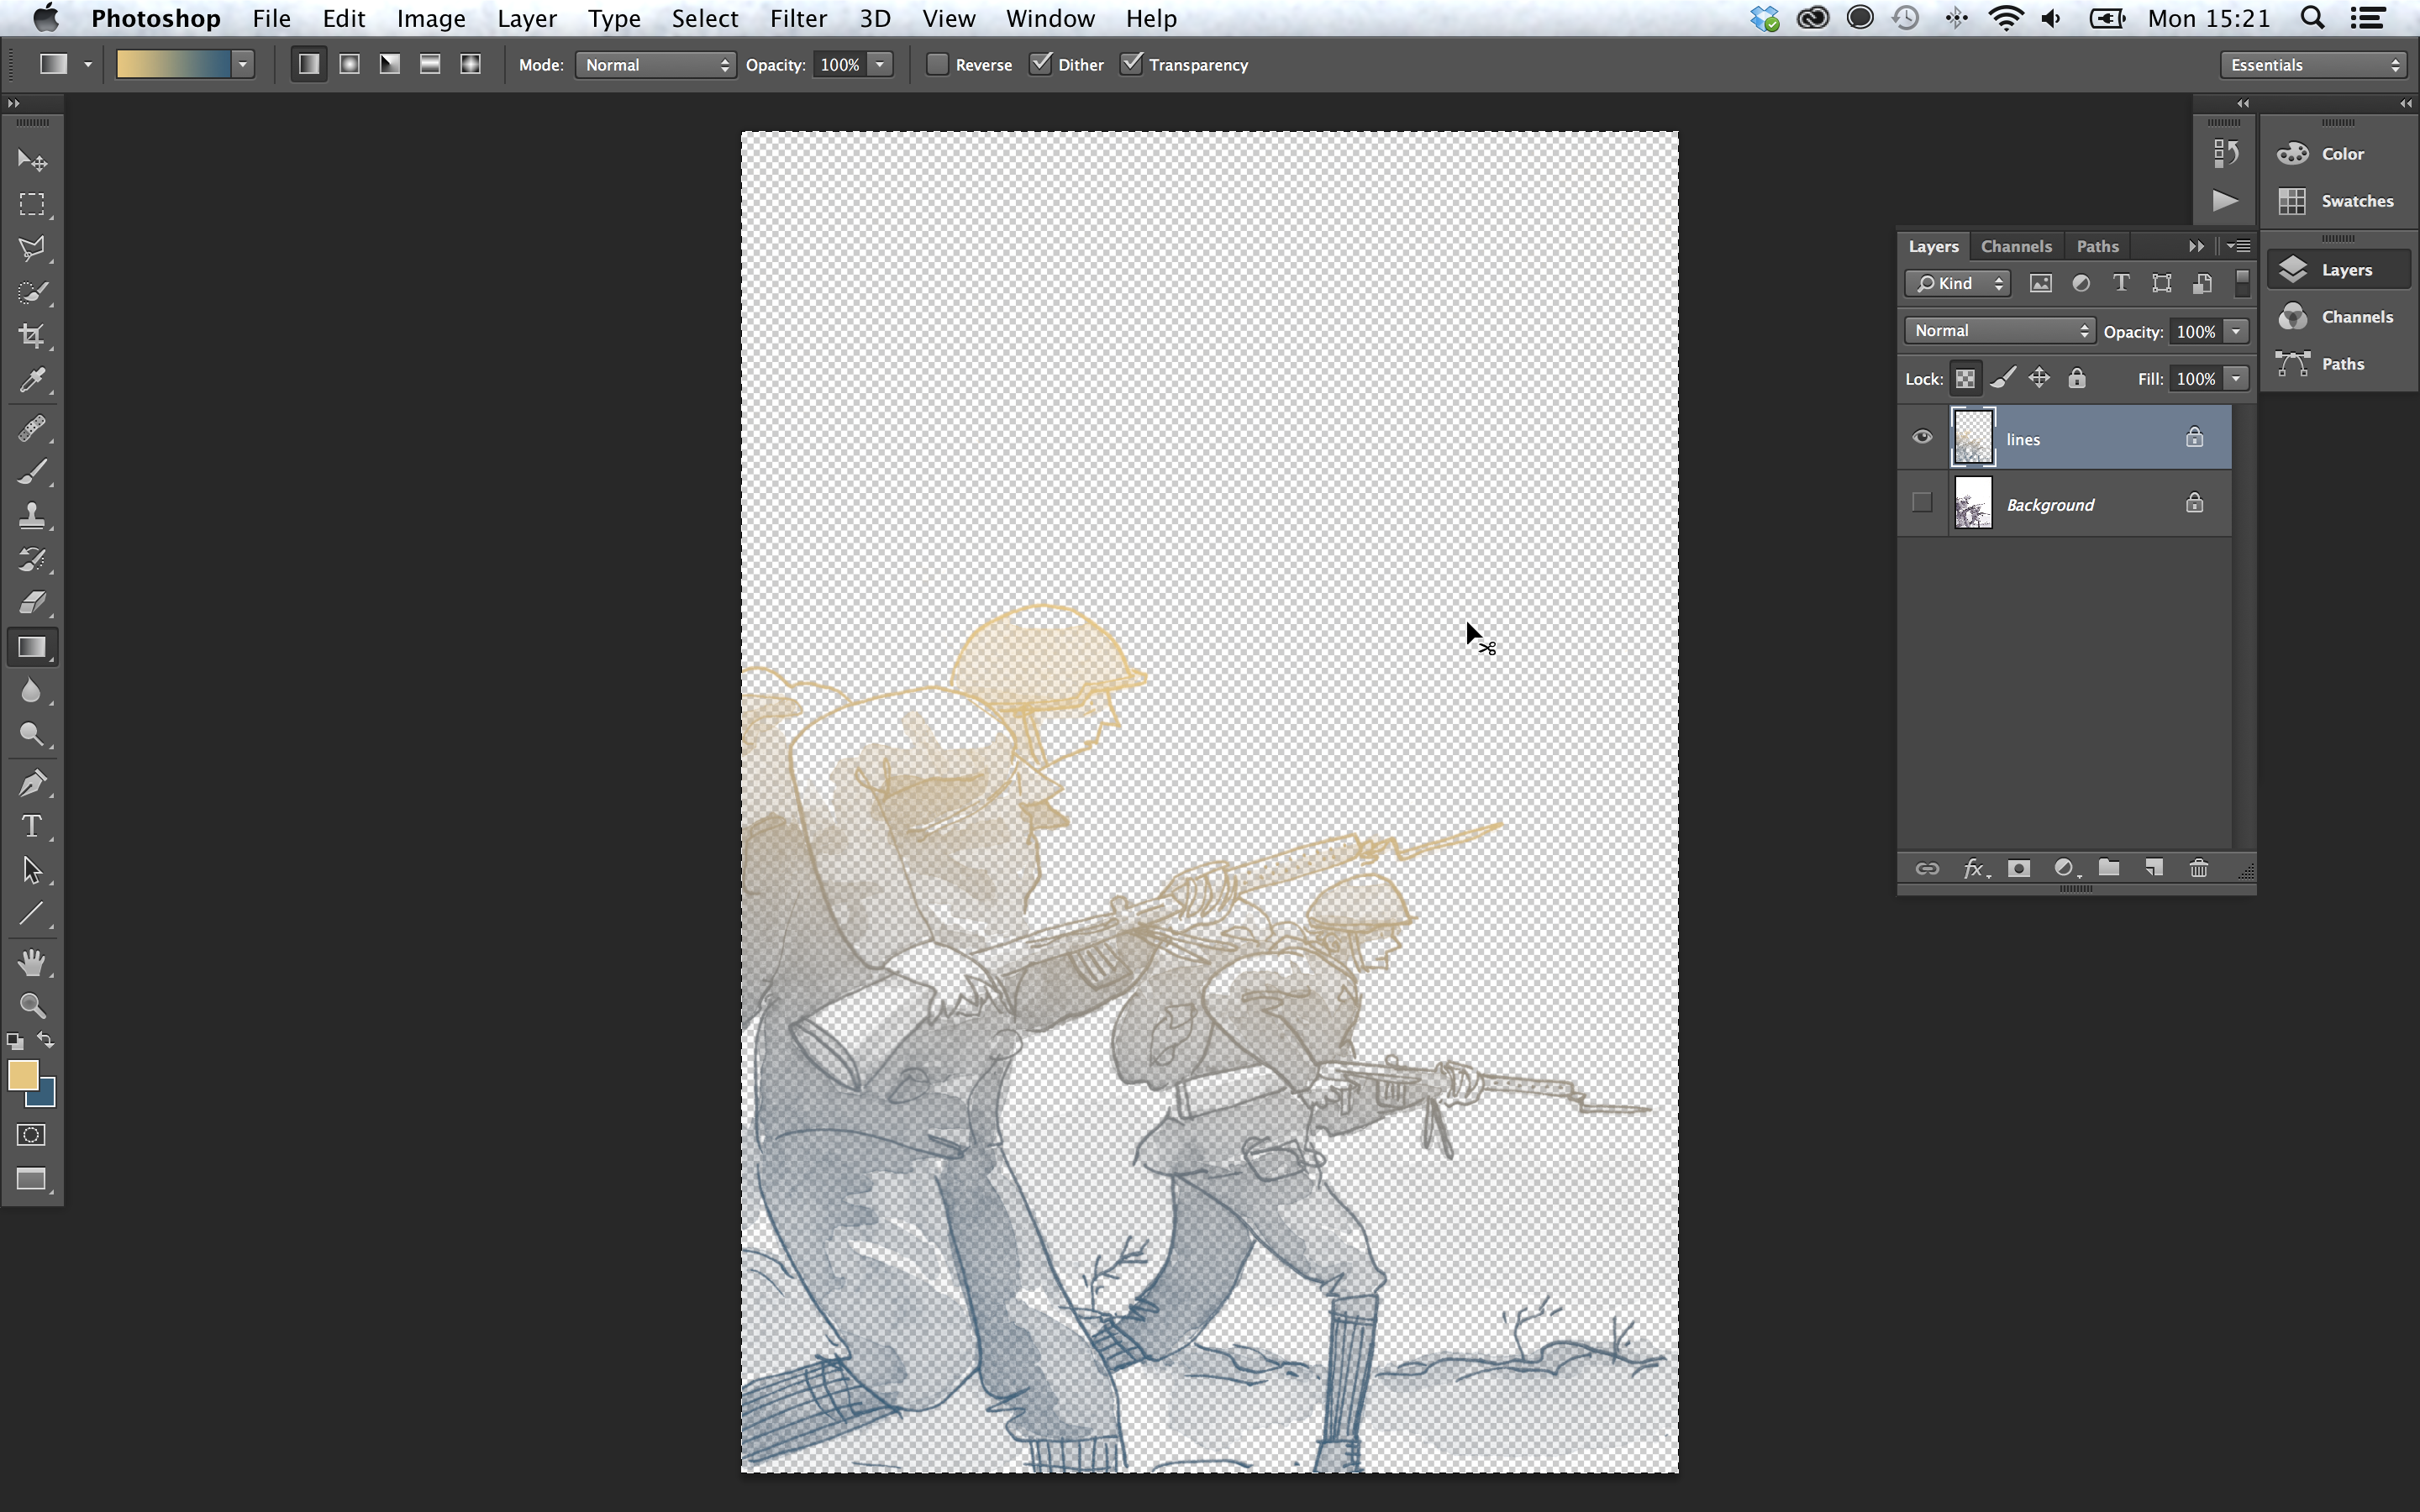
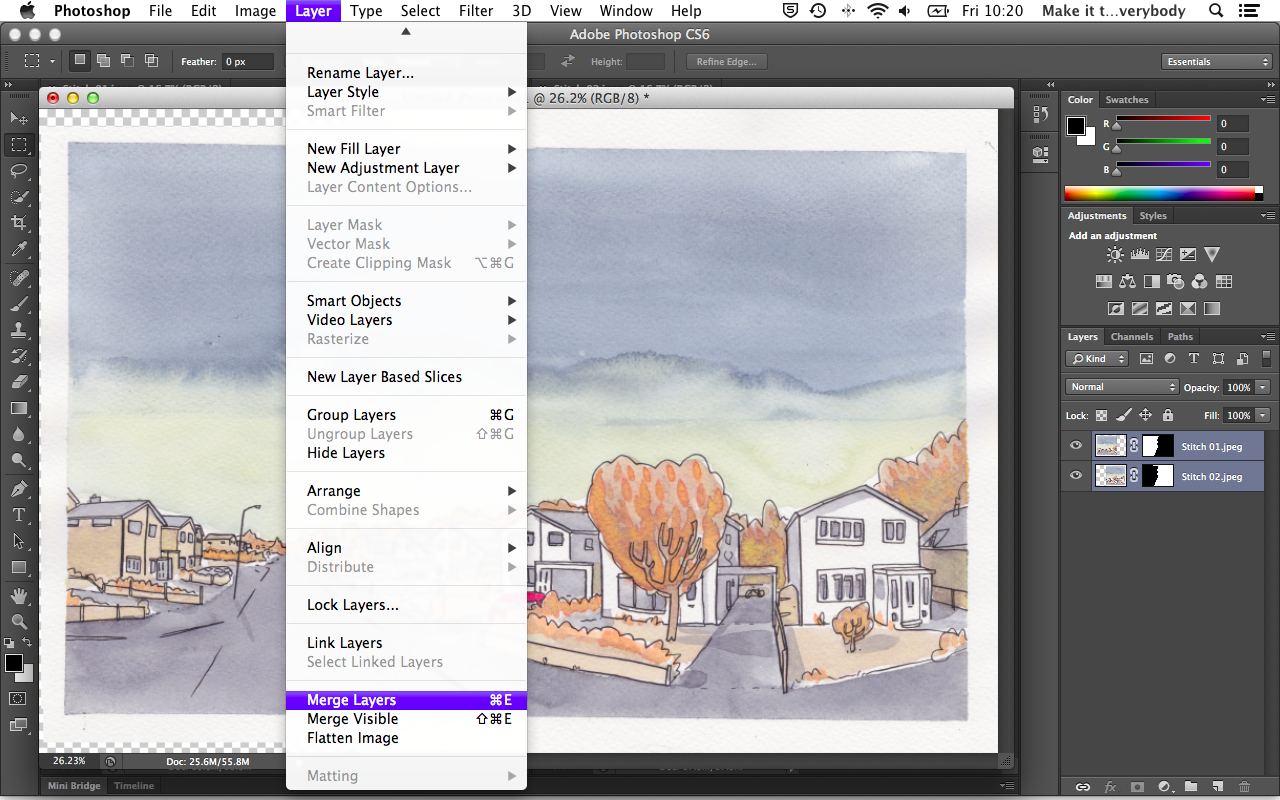
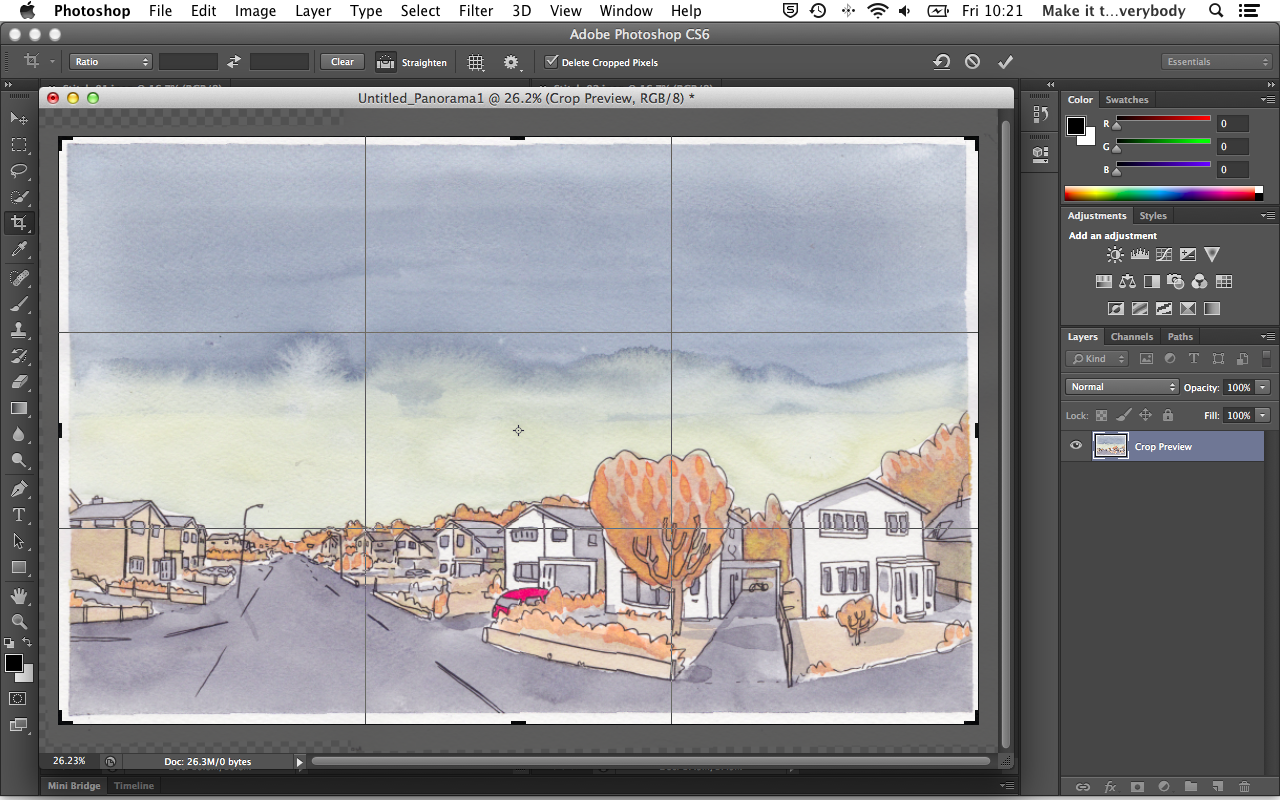
There are two templates – one is A4, the other is based on a standard comic book page which is narrower than the European A sizes are. They are both 300dpi so you can print them out or just open them in photoshop and place them under your art to size it correctly. It is also very easy to use the ‘transform’ tool in photoshop to make the templates a different shape if you want. Just open this page, click on it and’select all’ then select edit > transform > scale. Pull the handles to make it wider, narrower or taller as you need it to be. The proportions will remain the same so it will still work perfectly well.
The page is marked with divisions into halves, quarters and thirds which will give you the standard six panel, nine, twelve or 16 panel grid. There are lots of other divisions in between these to make different grids of your own devising, up to 40 panels!
mrphoenix-A4gridsample1 mrphoenix-A4gridsample2
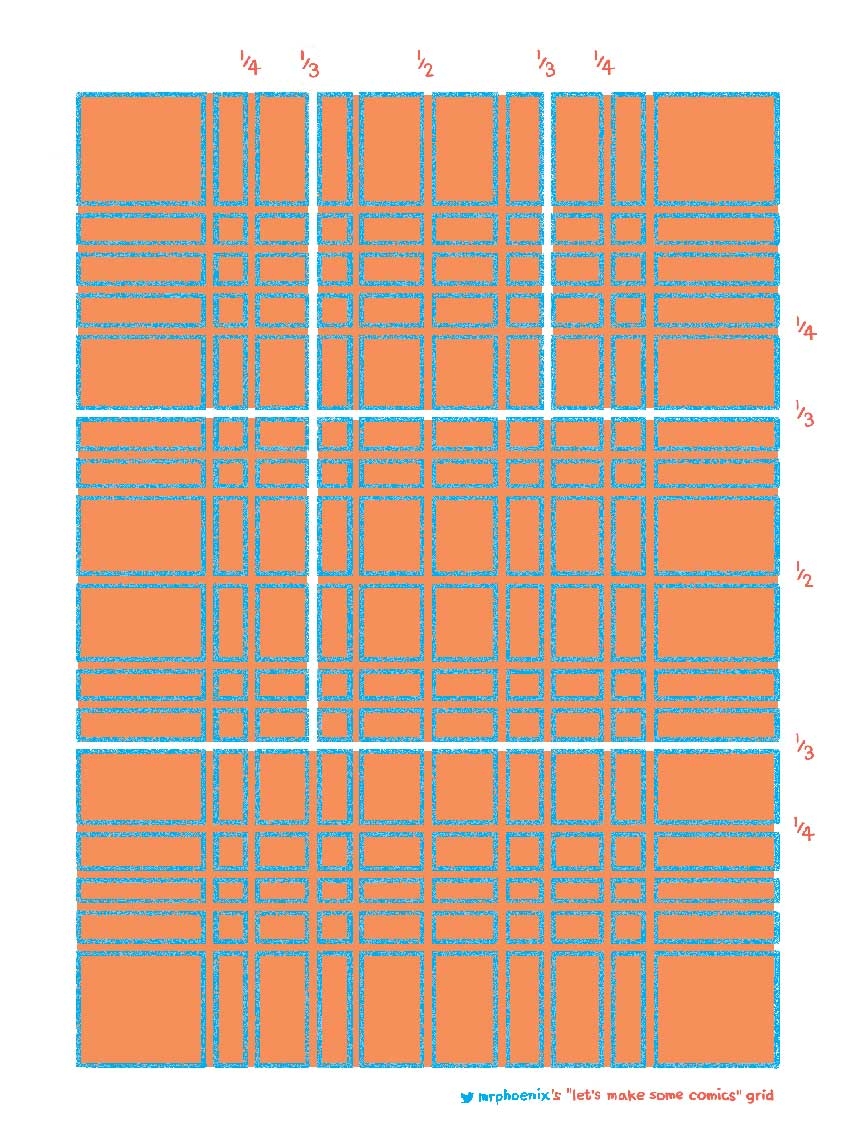
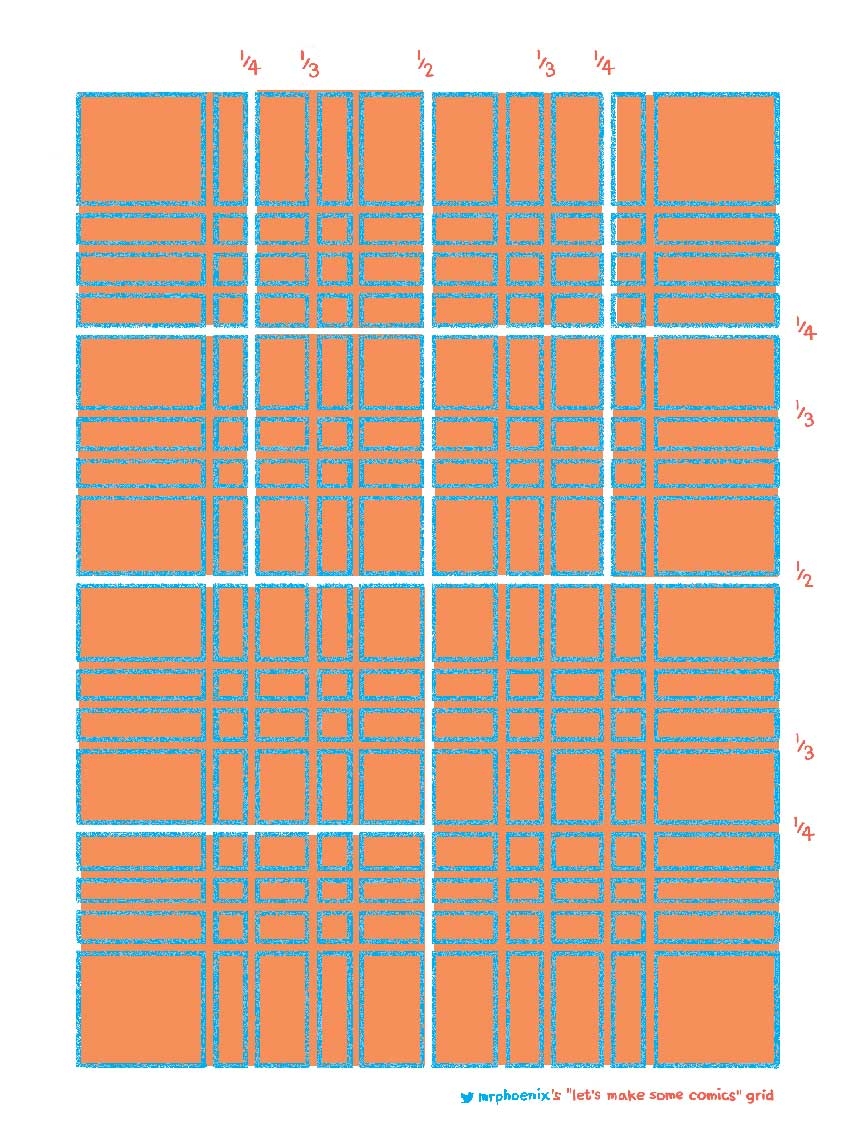
It looks a little complicated now because there are so many lines criss-crossing this page but as soon as you start using the division you have chosen you will see how they all work.

isolating linework from a white background

Here is how to isolate black linework from a white background. Having the linework on transparent pixels gives you a lot of flexibility to colour your linework for example.

1Load up your image. Mine was drawn on watercolour paper, so you can see the paper texture that has been scanned in. I want to keep as much texture in the parts I have painted while reducing the appearance of the texture on the white bits.
2Go to Image -> adjustments ->levels and adjust the handles on the graph so that the dark lines are darker and the light parts are lighter. The values will change depending on the image you are using. This looks to be about right for the image I have here. If you are working with just linework, you might want to go to image -> adjustments -> threshold, which makes all the pixels either black or white. You cannot really do that with a grey tone though.
3Now switch to the channels tab. In my workspace it is behind the layers tab. If you cannot see it, go to window -> channels to open that tab. Click the top channel once and all the channels should highlight. At the bottom of the tab there is a small button on the leftmost side which reads load channel as selection if you hover over it. Click it.
4What that does is loads as a selection all the white pixels, which is kind of what we wanted, but not quite.
5If you go to select -> inverse, what it will do is instead of selecting all of the white pixels, it will select the opposite; the black pixels.
6Now make a new layer and name it lines or something.
7I have hidden the original layer so you can better see what is going on with the selection. Make sure that the new layer is selected, then go to edit -> fill and fill that selection with black.
8And voila! You now have your linework on a layer by itself, with no white pixels in the background.
9Go to select -> deselect to have a proper look at it. If the linework still seems a little too transparent, duplicate that layer and merge those layers together which should bolster it up a bit.
10Now that is all fair and well, but there is one last thing to do to make this really useful. In your layers tab, towards the top next to the word lock, click the first button that reads lock transparent pixels if you hover over it. It does what it says, it locks the transparent pixels.
11Locking the transparent pixels means that you cannot change them, but you can change the pixels that are transparent. You can use a brush on that layer, apply a gradient or a fill and it will not change those transparent pixels, just the linework, leaving you to use the brush tool, apply a gradient or fill without having to worry about anything else. Neat eh? The best bit is that much of this can be recorded inside an action to easily apply again and again without having to go back over each step every time.

Remove blue lines from black inked artwork

This is not a technique I use very often at all, but it can be handy to know. A lot of people use a blue pencil to rough out their work and then ink on top. I have  seen people plan out all their lettering with a computer, print it out in blue and then ink on top of the lettering to make sure that the consistency is mechanical, but the letterforms are very human. Here is an easy way to remove these blue lines, leaving only the black.

1So here is your image. You roughed it out in blue and inked on top then scanned it in.
2The aim here is to remove the blue lines. Go to Image -> Adjustments -> Channel Mixer.
3Choose Black & White with blue filter from the preset dropdown and see what that does to the blue lines. It has removed most of the blue, but where the blue was darker it still shows as a pale grey. You can still see his anchor tattoo.
4Adjust the blue slider up until the pale greys disappear. Once you are happy, click OK.
5Now maybe, just maybe your blacks have become a bit washed out too. Go to Image -> Adjustments -> Levels and correct this. Levels are great but they are a bit of a blunt instrument. What they essentially allow you to do is reset where perfect black and perfect white are in an image. See that lumpy graph? That is a bar graph of where all the black, grey and white pixels are, perfect black being at the far left and perfect white being at the far right. It corresponds to the gradient scale below it. You can see from the lump on the graph that most of the pixels in this image are a dark grey. Grab the slider on the left and move it towards the lump. You should notice if you have the preview checkbox ticked that the black lines get blacker. You can do the same for whites and greys too. And thats that. Enjoy!

Stitch together images automatically

Sometimes, your scanner is just too small or your artwork is just too big. What I used to do was take this folder of scans and manually painstakingly put it together. The downside of doing it this way is that not only does it take forever (not a good situation if you have a deadline looming) it is also incredibly frustrating. If only there was a way to get the computer to do the heavy lifting for you. Well, there is a way and it is pretty simple. Here is what you need;

  • Adobe Photoshop (I am fairly certain that any version over CS3 is good) I am using CS6 here.
  • Scanned sections of a larger image.
I am going to say that by default you should have backed up your stuff. Make sure that you have multiple eggs in multiple baskets. It just makes good sense.

1What you need to do is to load all of the images you want to stitch together into photoshop. Try not to have any other files open other than the images you will be stitching. Try to make sure that your scans have enough overlap for the computer to see where to stitch them. It doesnt work if you are trying to align edges, it works better when the scans overlap more. Sometimes this is a process of trial and error. You can see from the image that one of them has scanned upside down. This occasionally makes it difficult for the computer to calculate the overlap. If this happens to you, rotate and save it before getting onto the next step.
2Go to File -> Automate -> Photomerge
3Here is the dialogue box (or a variation of it) that you should see. Click add open files and it should list all of your scans. Click OK.
4Photomerge works some magic to align your images into a new document. If it says that it cannot align the images, go back a few steps and check the rotation of your images and make sure they overlap enough. If there is not enough overlap, take another scan from where the join is and try again. This one has been stitched upside down. If you have the same thing, go to Image -> Image Rotation and rotate it accordingly.
5So all being well, your image has been stitched but it is not quite ready yet - look at the layers. Photomerge has used some kind of mask to align your scans. Select both layers and then go to Layer -> Merge Layers.
6With the layers neatly merged together you can use the crop tool to sort out any skewing. Thats about it. Enjoy!